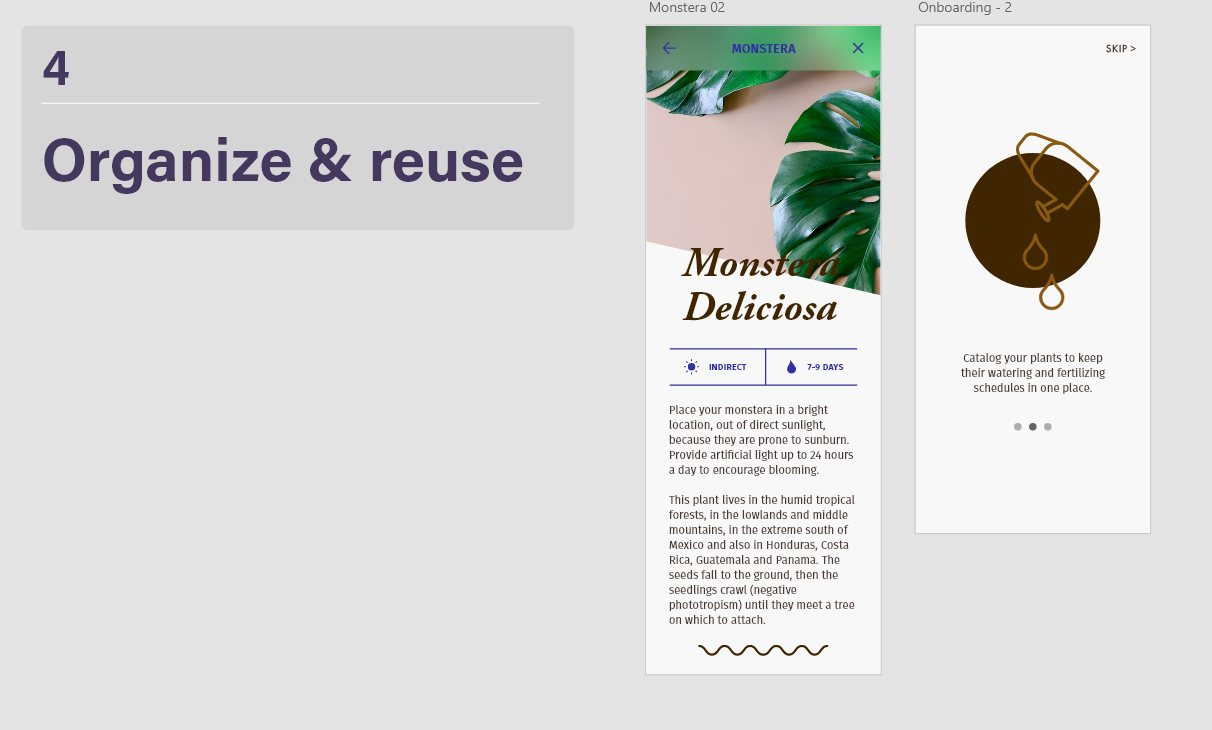
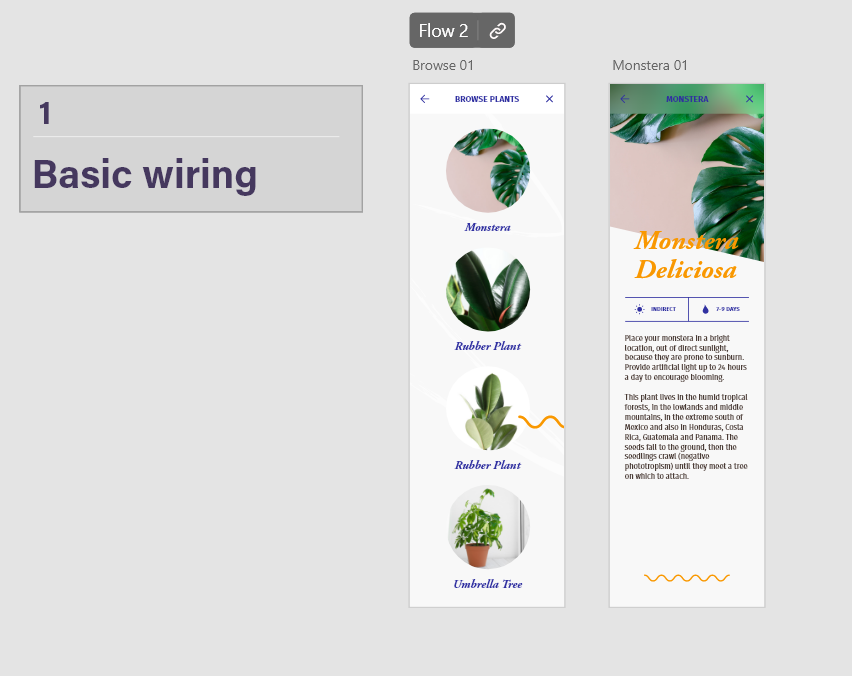
Here is another tutorial I have followed by Dani Beaumont, which follows up from the last tutorial with the plant app. This tutorial goes more into detail about prototyping and how different animations and triggers can be used to add effects to a prototype. The first is a basic tap animation again, which was already shown before.
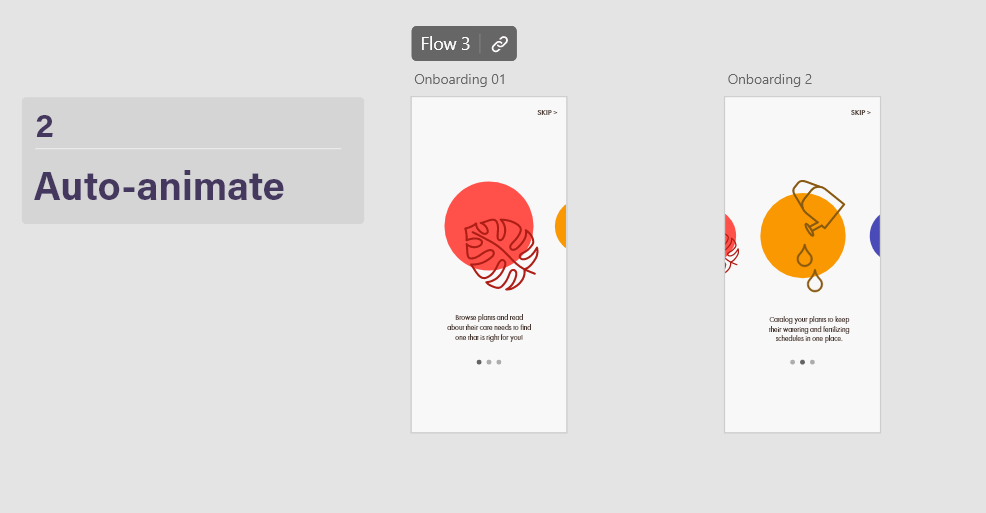
The second uses auto animate to smoothly transition between elements that are the same yet different sizes. Here, auto-animate is used to click through a gallery horizontally, making the selected element larger and move to the center of the screen. Even though the prototype is moving between two art boards, the auto-animate setting makes it appear as if the action is happening all on one screen because of how smooth it is.
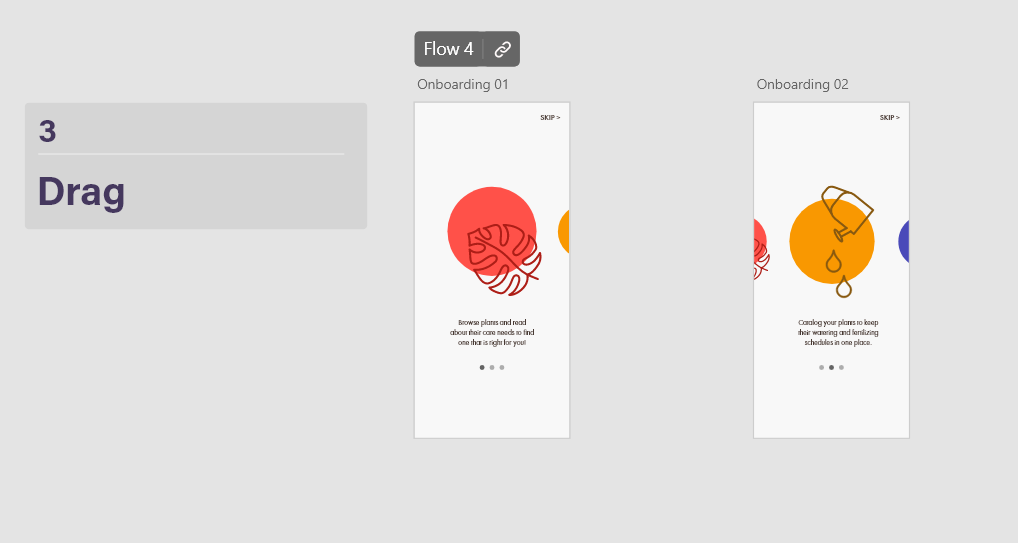
For the third, the drag trigger is used to create a similar effect with elements becoming larger when they are selected. This is a lot like the second step except users are able to drag through the screen instead of tap. The drag feature is more useful for mobile screens since it works with one quick swipe, and is easier than tapping a small area, which may be harder to do for some users.
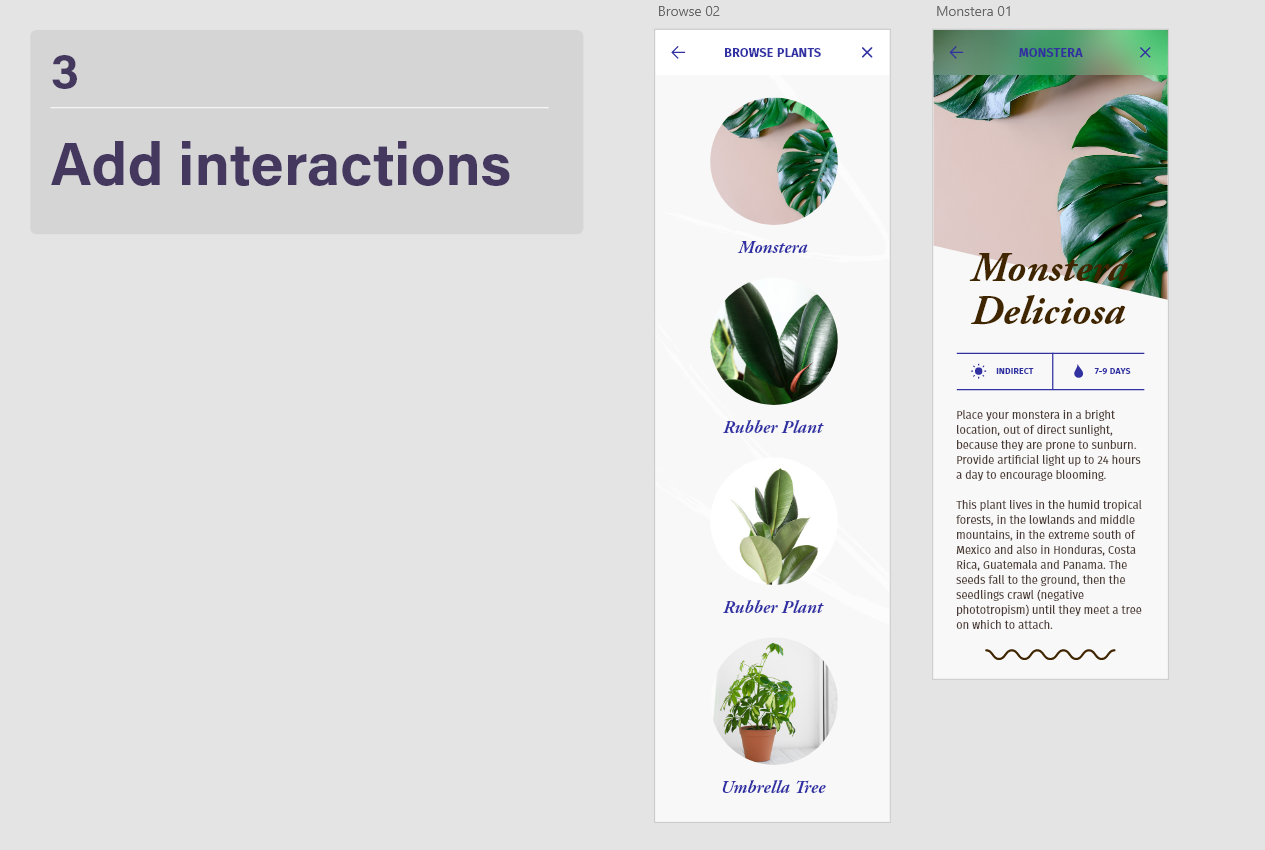
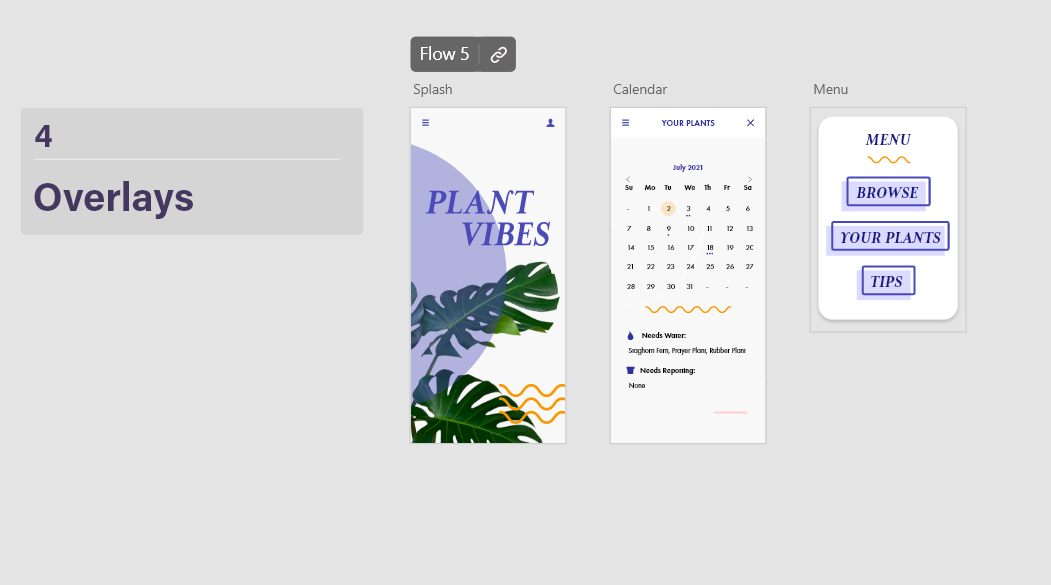
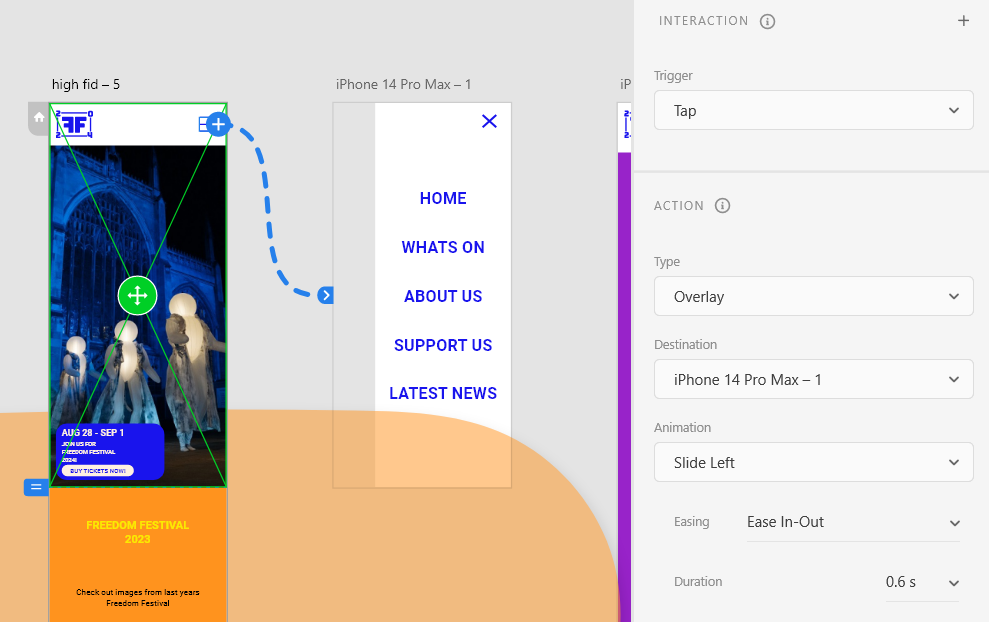
The fourth is an overlay. An overlay action uses a separate art board that has a transparent background, so that elements look like their hovering over the original art board. The overlay animation is good for displaying menus, which is what it has been used for here, after clicking on a burger menu to trigger the animation.
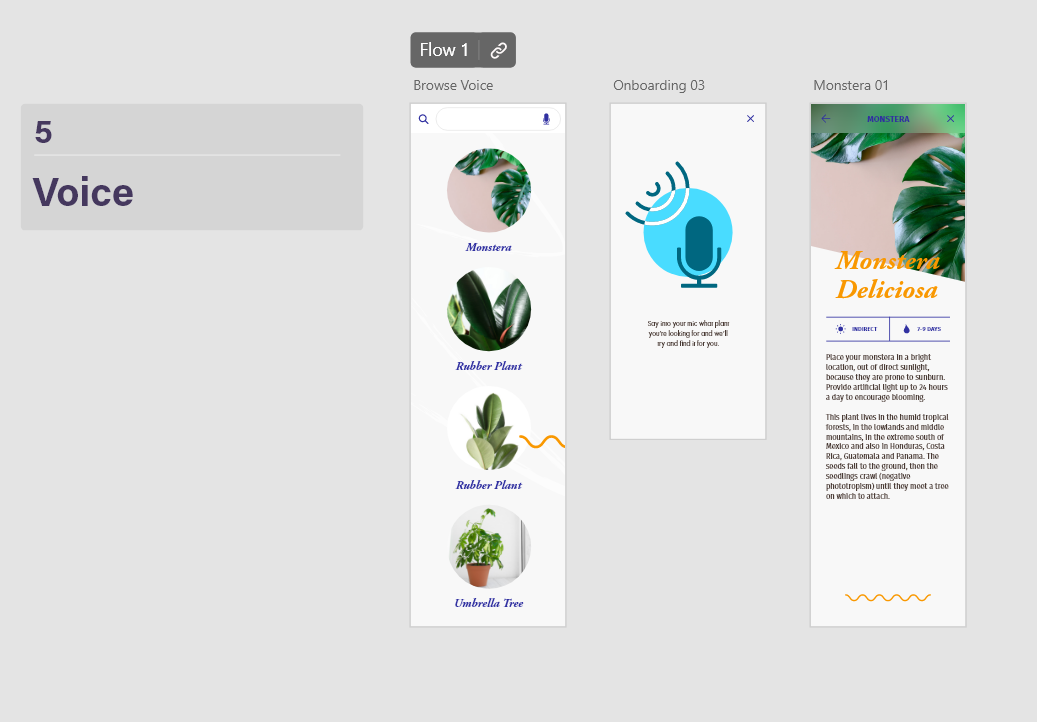
The last uses voice activated commands. It is triggered by clicking the microphone icon, which then takes you to a screen which gets you to press the space bar and say what plant you are looking for. This feature is helpful because it is accessible to people who may have a harder time reading, or cant see the text very well and aren’t sure where the plant they are looking for is.
All of these methods are helpful and I have applied some into my own work for the Freedom Festival 2024 project. For example, I have used the overlay animation to make a navigation slide in over the screen, so users can easily navigate the mobile version of the site. I have also experimented with the animation tab to make the overlay slide in from the left, where the burger menu icon is positioned.