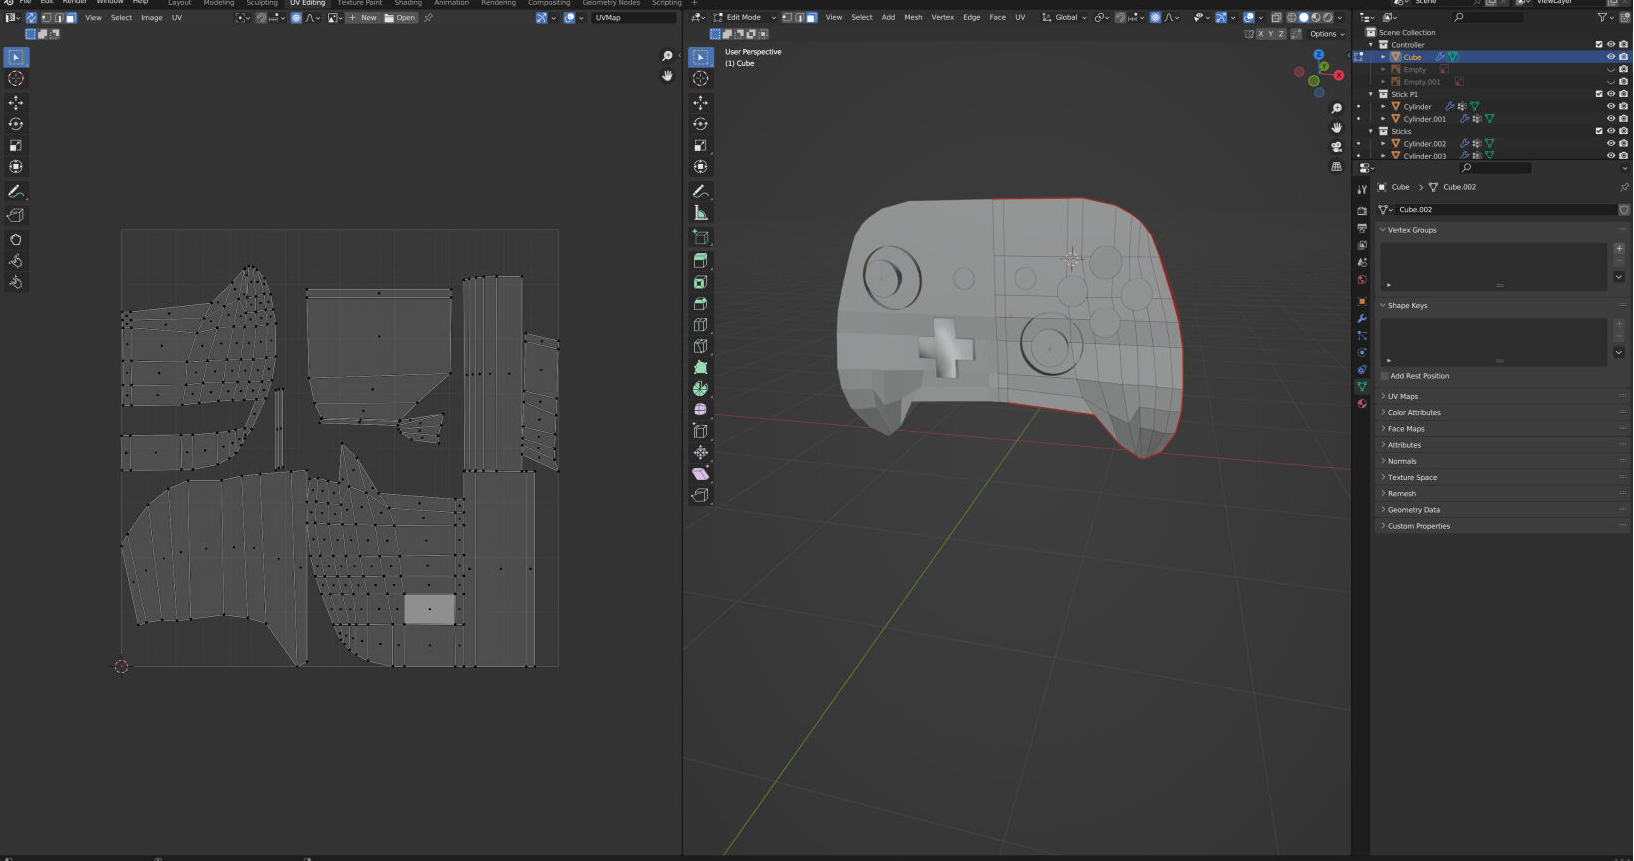
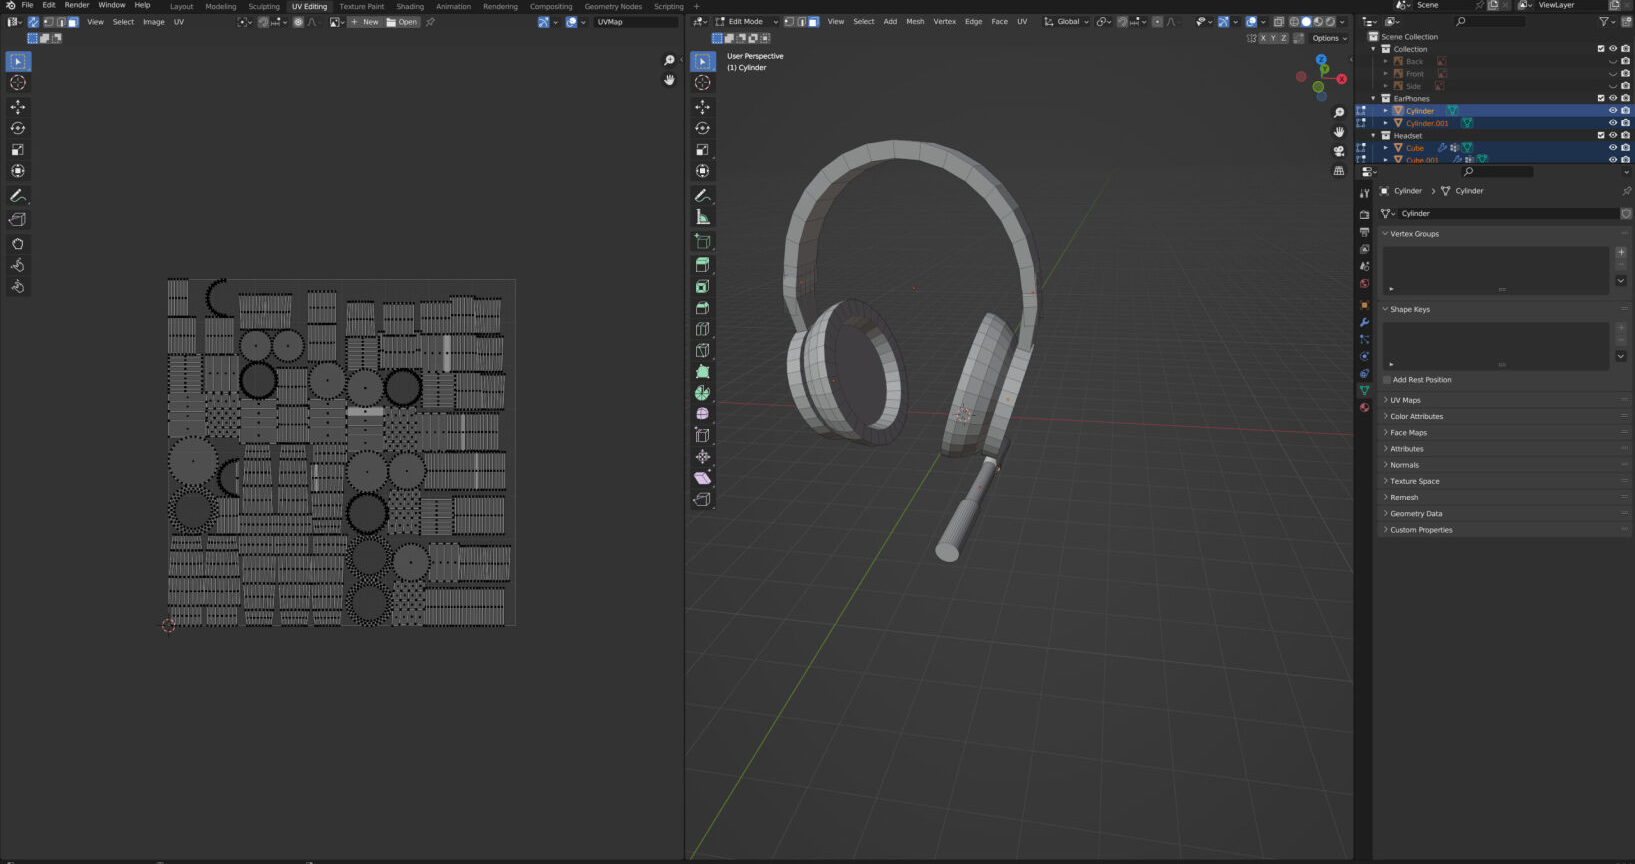
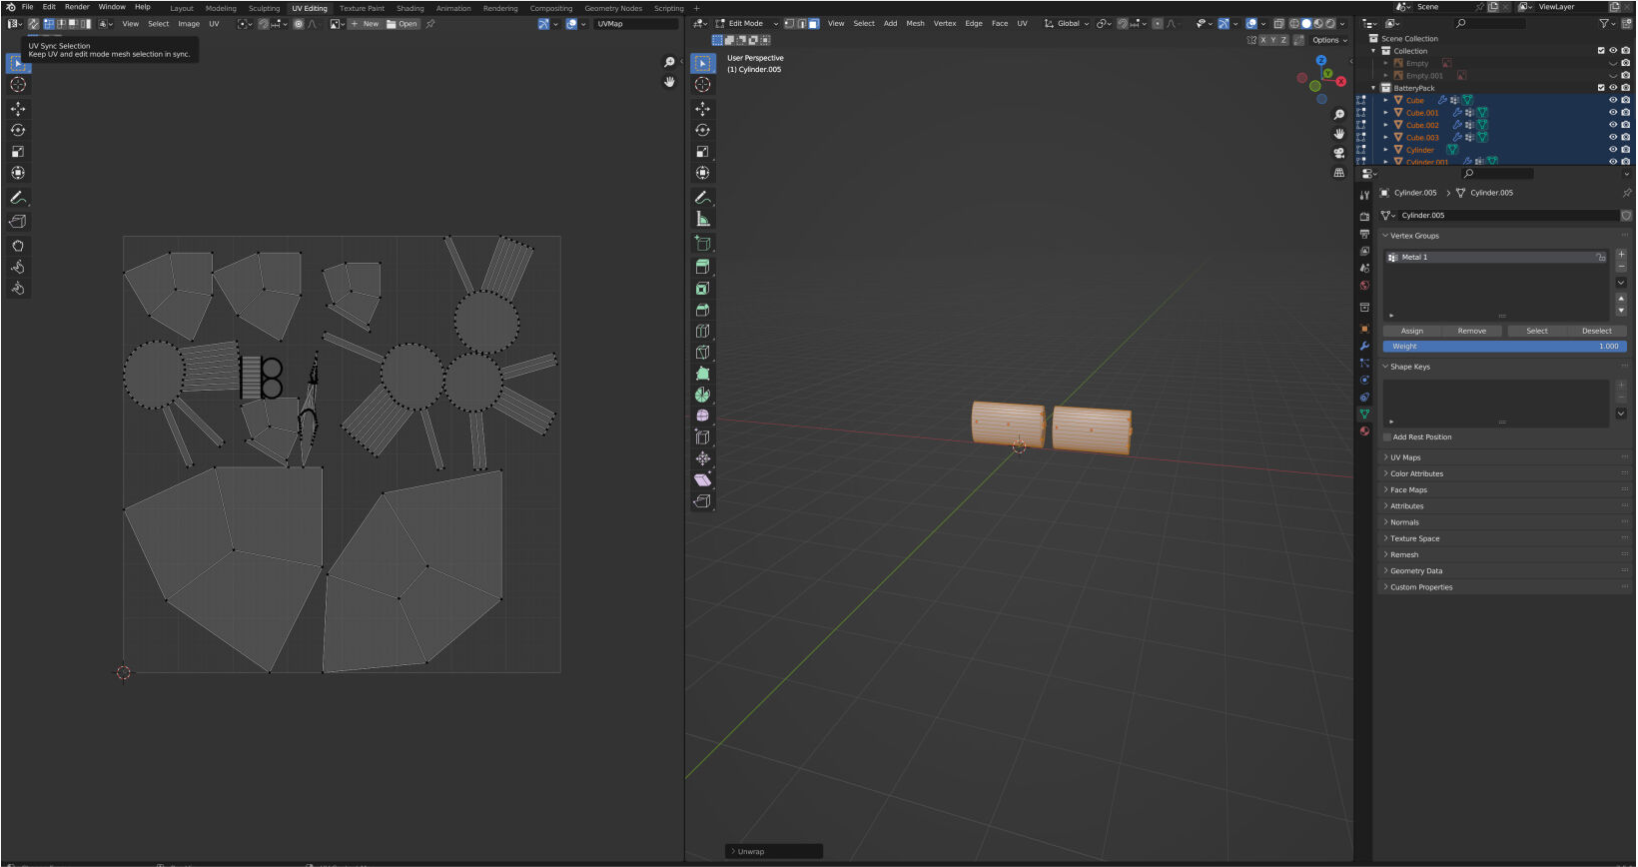
To unwrap the UVs on my products I went into the UV Editing mode and selected the edges to mark the seams before using the smart unwrap to flatten the shapes into a UV map.
Marking the UV seams
UV unwrap for Controller
UV unwrap for Headset
UV unwrap for Battery Pack
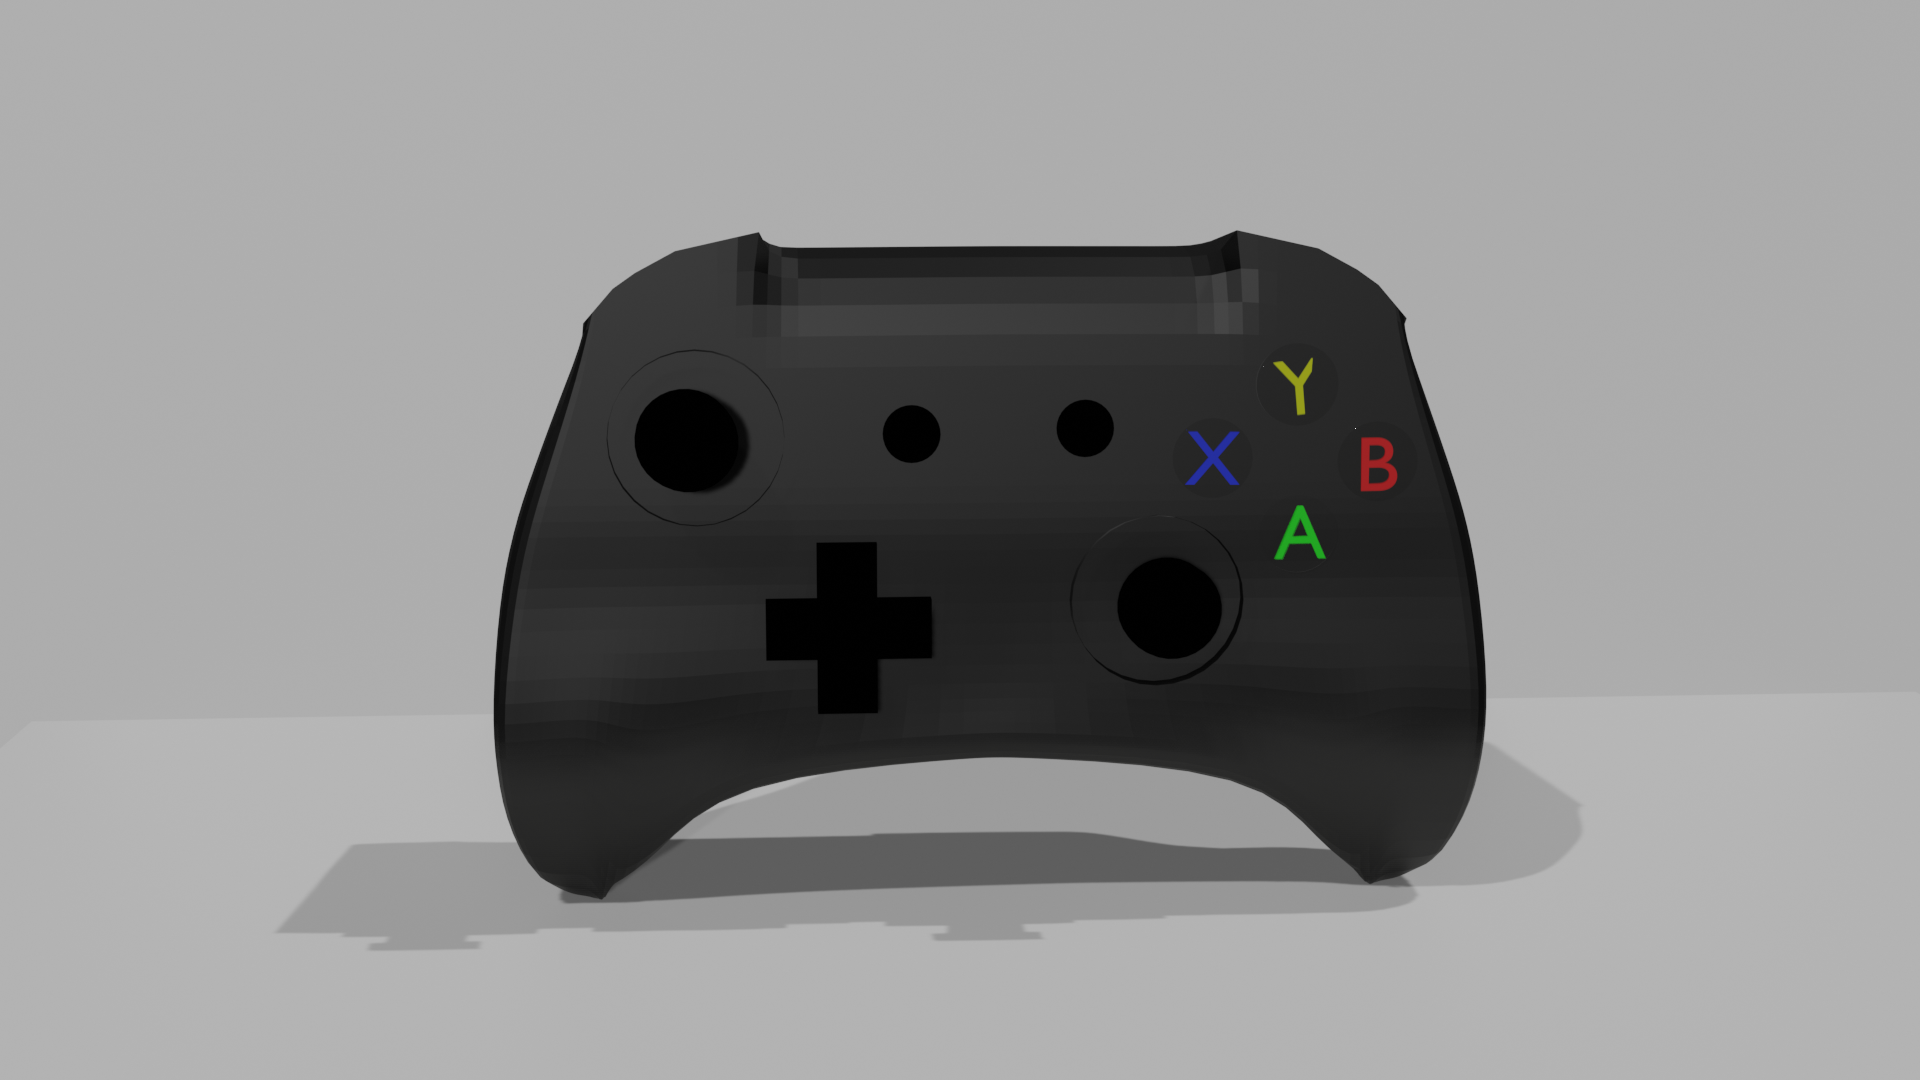
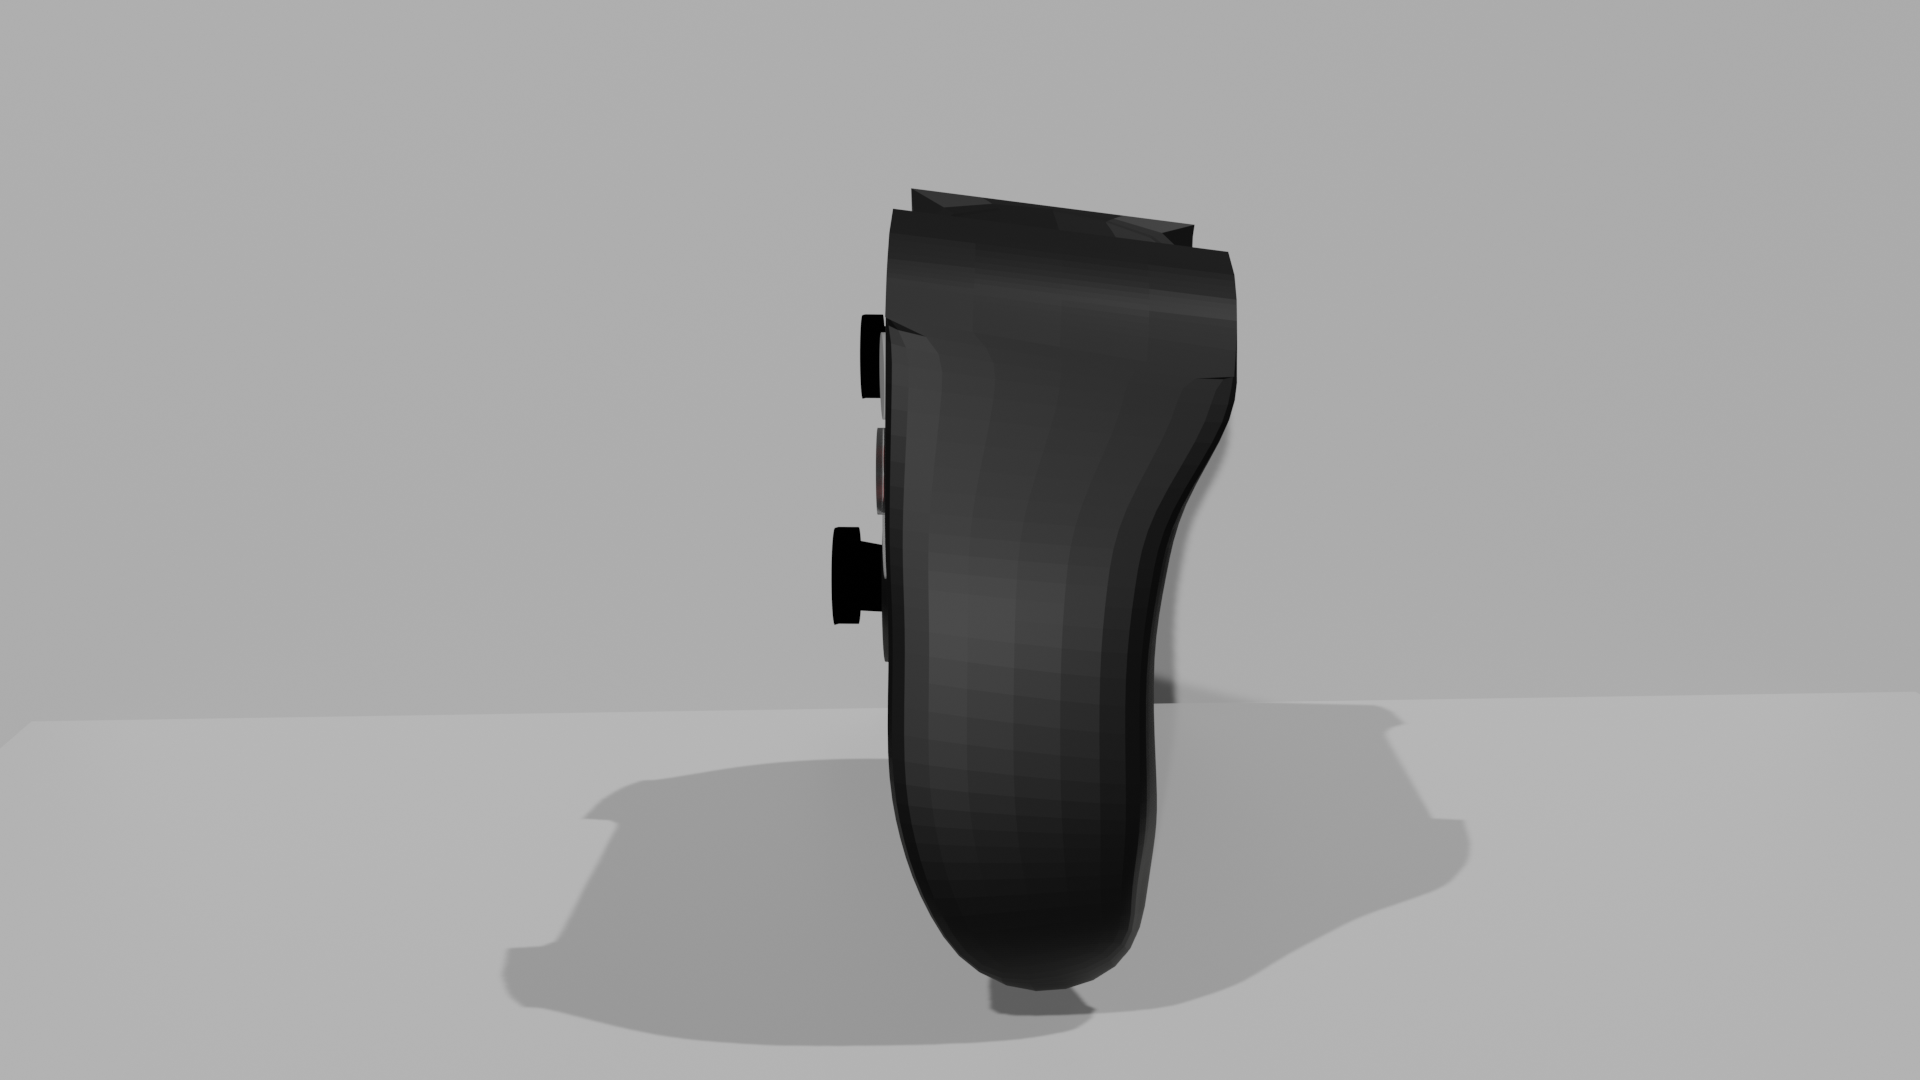
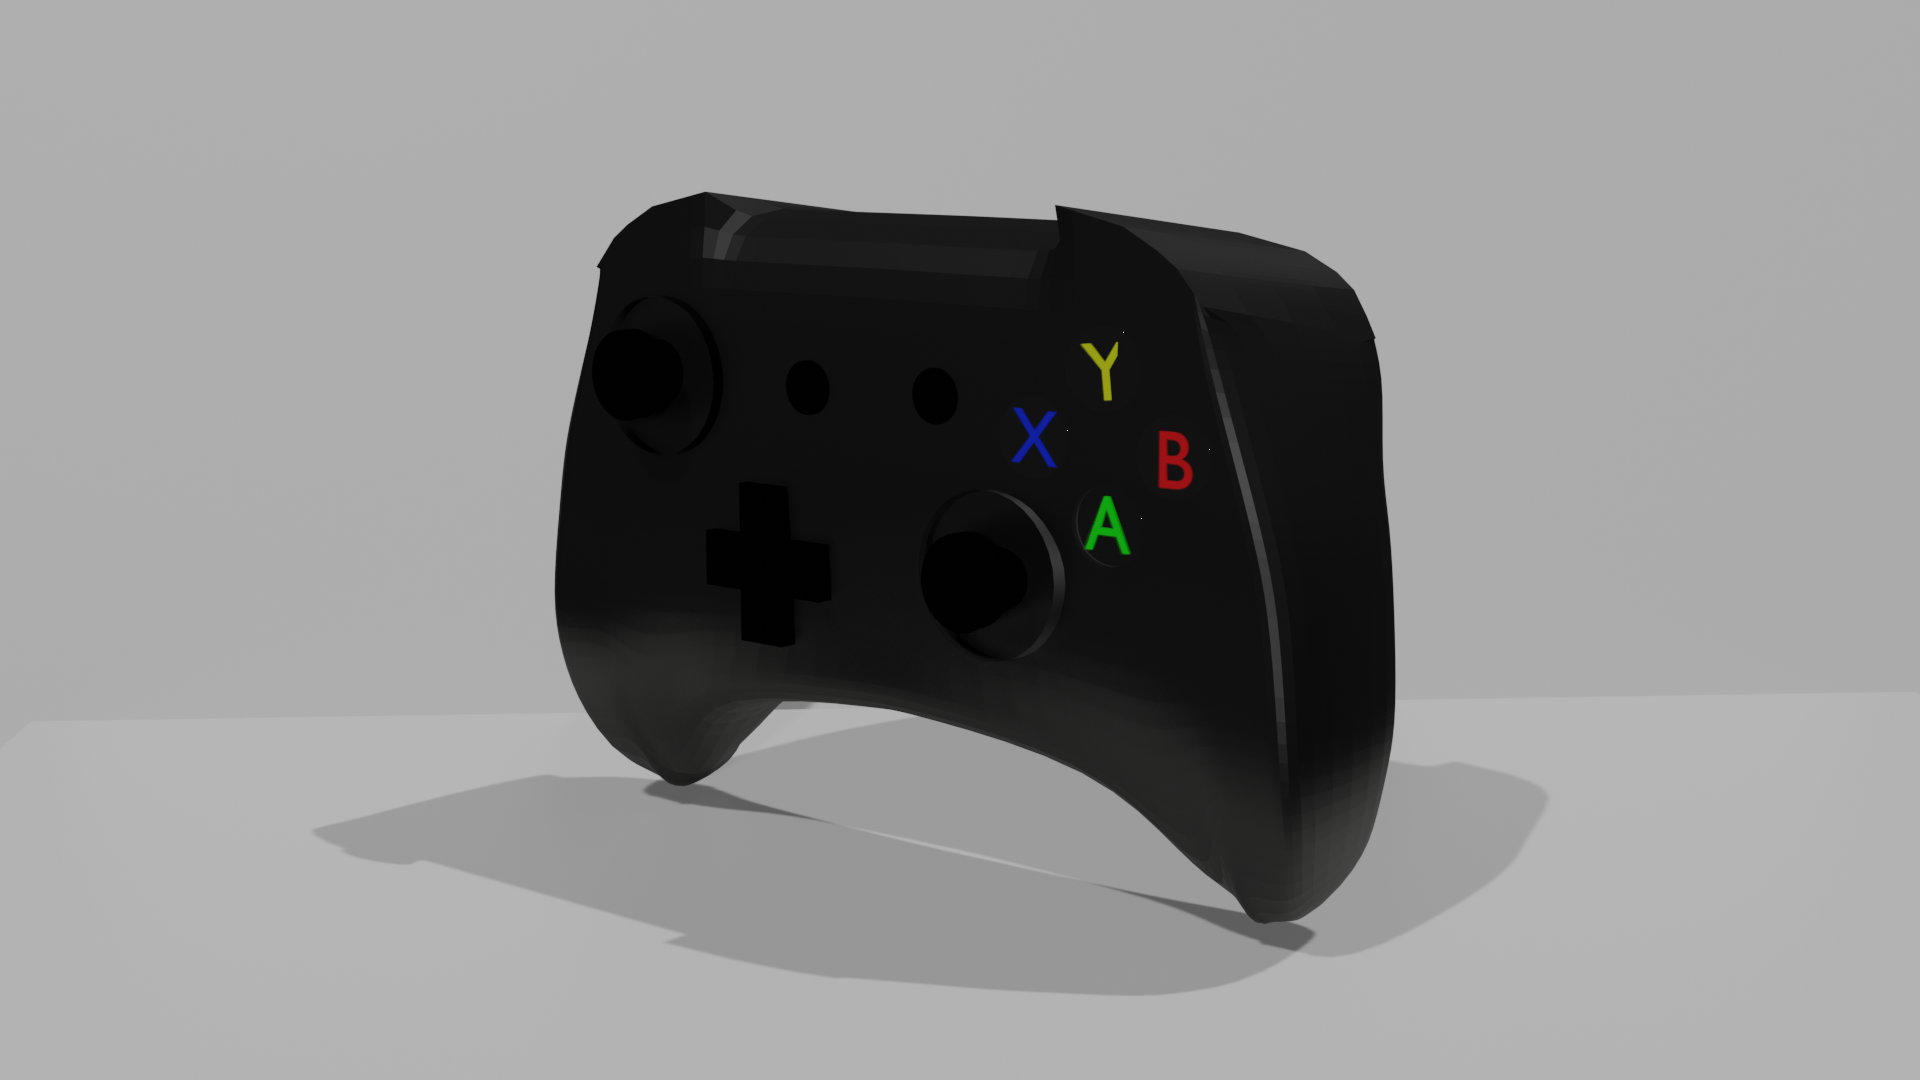
I then began adding colour and shaders to my products. I first started off with the controller. I added a black colour using the shader tab to create the general colour, and then I adjusted the shader to make the controller look more matte and less shiny. I also added shaders to the joysticks and the d-pad in a similar way. For the buttons, I added the letters in their correct colours and used shaders to make a glass texture. Unfortunately, the glass texture would only show when rendered in cycles and so I could not use this in the end due to render times and had to just have the buttons appear flatter.
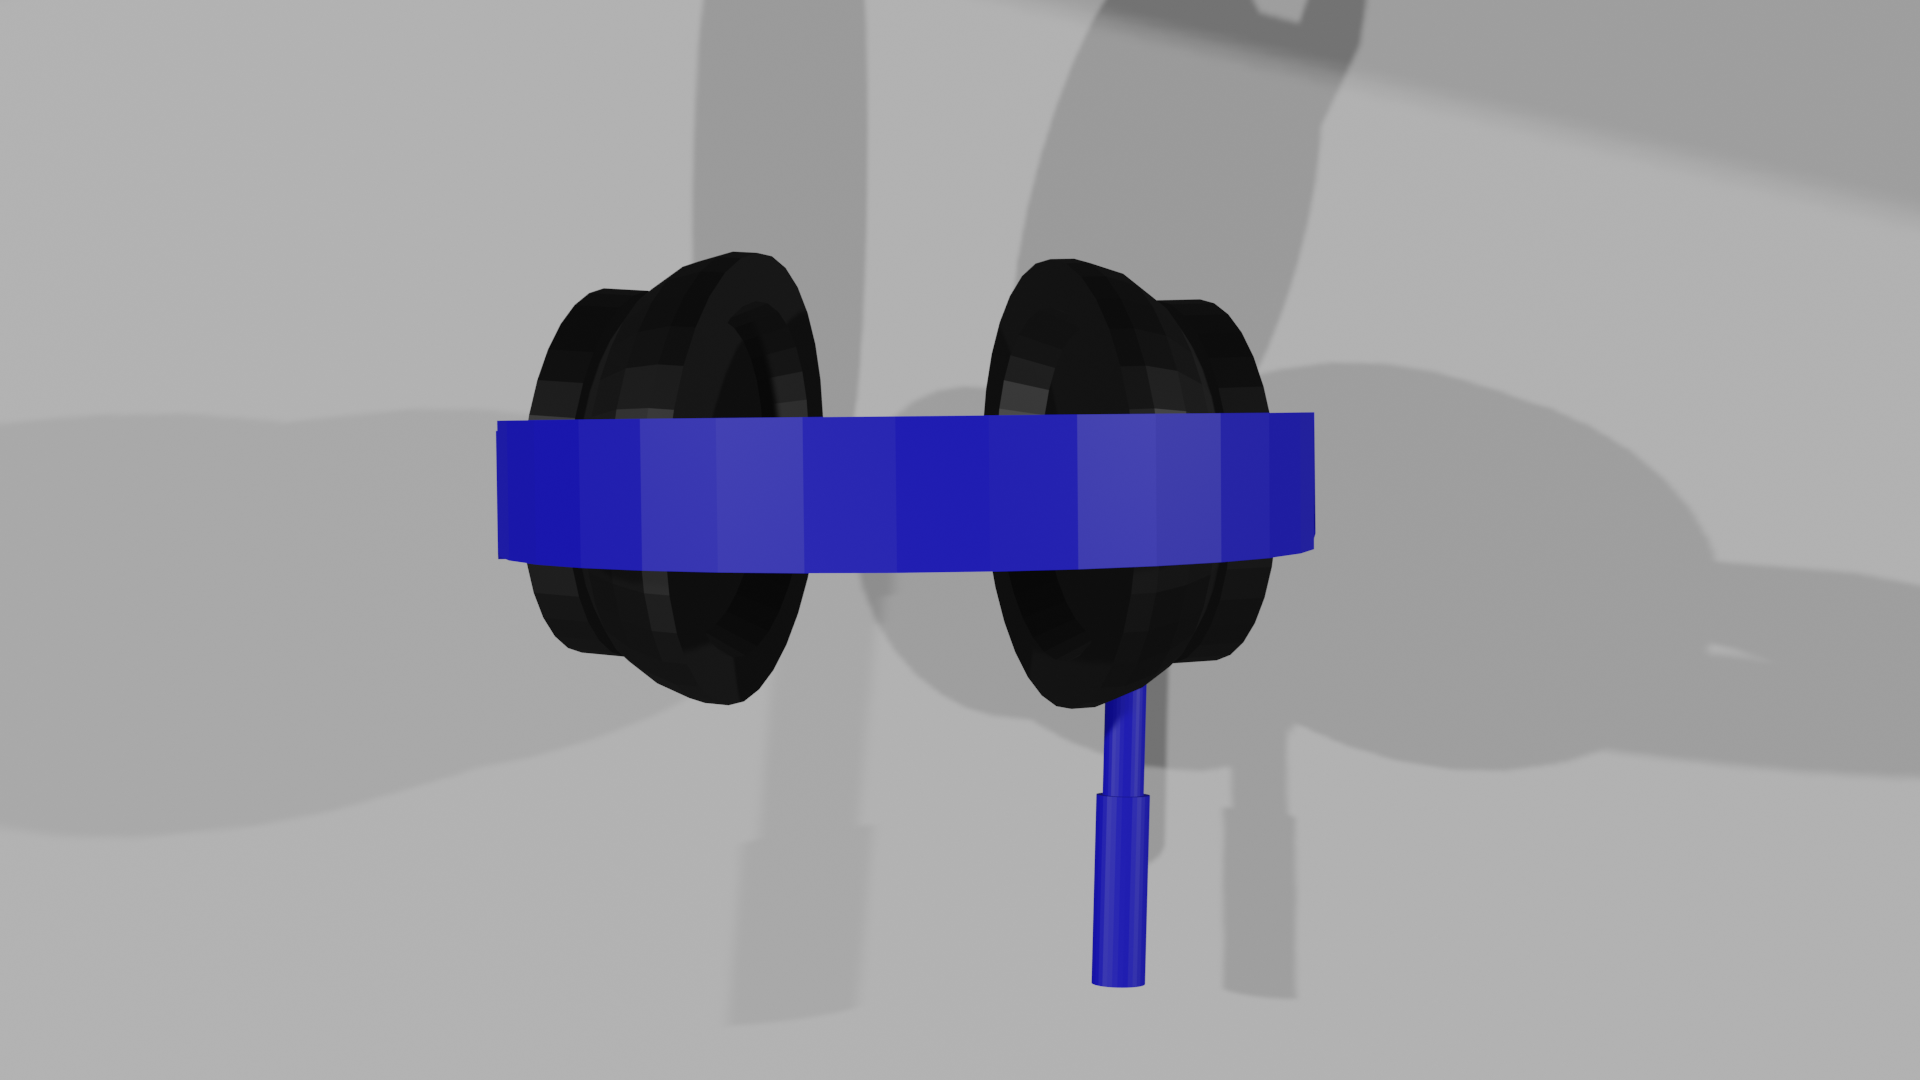
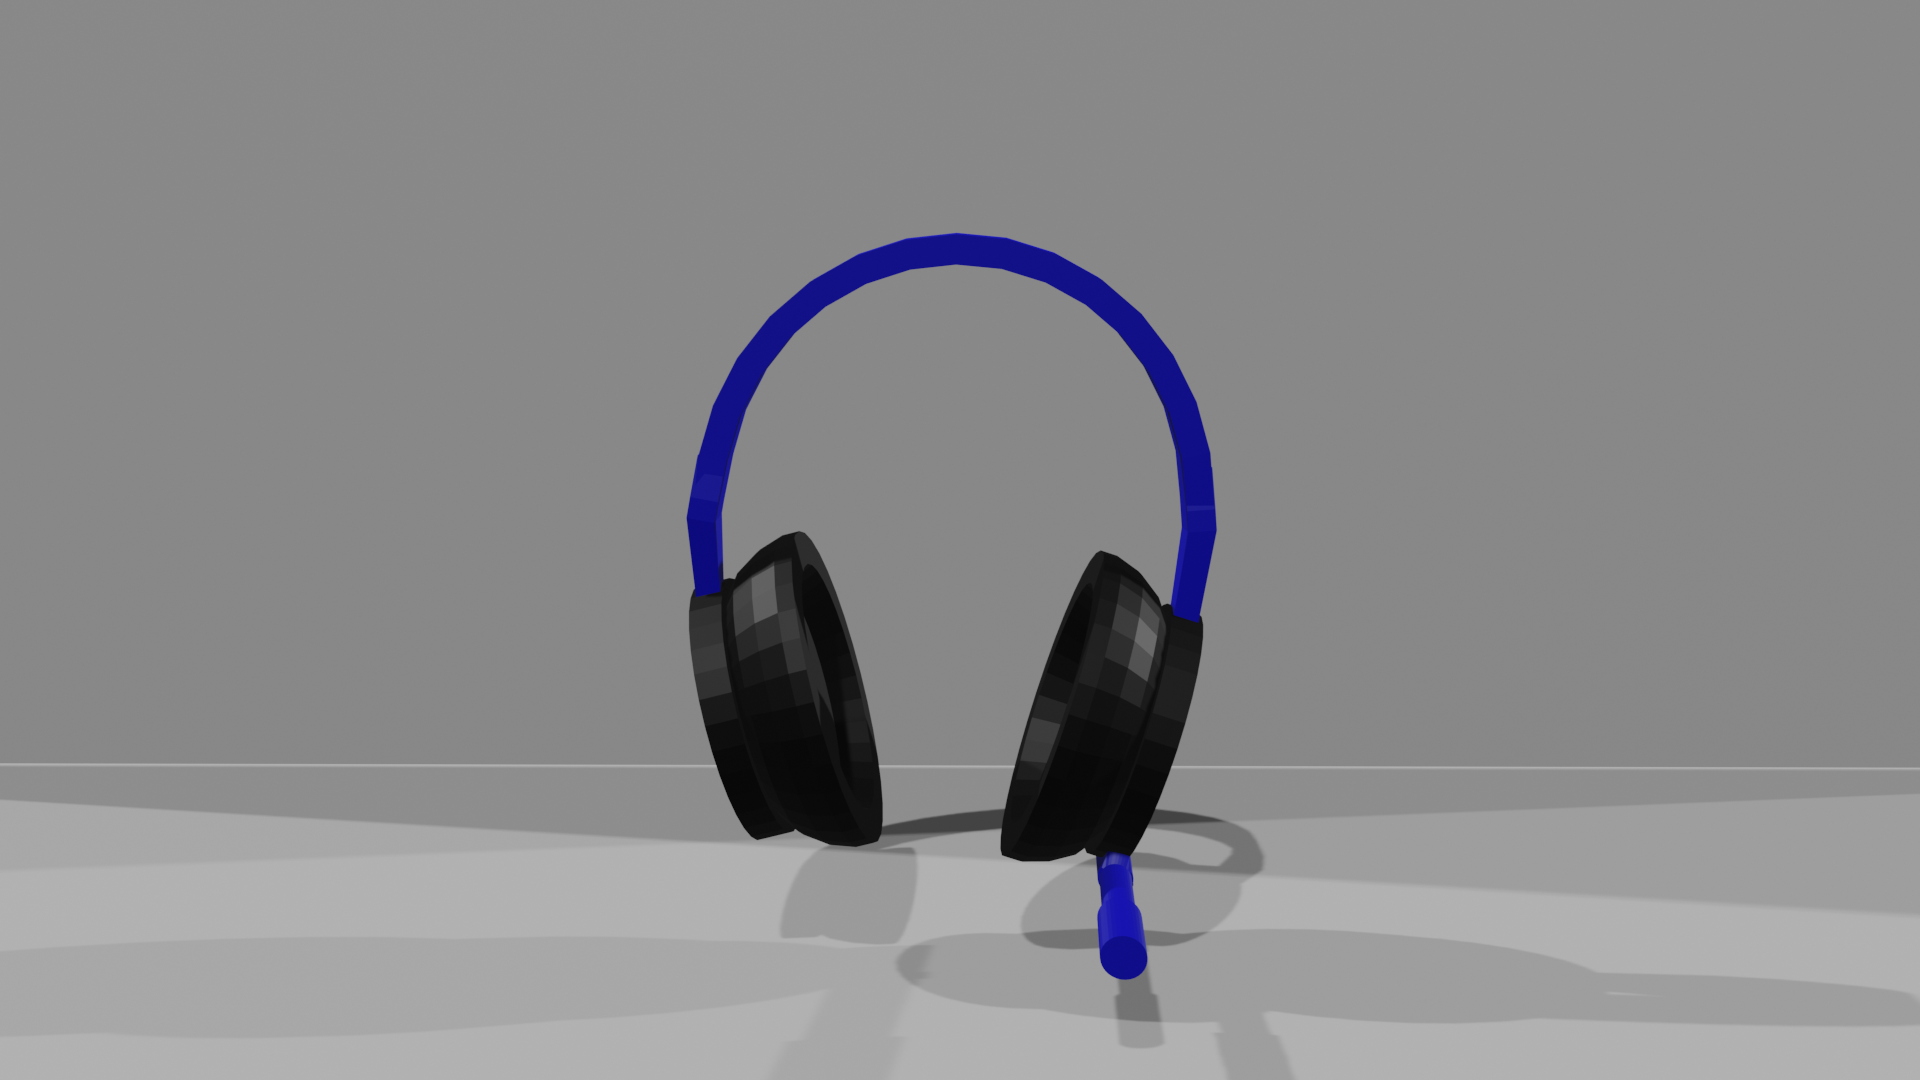
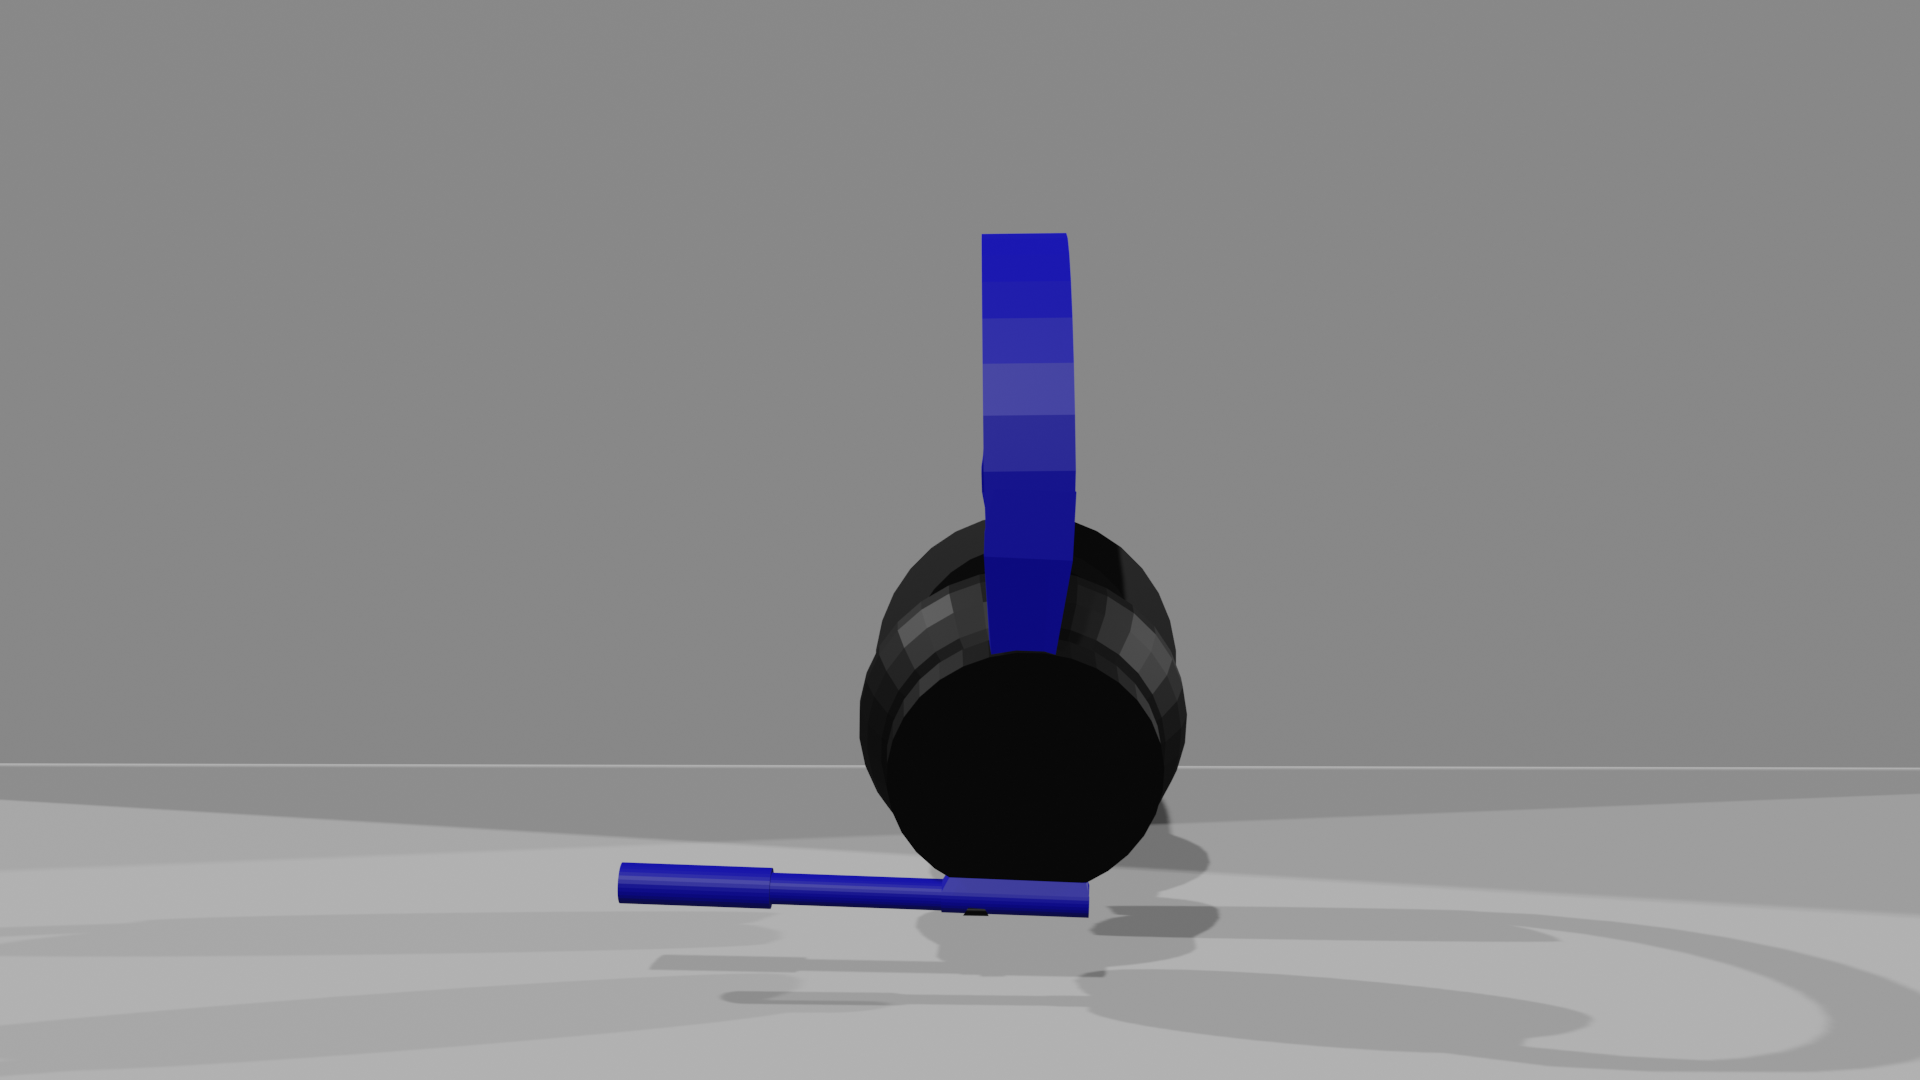
For the headset, I added black for the earpads and blue for the headband, and the microphone, which was both blue and black.I gave it all a matte texture again, except for the foam part inside the earpads. I tried to create the foam texture, but it did not go as I wanted it to and did not look like foam.
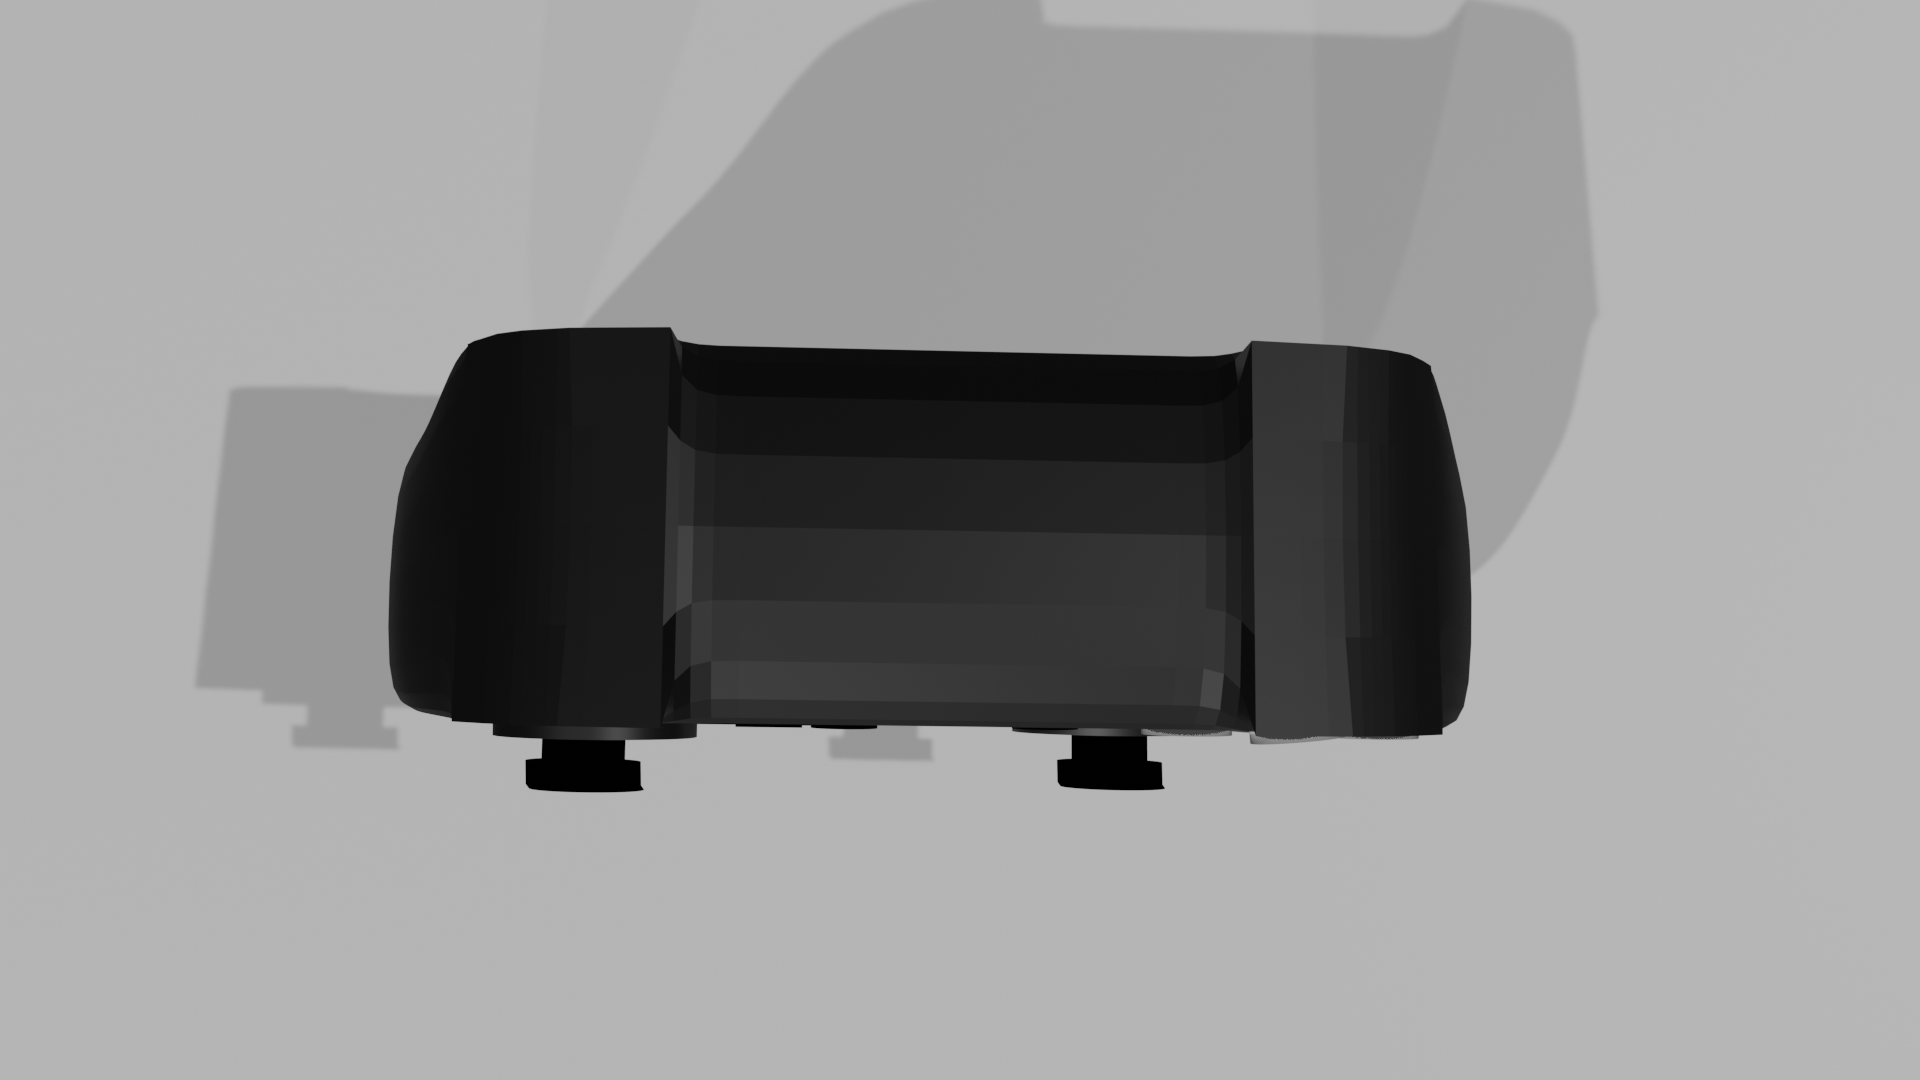
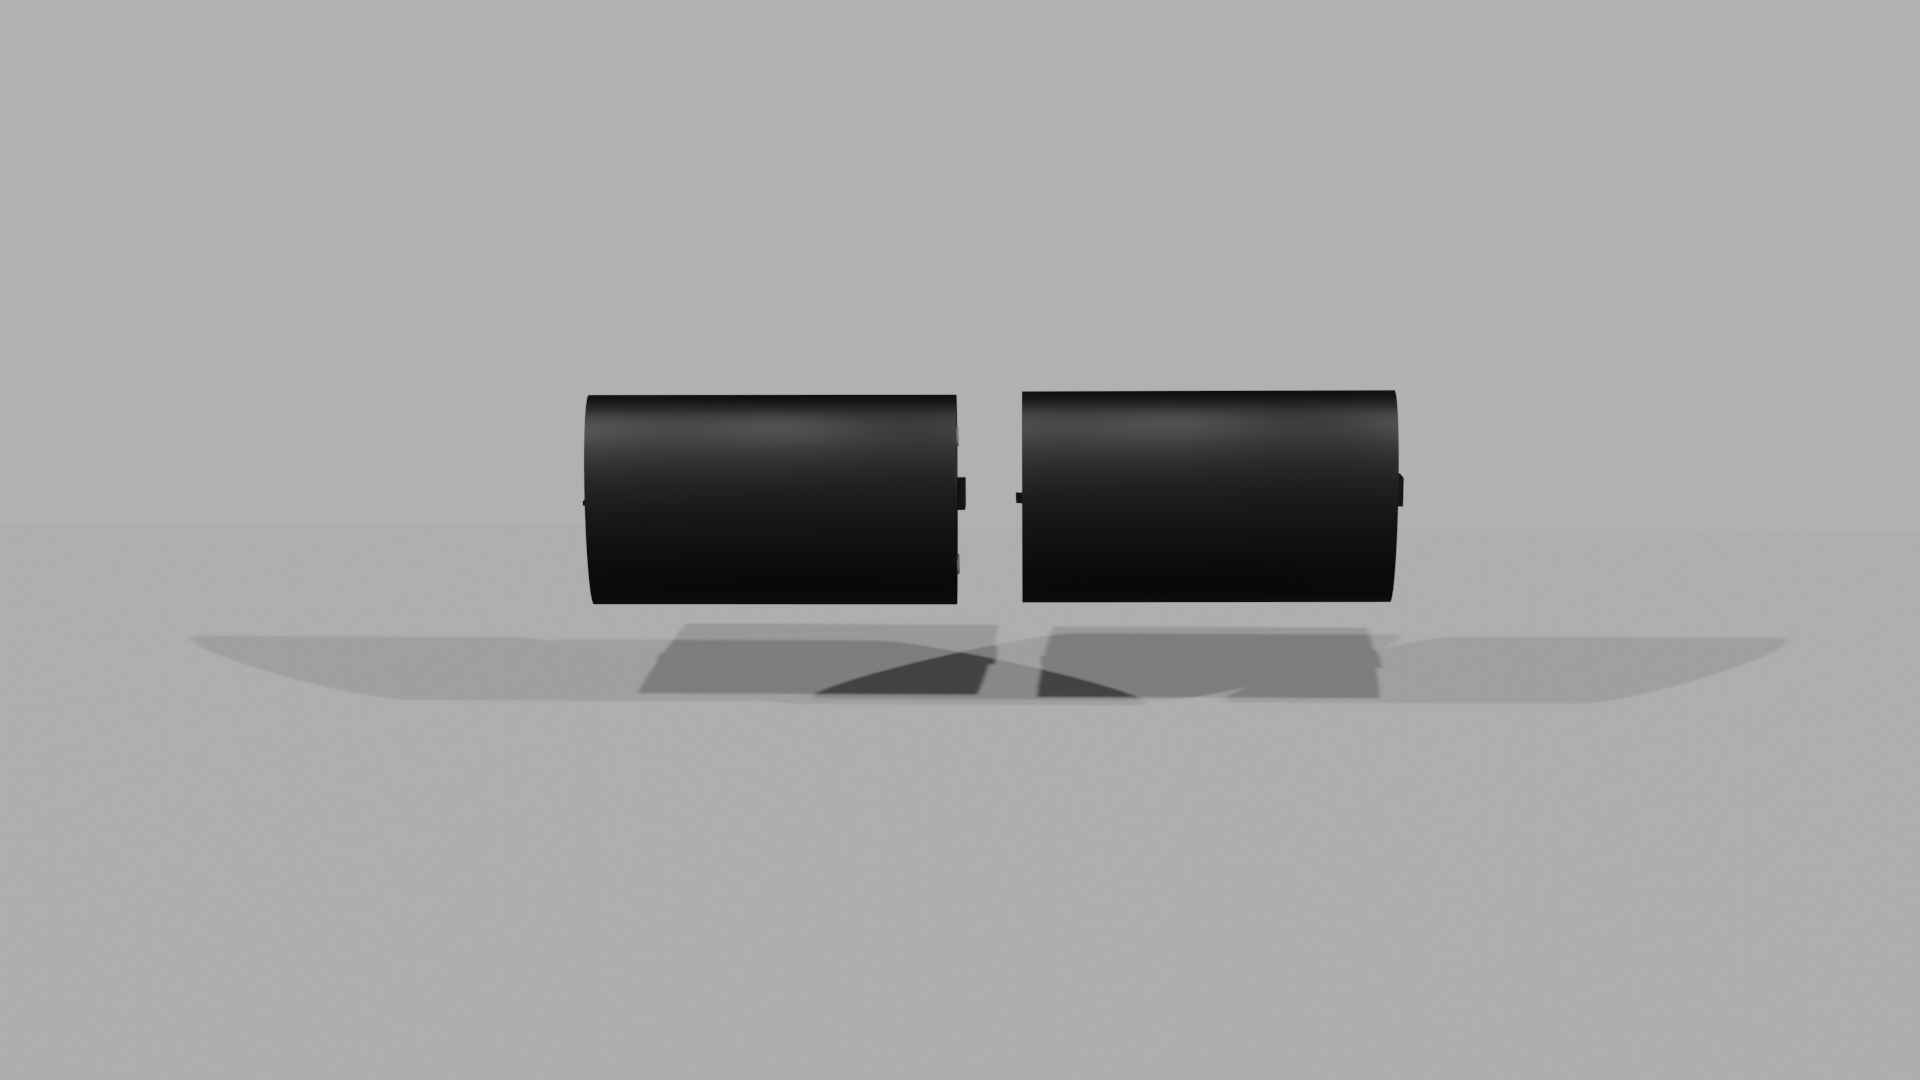
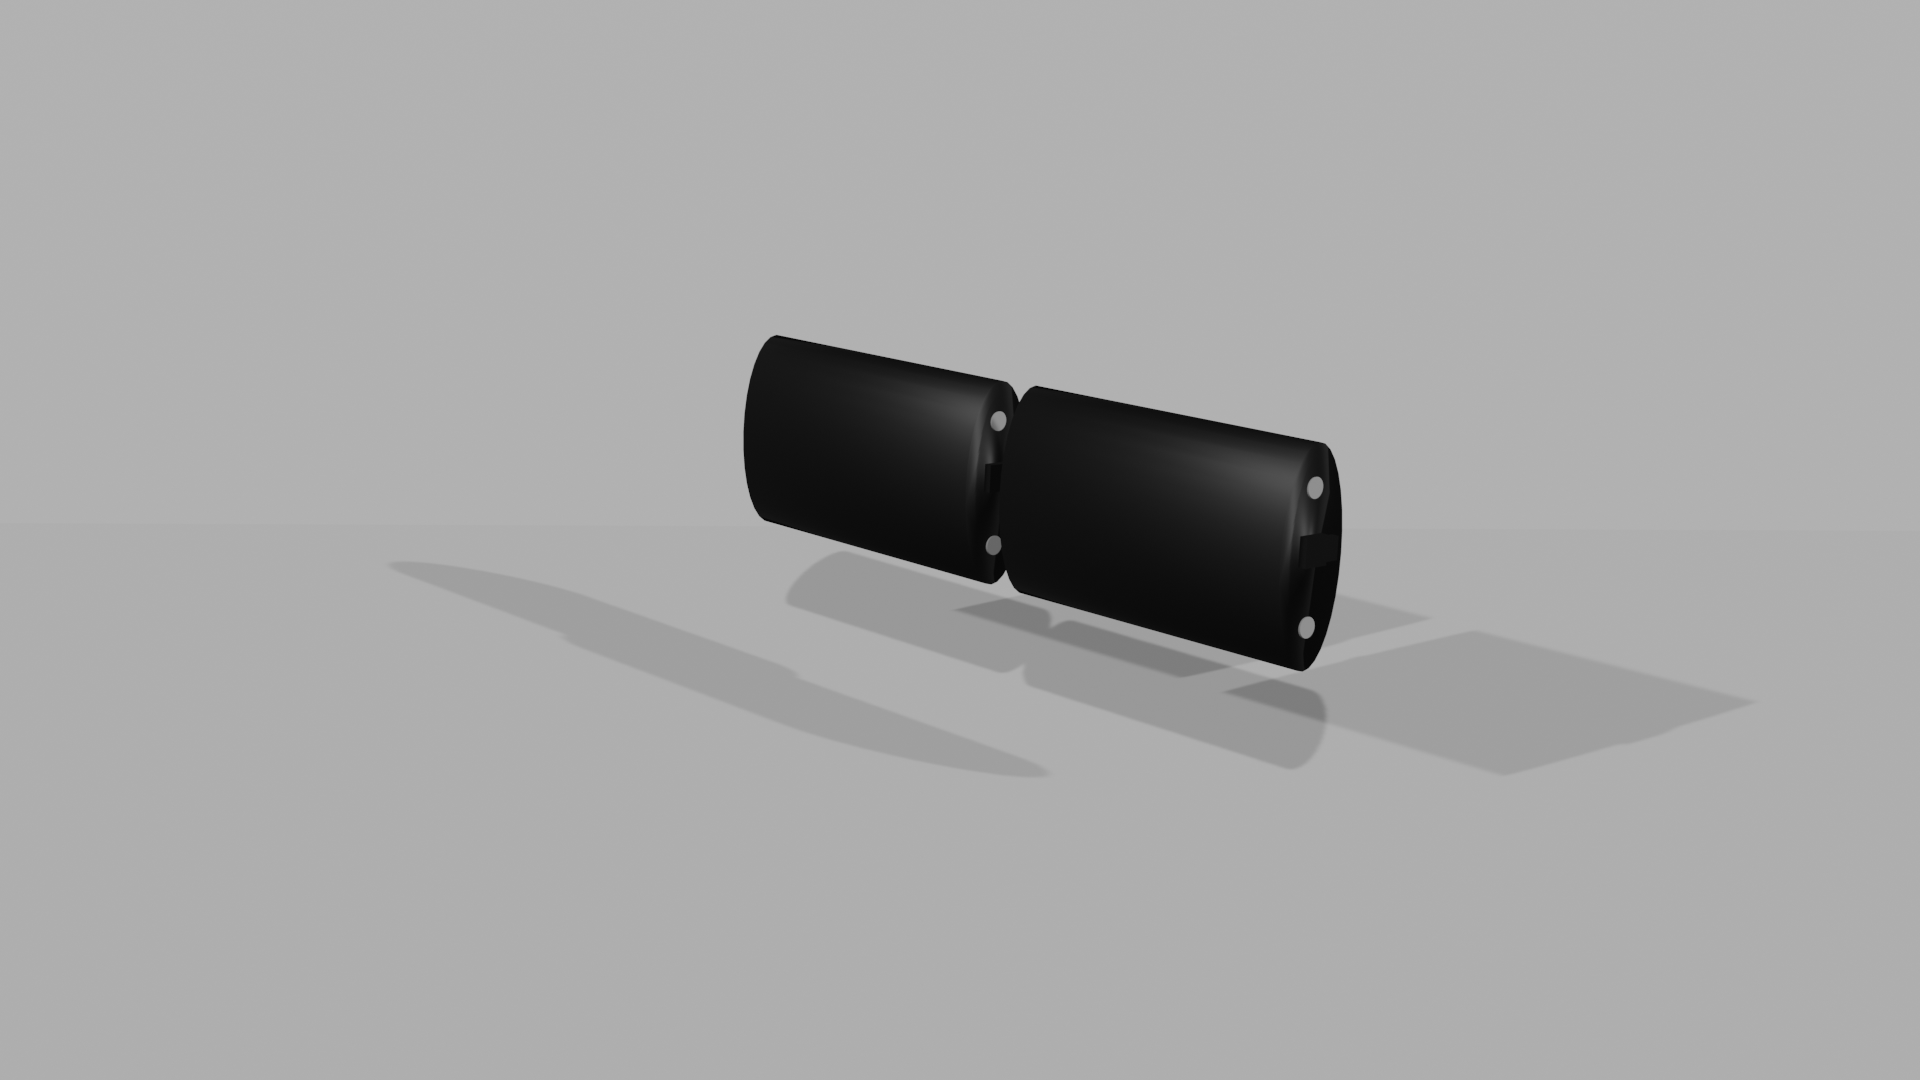
I then moved onto the battery packs. I used black and silver for this. I again made this matte, except for the polymers which are more metallic.
To render some shots of my final products, I added a set up with a floor and backdrop and some lights to get images of the finished products. I used the camera to get different angles which show the products from all viewpoints so you can see how I have added texture to them.