When I started to make my 3D packaging models, I first looked at existing products and their design so I could understand how they are put together and I could see the details of their shapes.
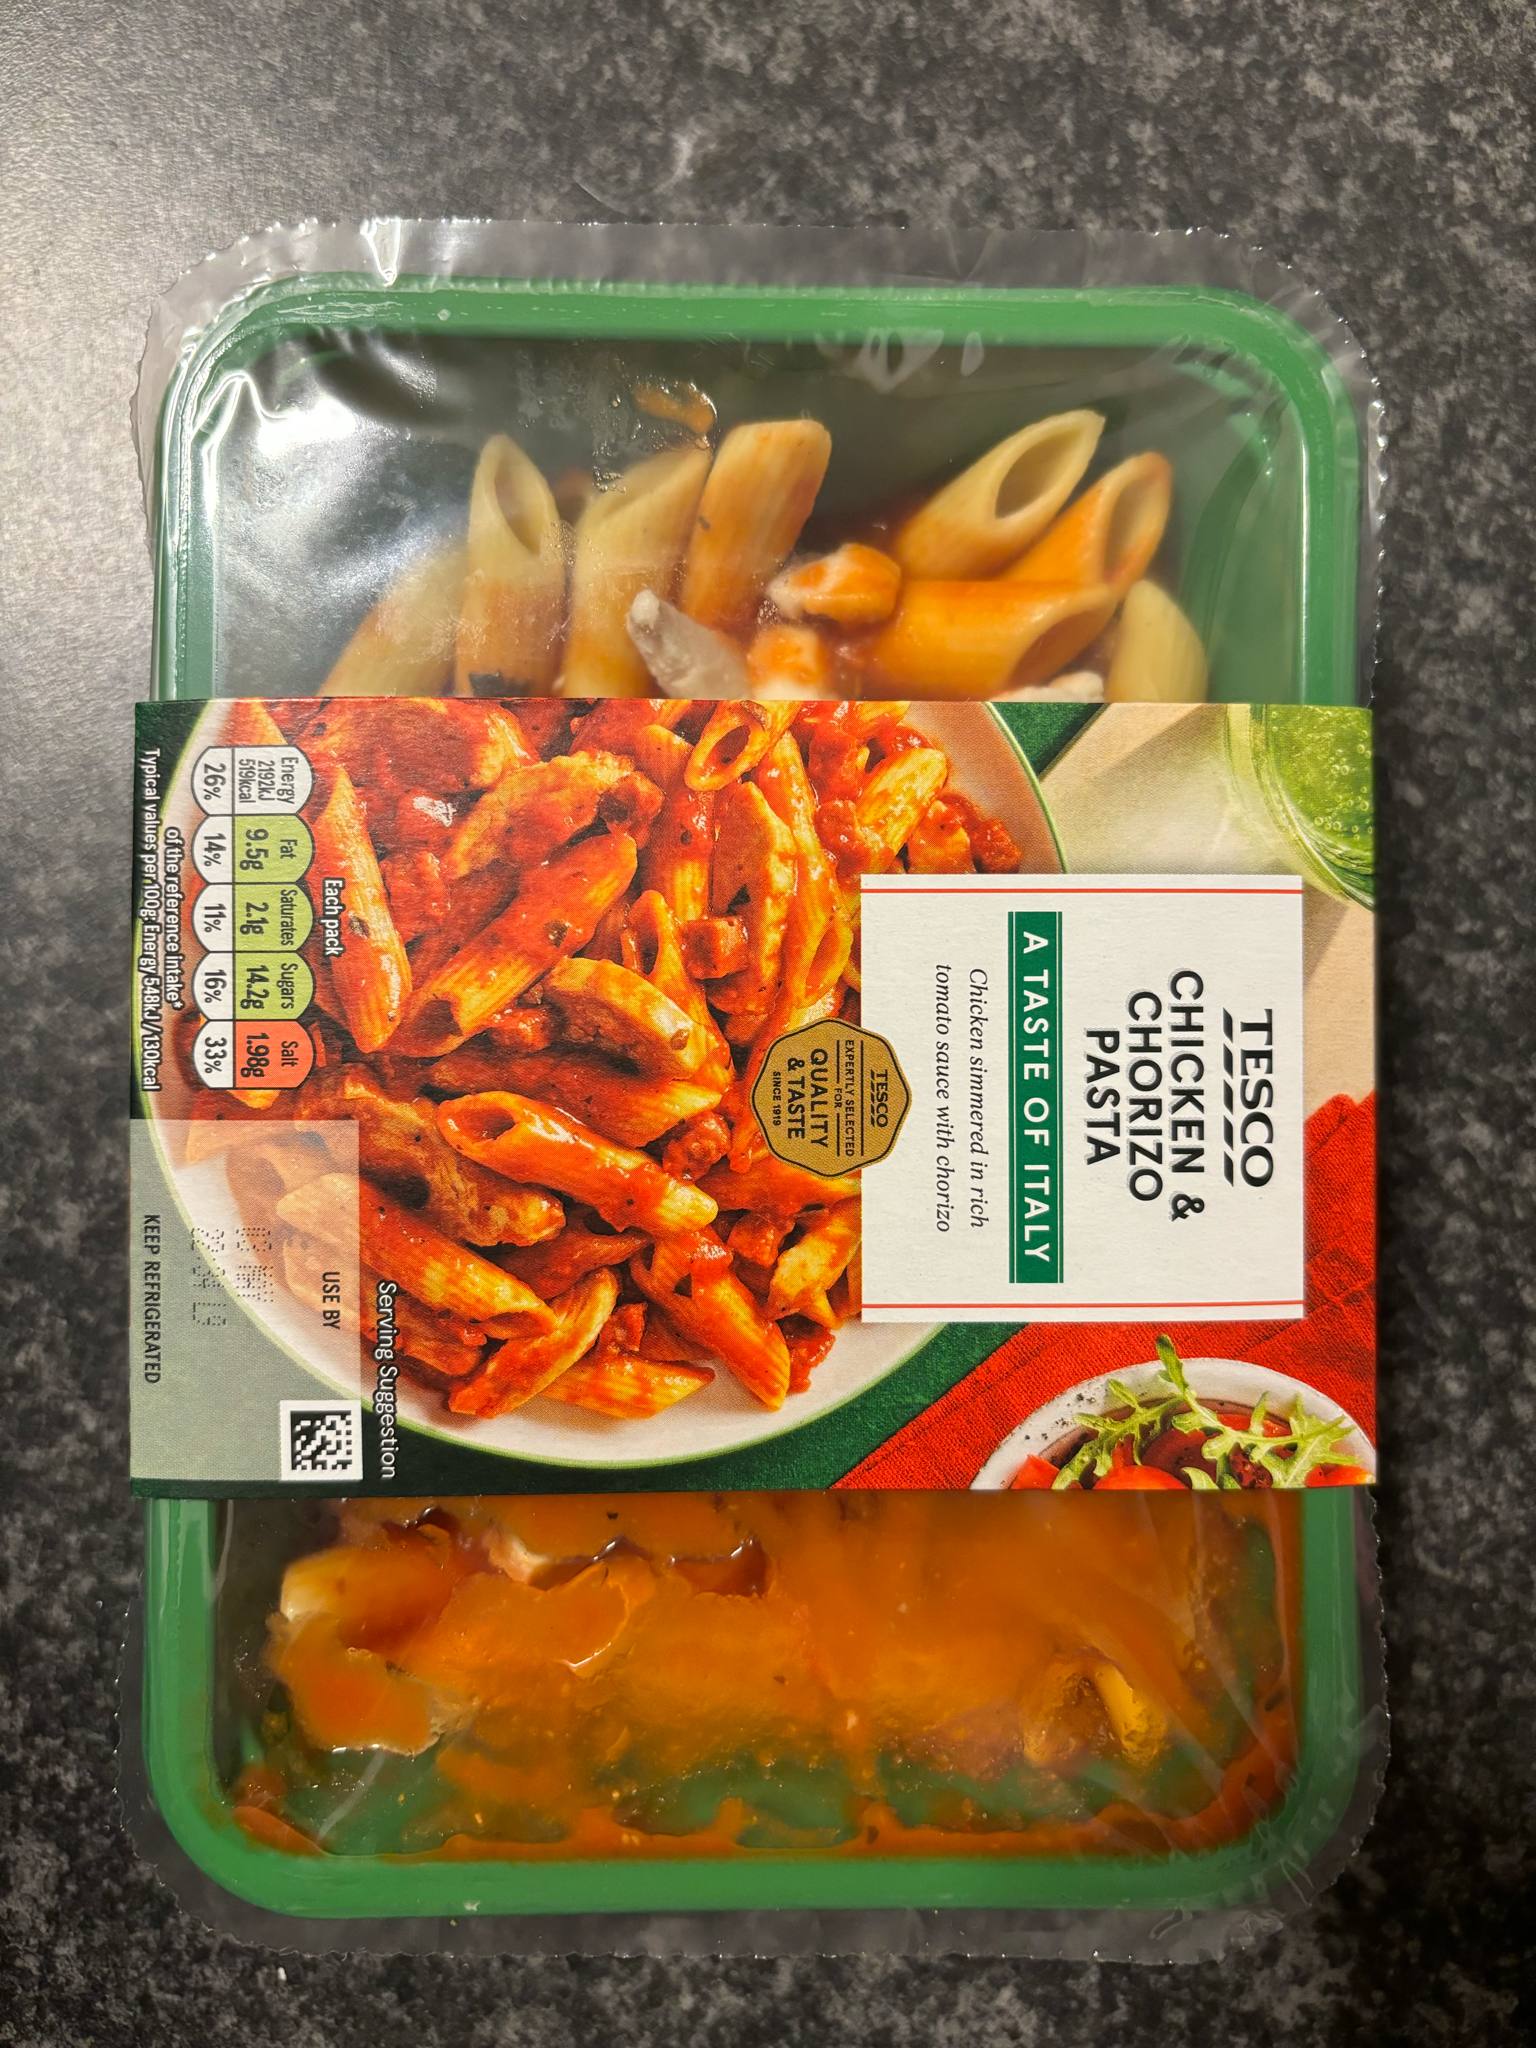
Ready Meal Front View
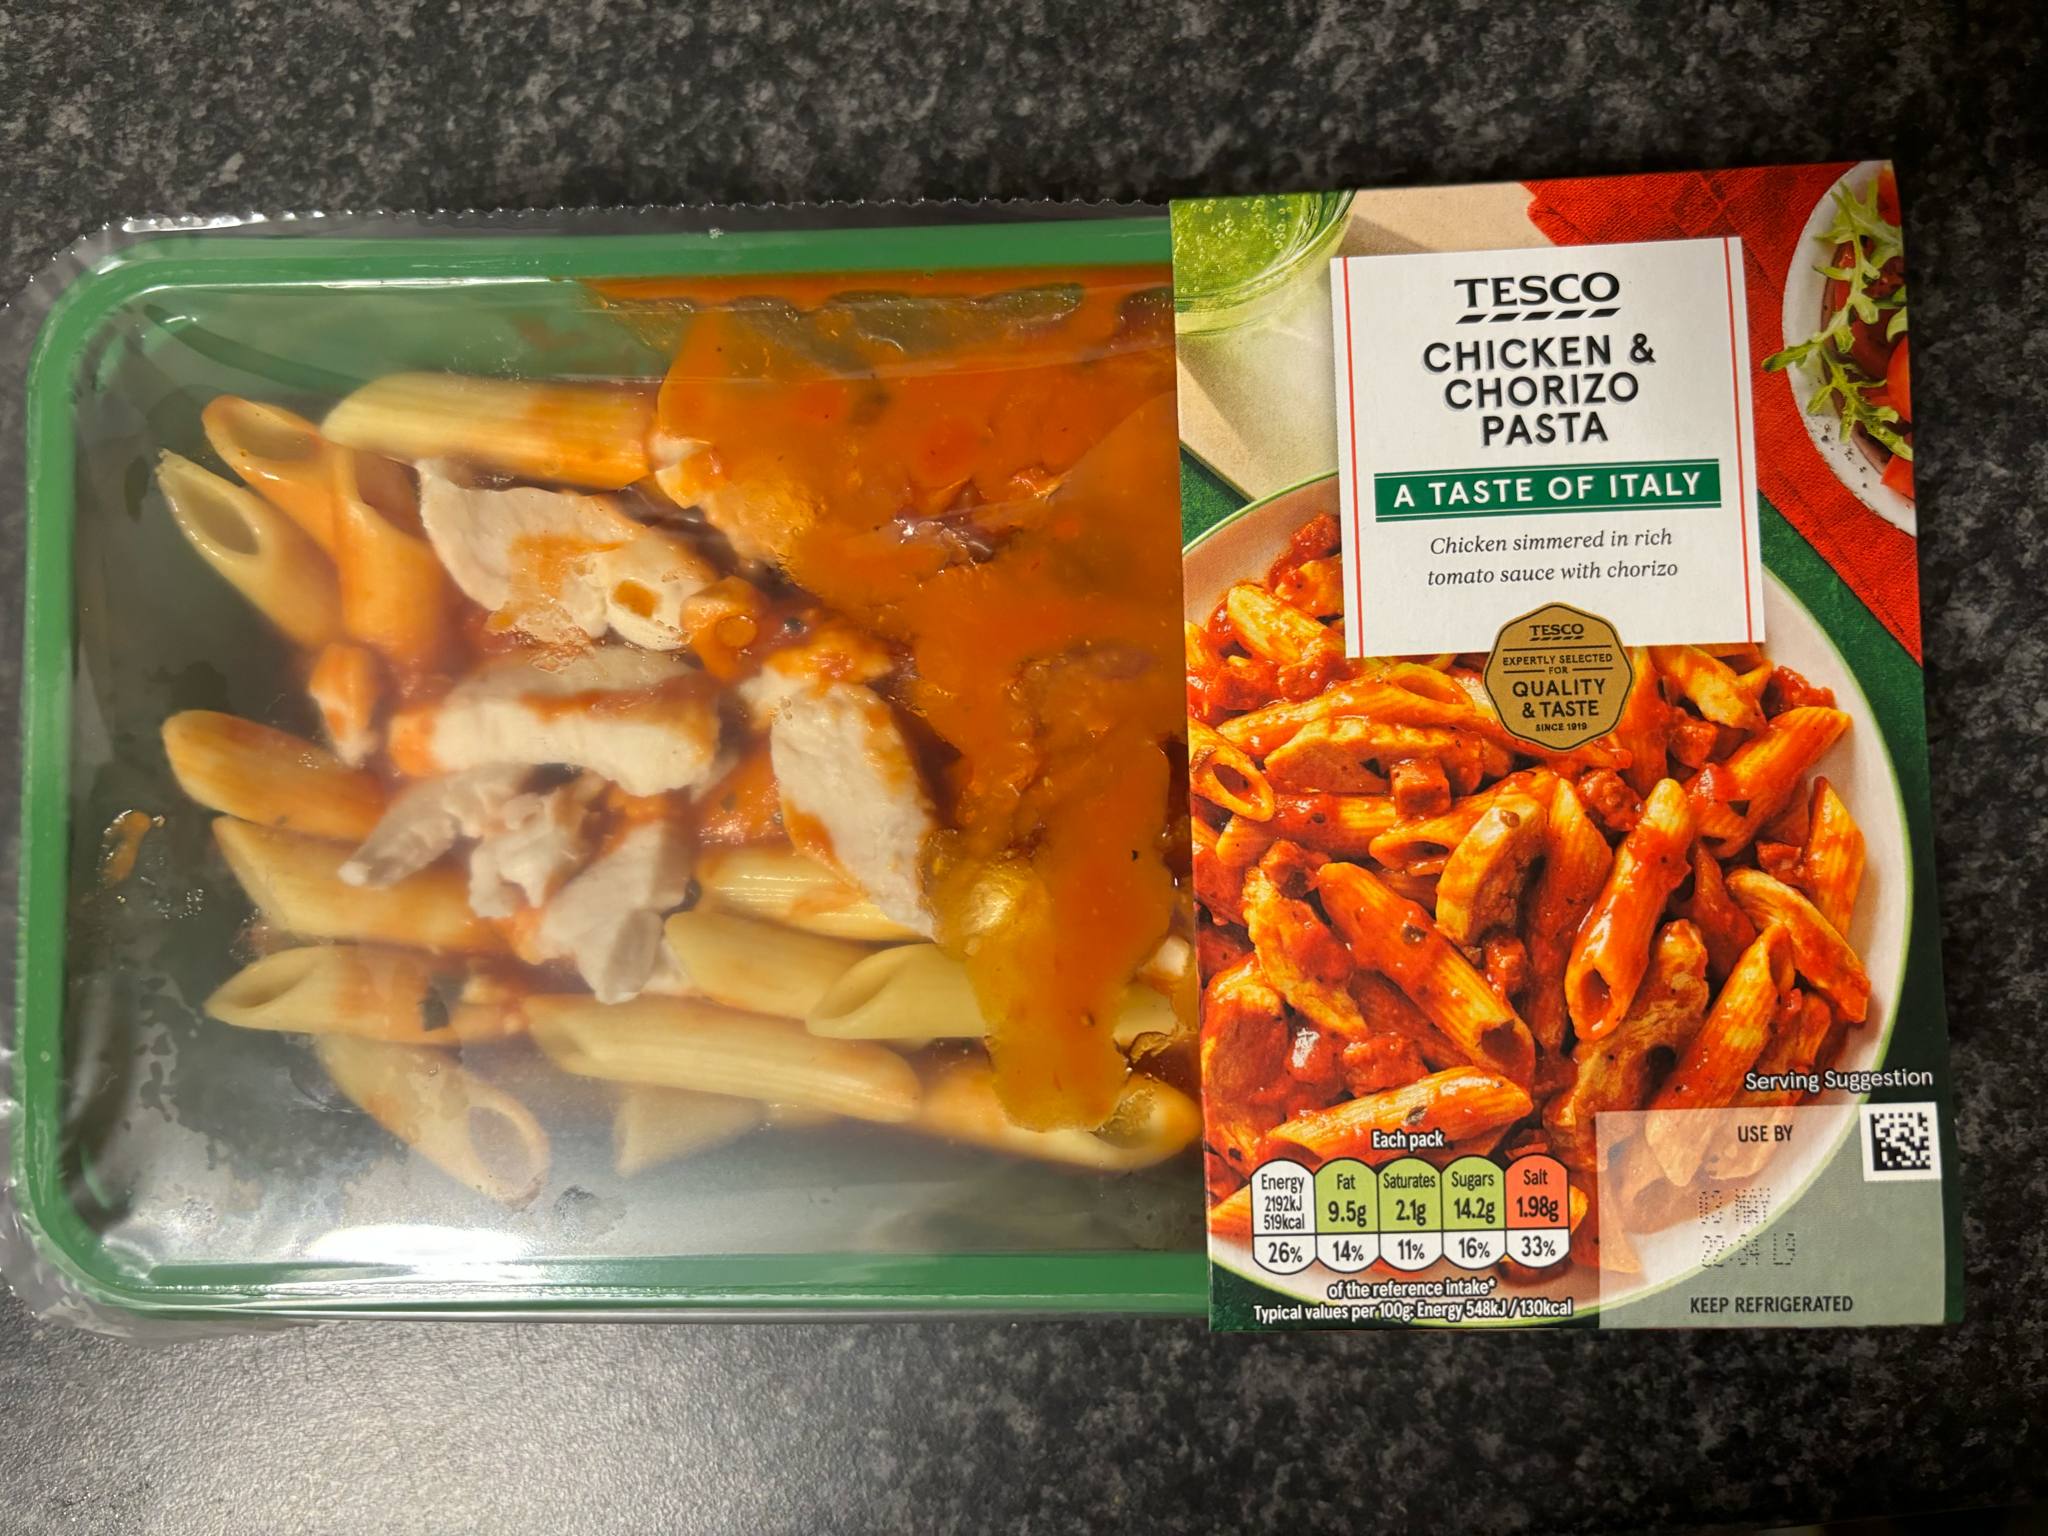
Ready Meal Open View
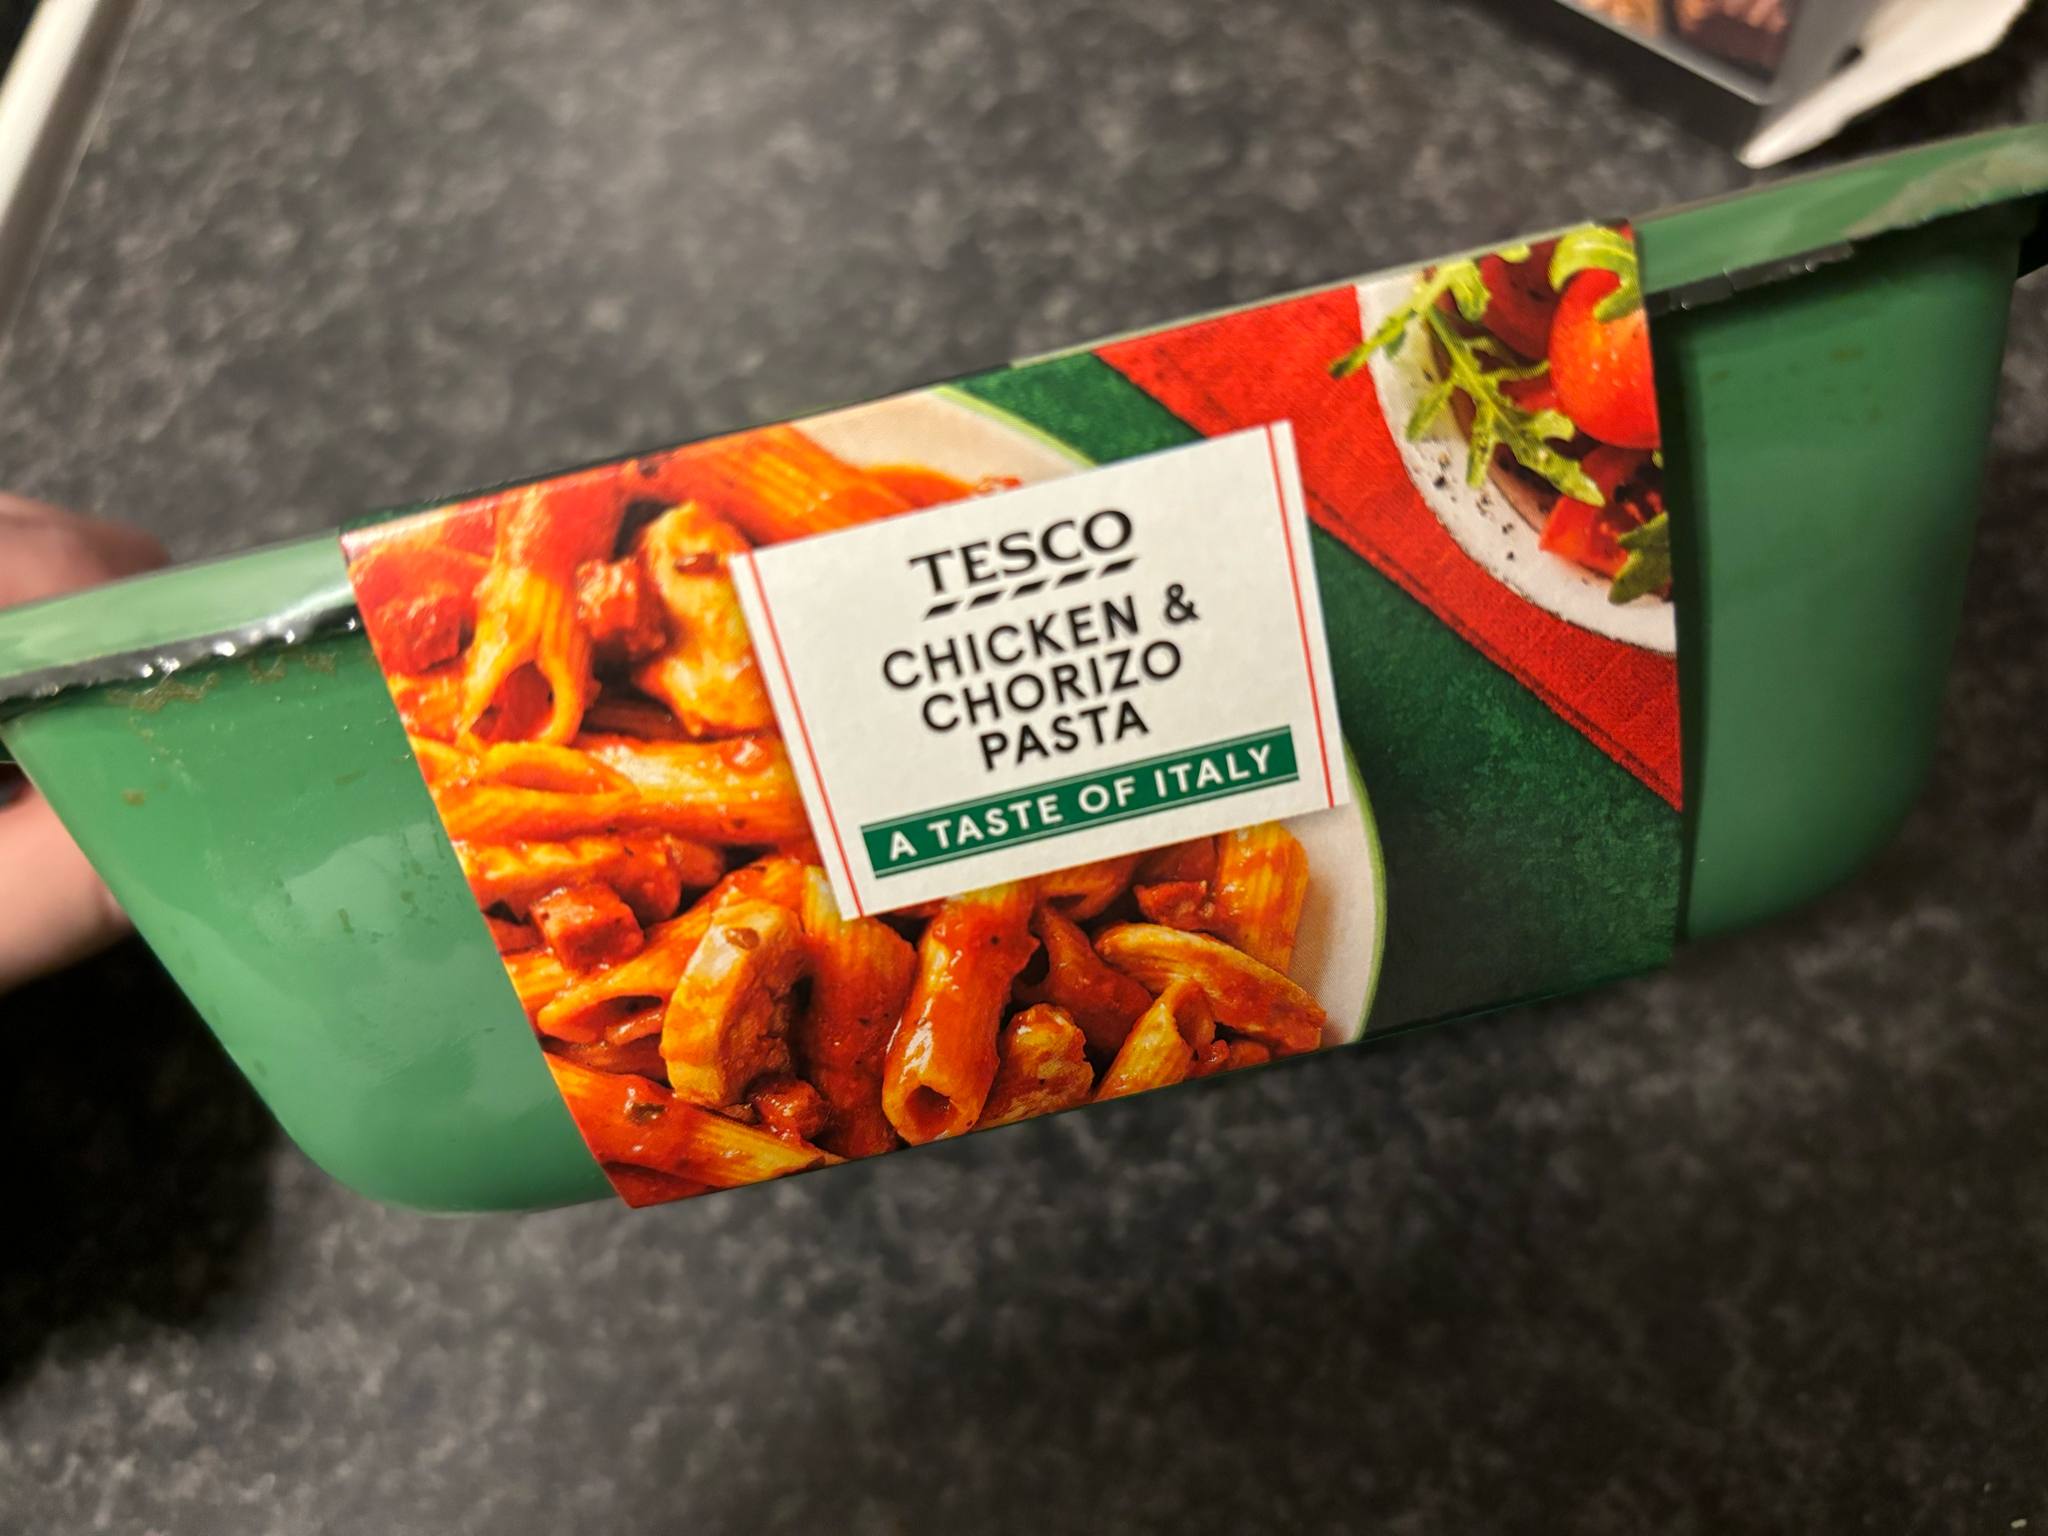
Ready Meal Side View
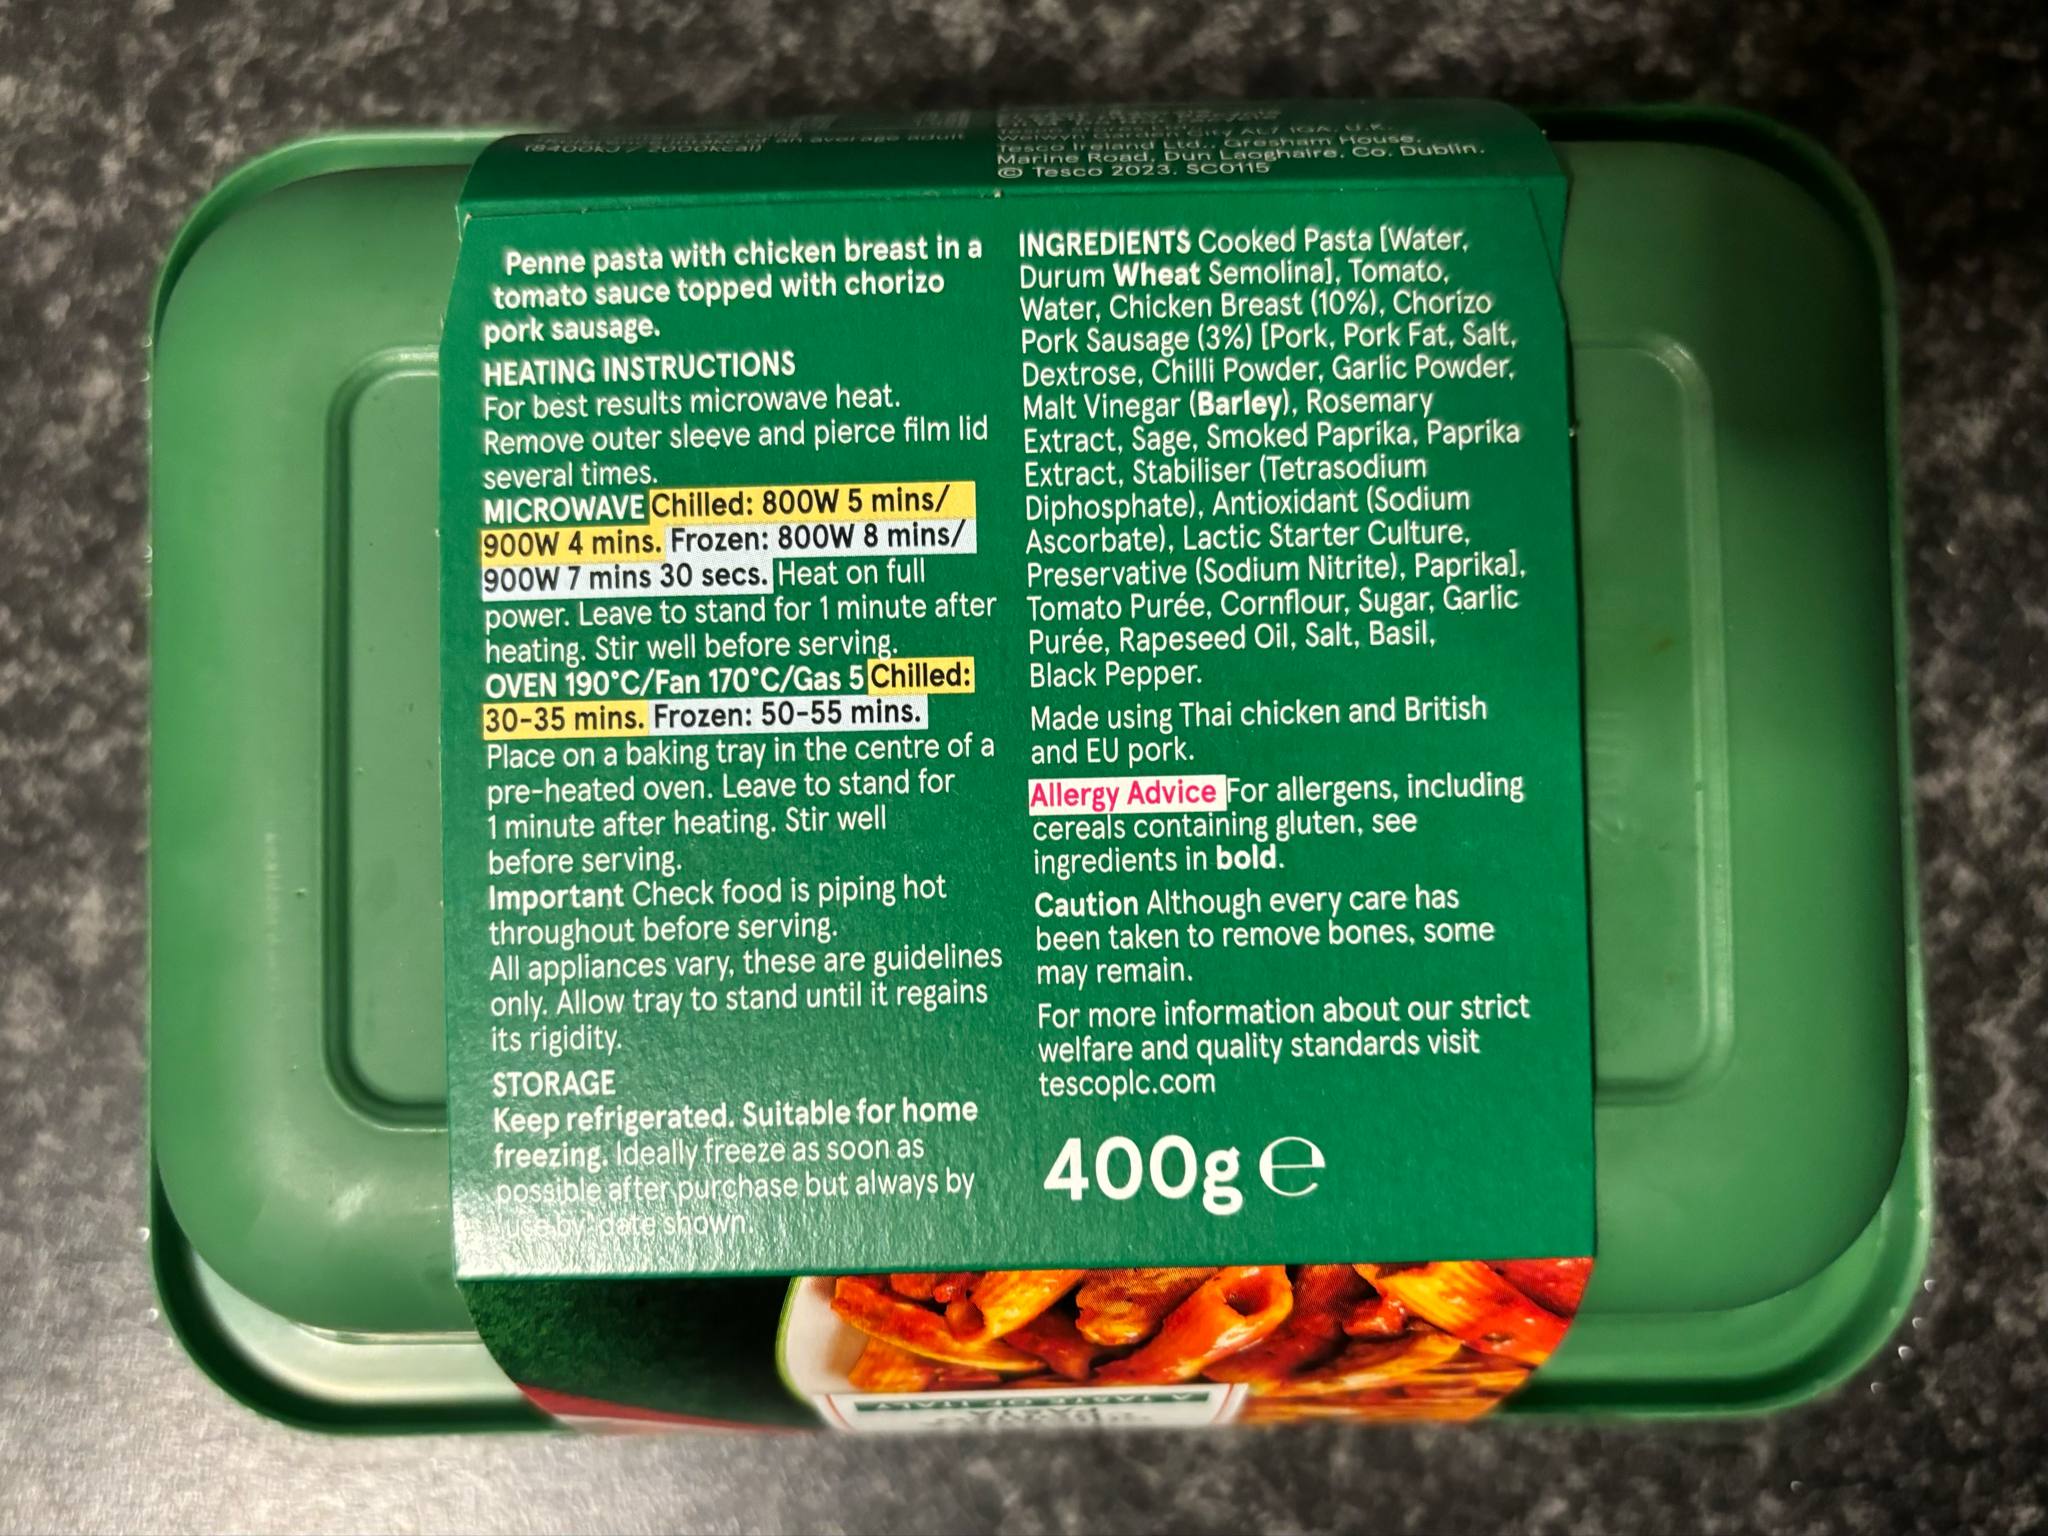
Ready Meal Back View
I first took some photographs of a ready meal packaging and observed different angles to see the shape of the box and how it is assembled. These ready meals come in a plastic rectangular tray which is sealed with a clear plastic sheet that has a tab where you can easily pull it off. The trays don’t have any designs on them and are a plain colour which compliments the outer sleeve. The outer sleeve is made of paper or cardboard, so it is easy to recycle, and it displays all the information about the ready meal, such as what it is, the nutritional values, the brand and the preparation instructions. I noticed that the outer sleeve joins at the sides where there is a fold seam which makes the packaging more flexible and easier to slide on and off. This design is more user friendly because it makes it easier to get into the product and the food being ready to eat from the tray reduces mess and time spent doing dishes. This makes it more convenient for parents who are in a rush or just want to relax after working all day.
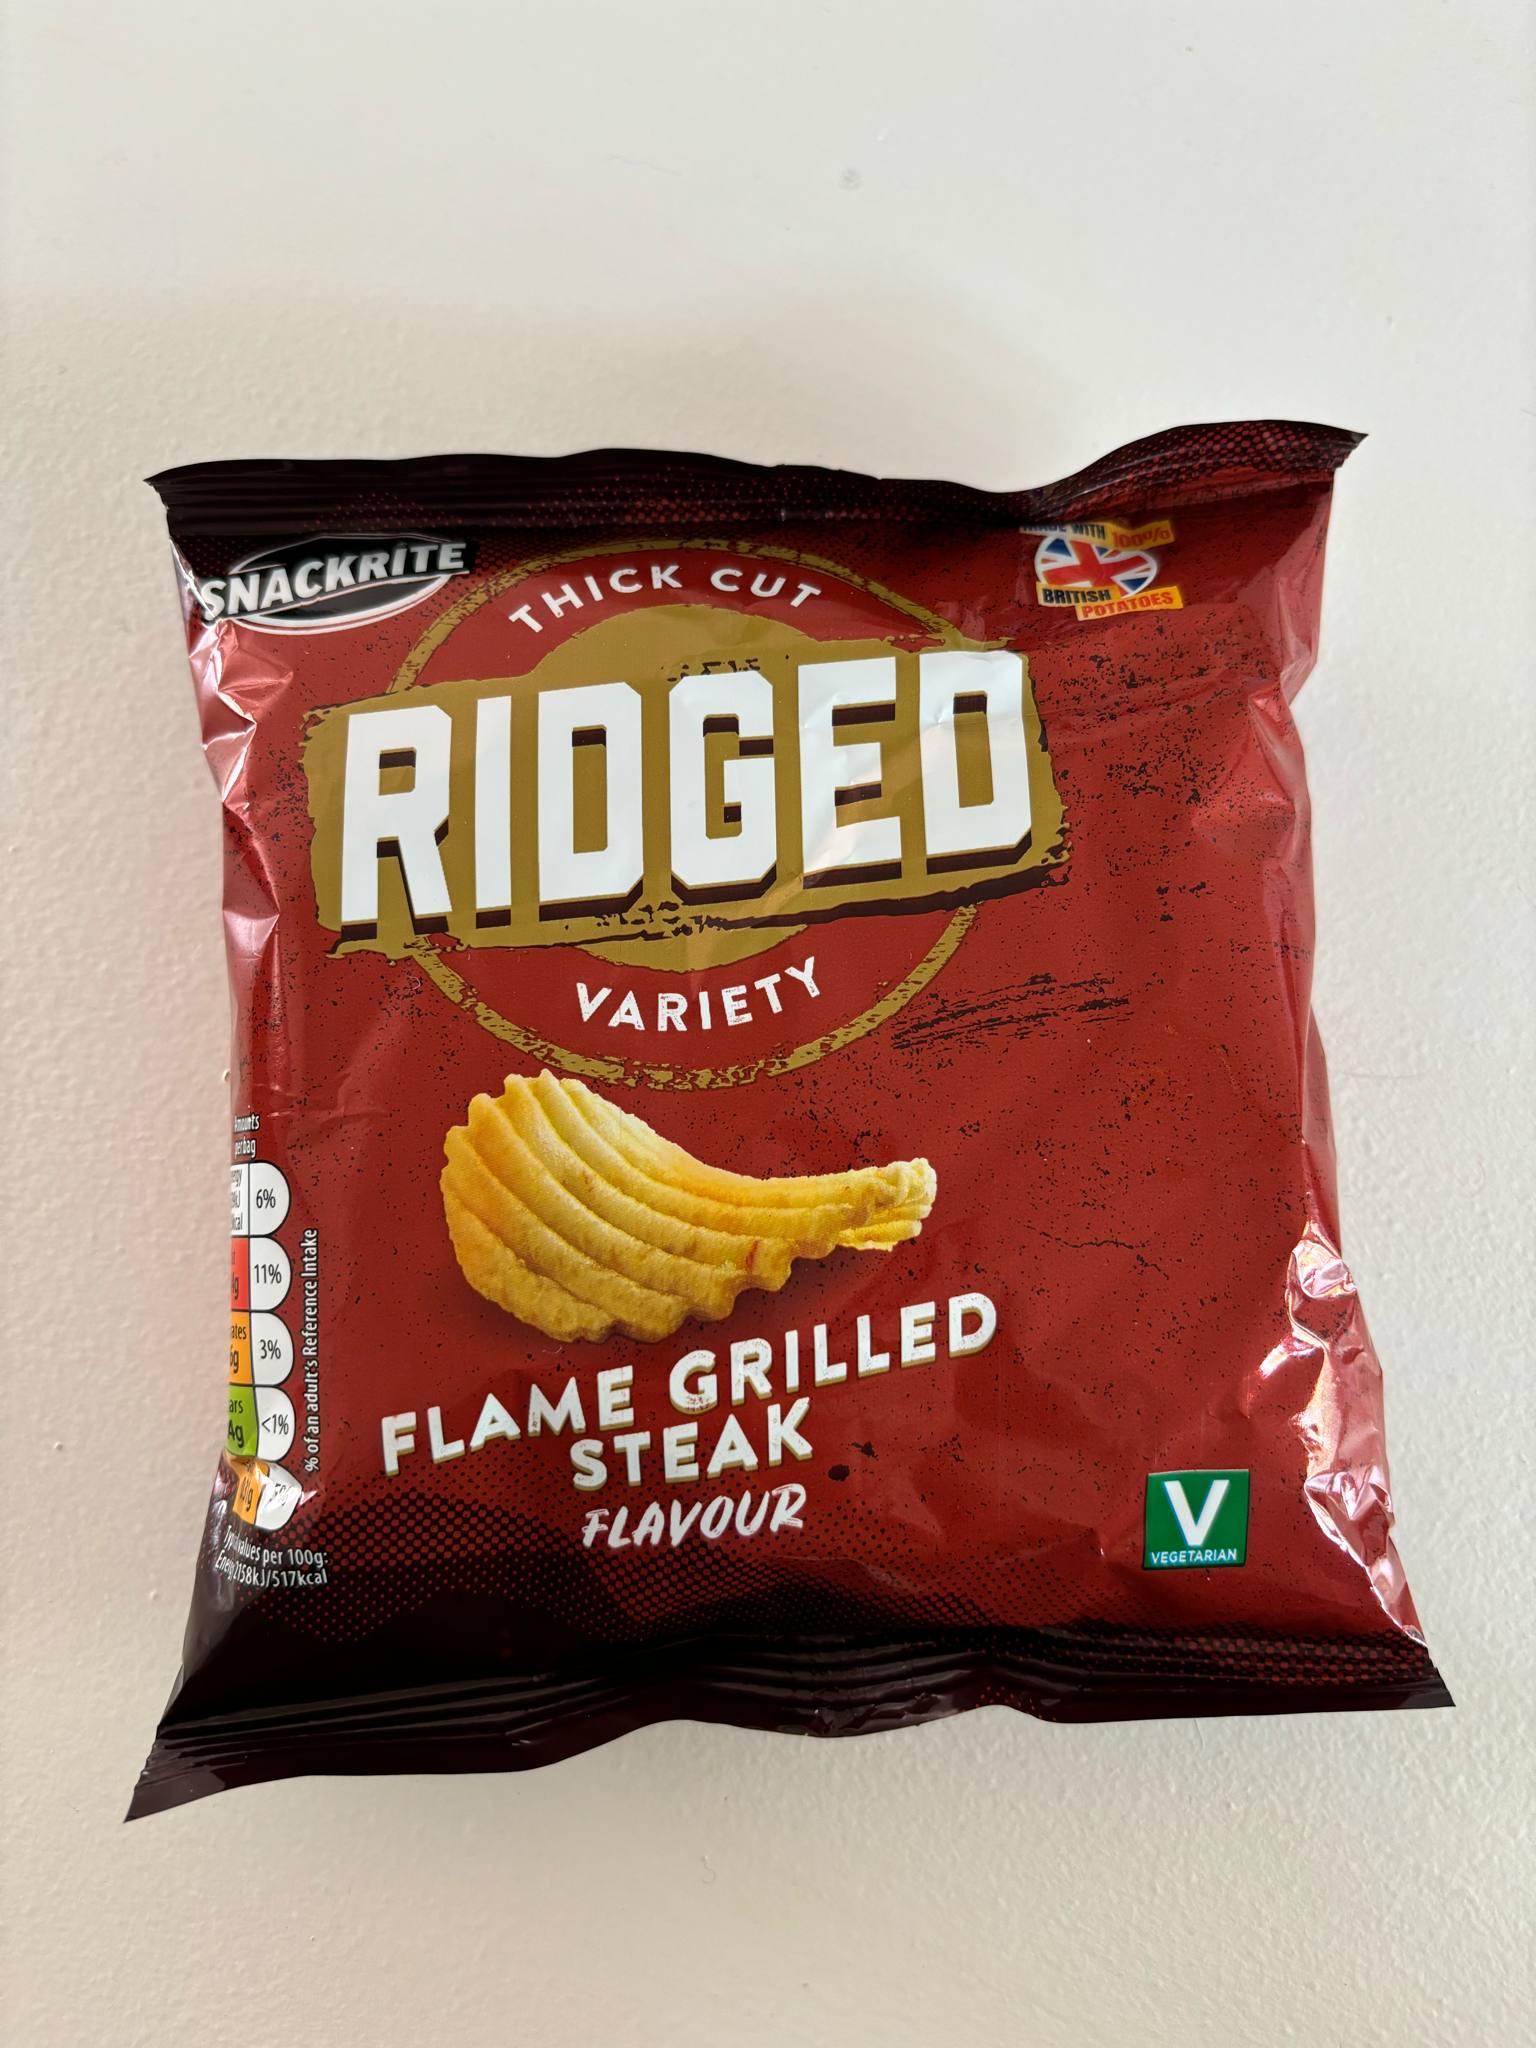
Crisps Front View
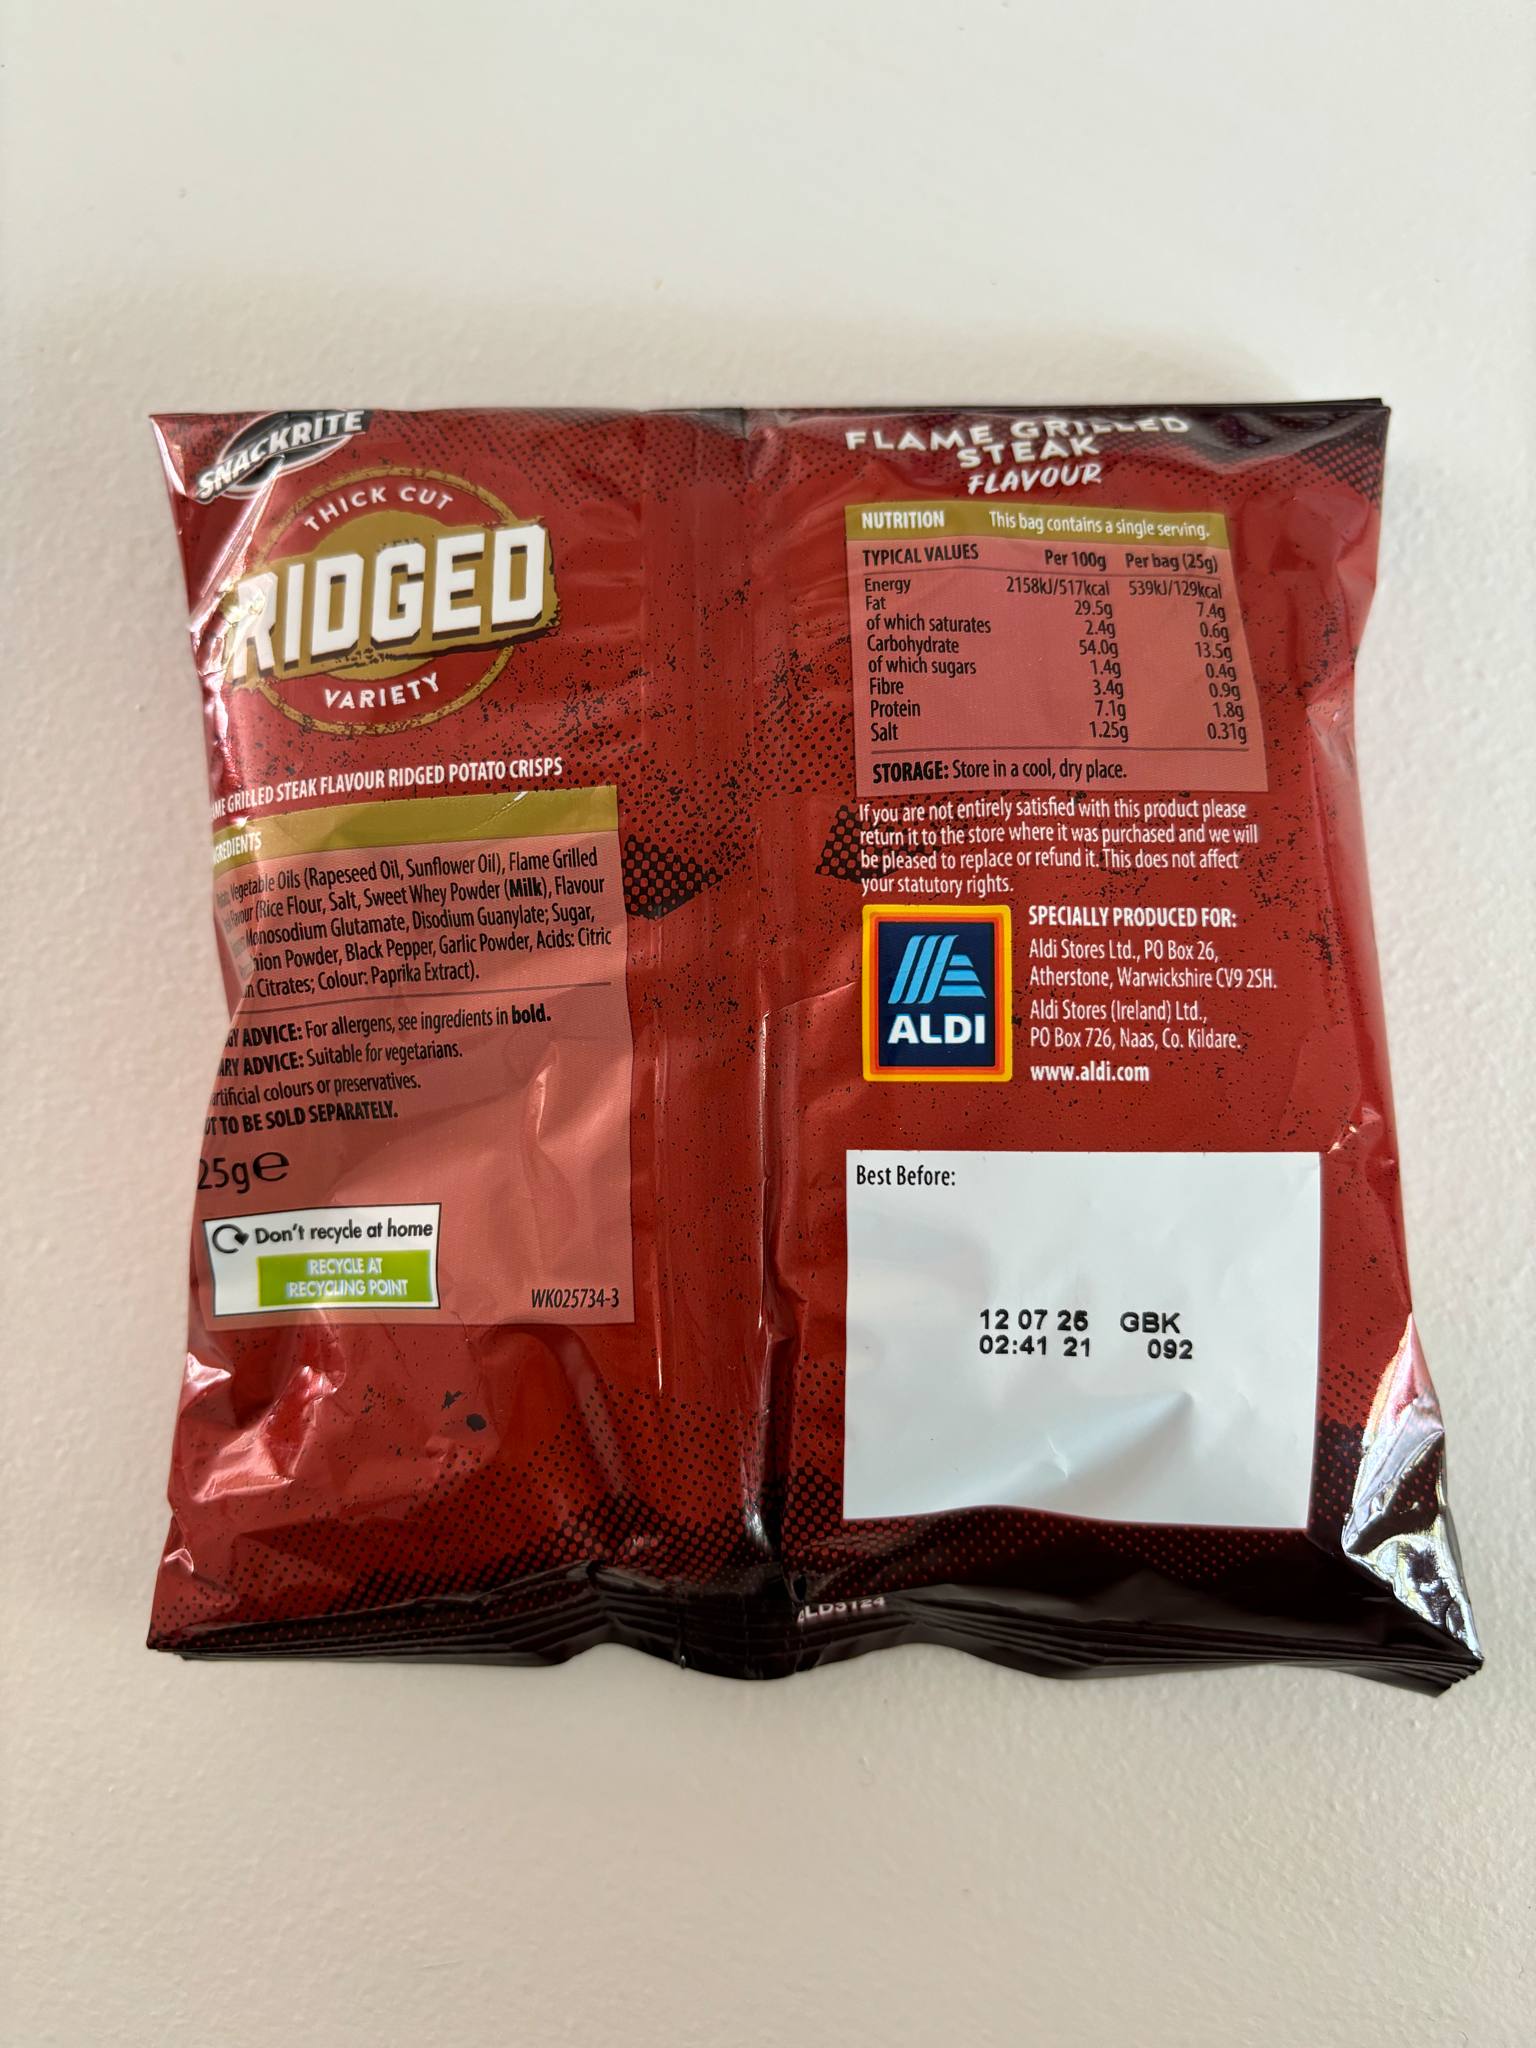
Crisps Back View
I then looked at a packet of crisps. Crisp packets are all very similar to each other, but I wanted to look at how the packaging comes together so I could model it easier. Crisp packets are naturally creased and are stuffed out due to the crisps inside. They have a seal at the top and bottom of the packet which is flat and has lines on where the two sides have been pressed together.
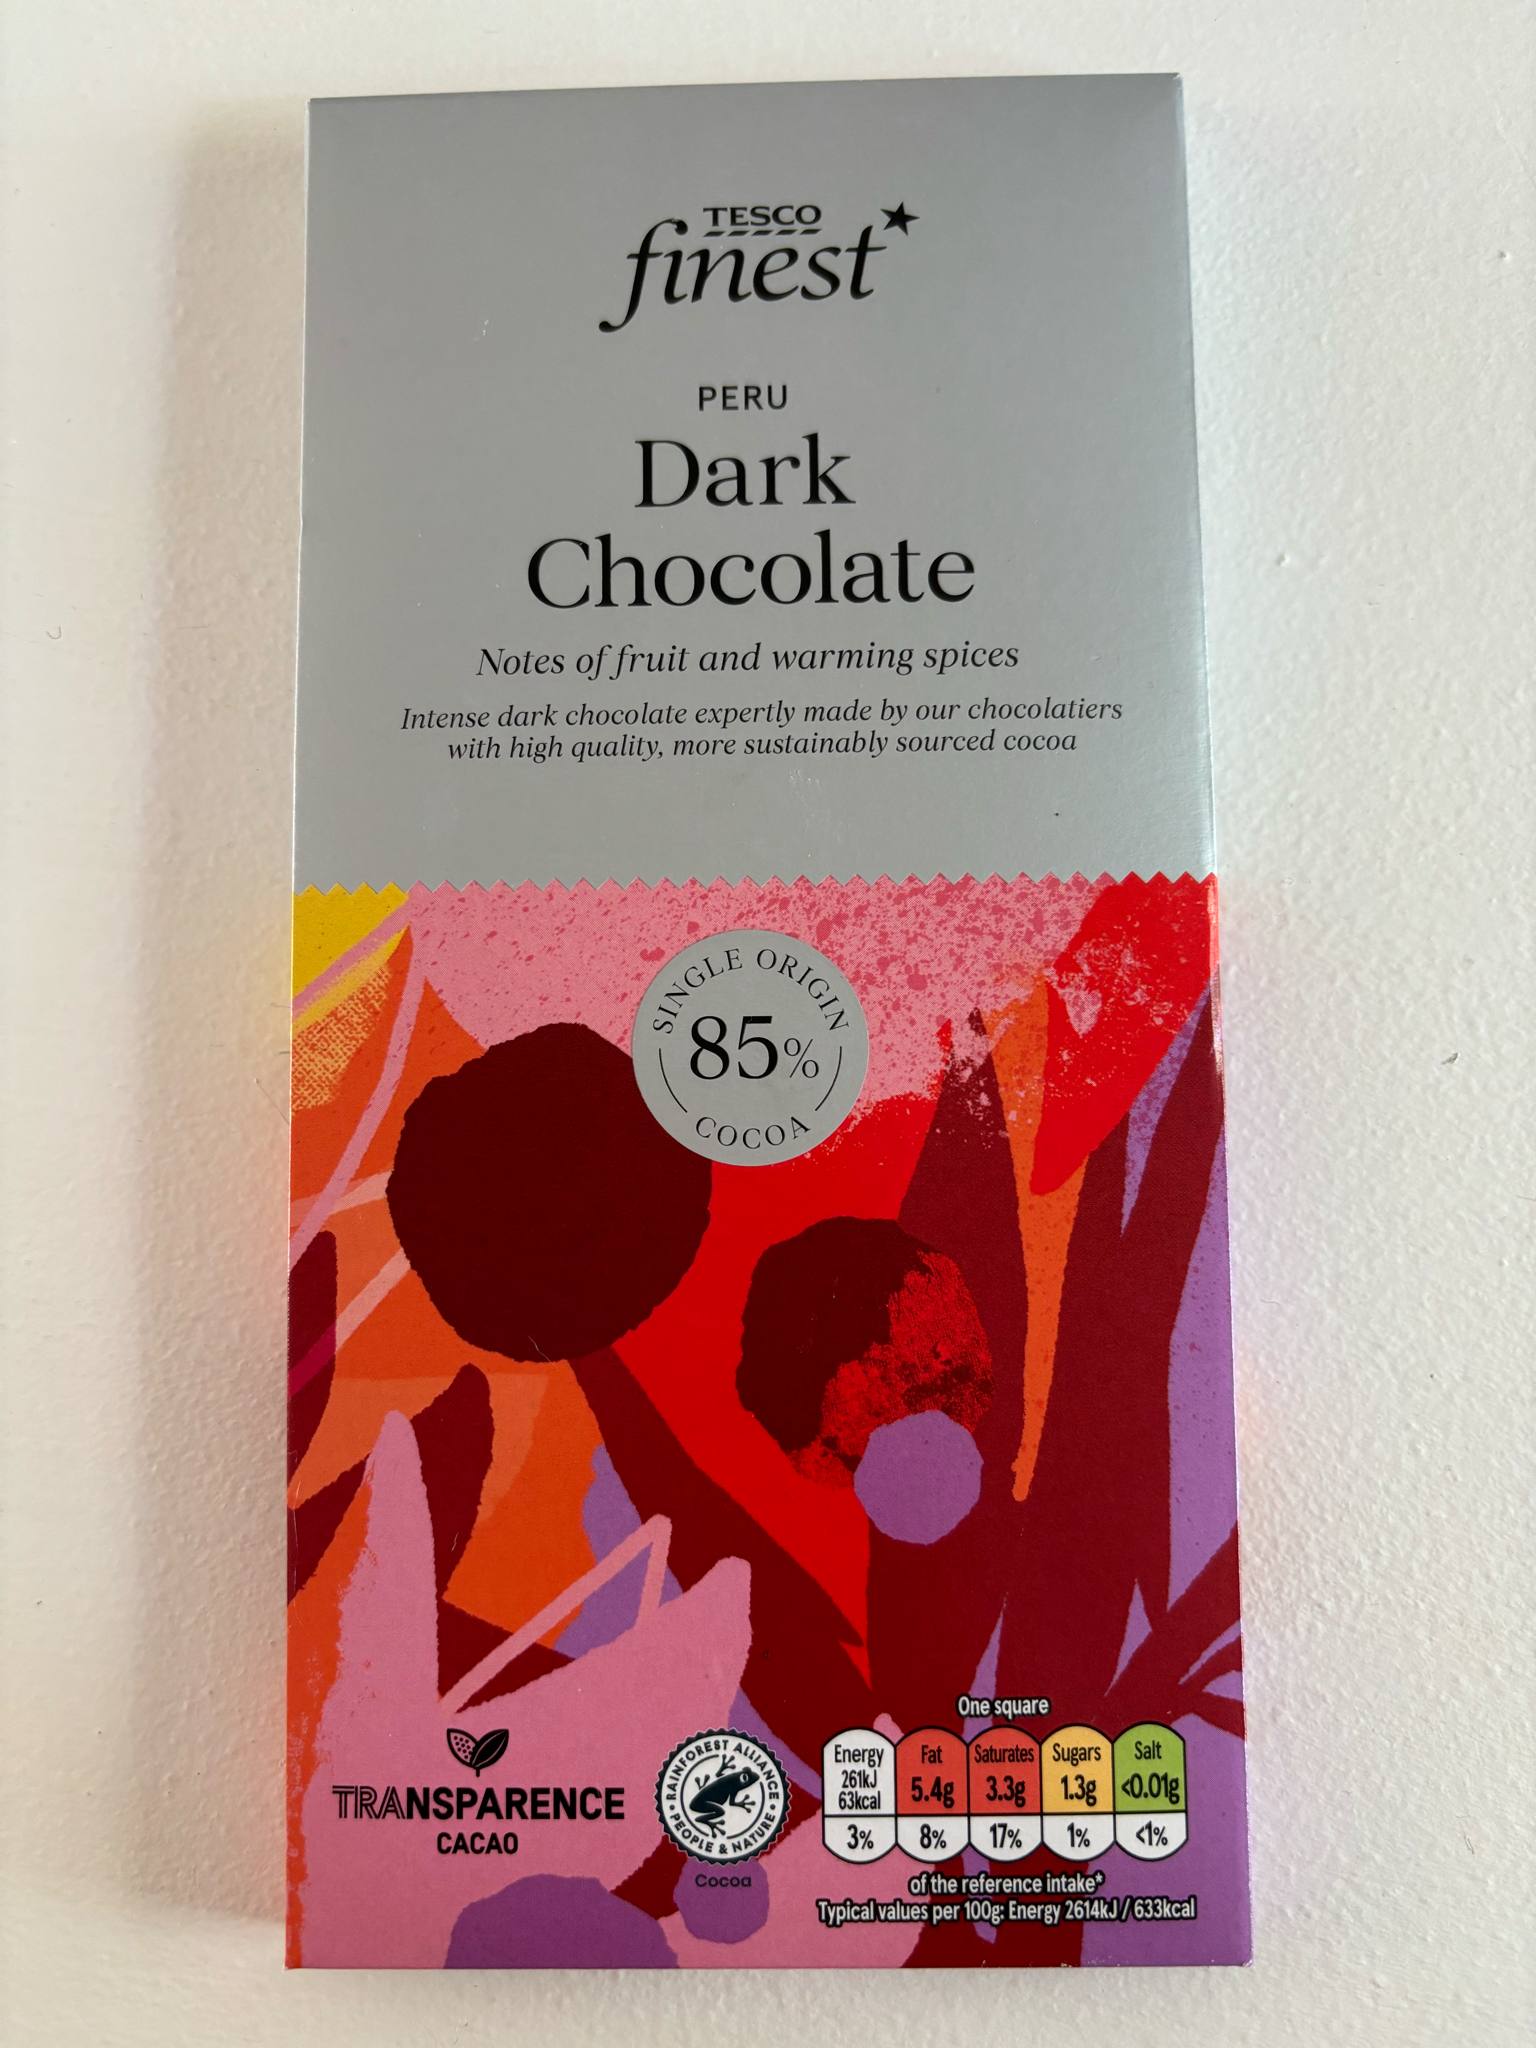
Chocolate Bar Front View
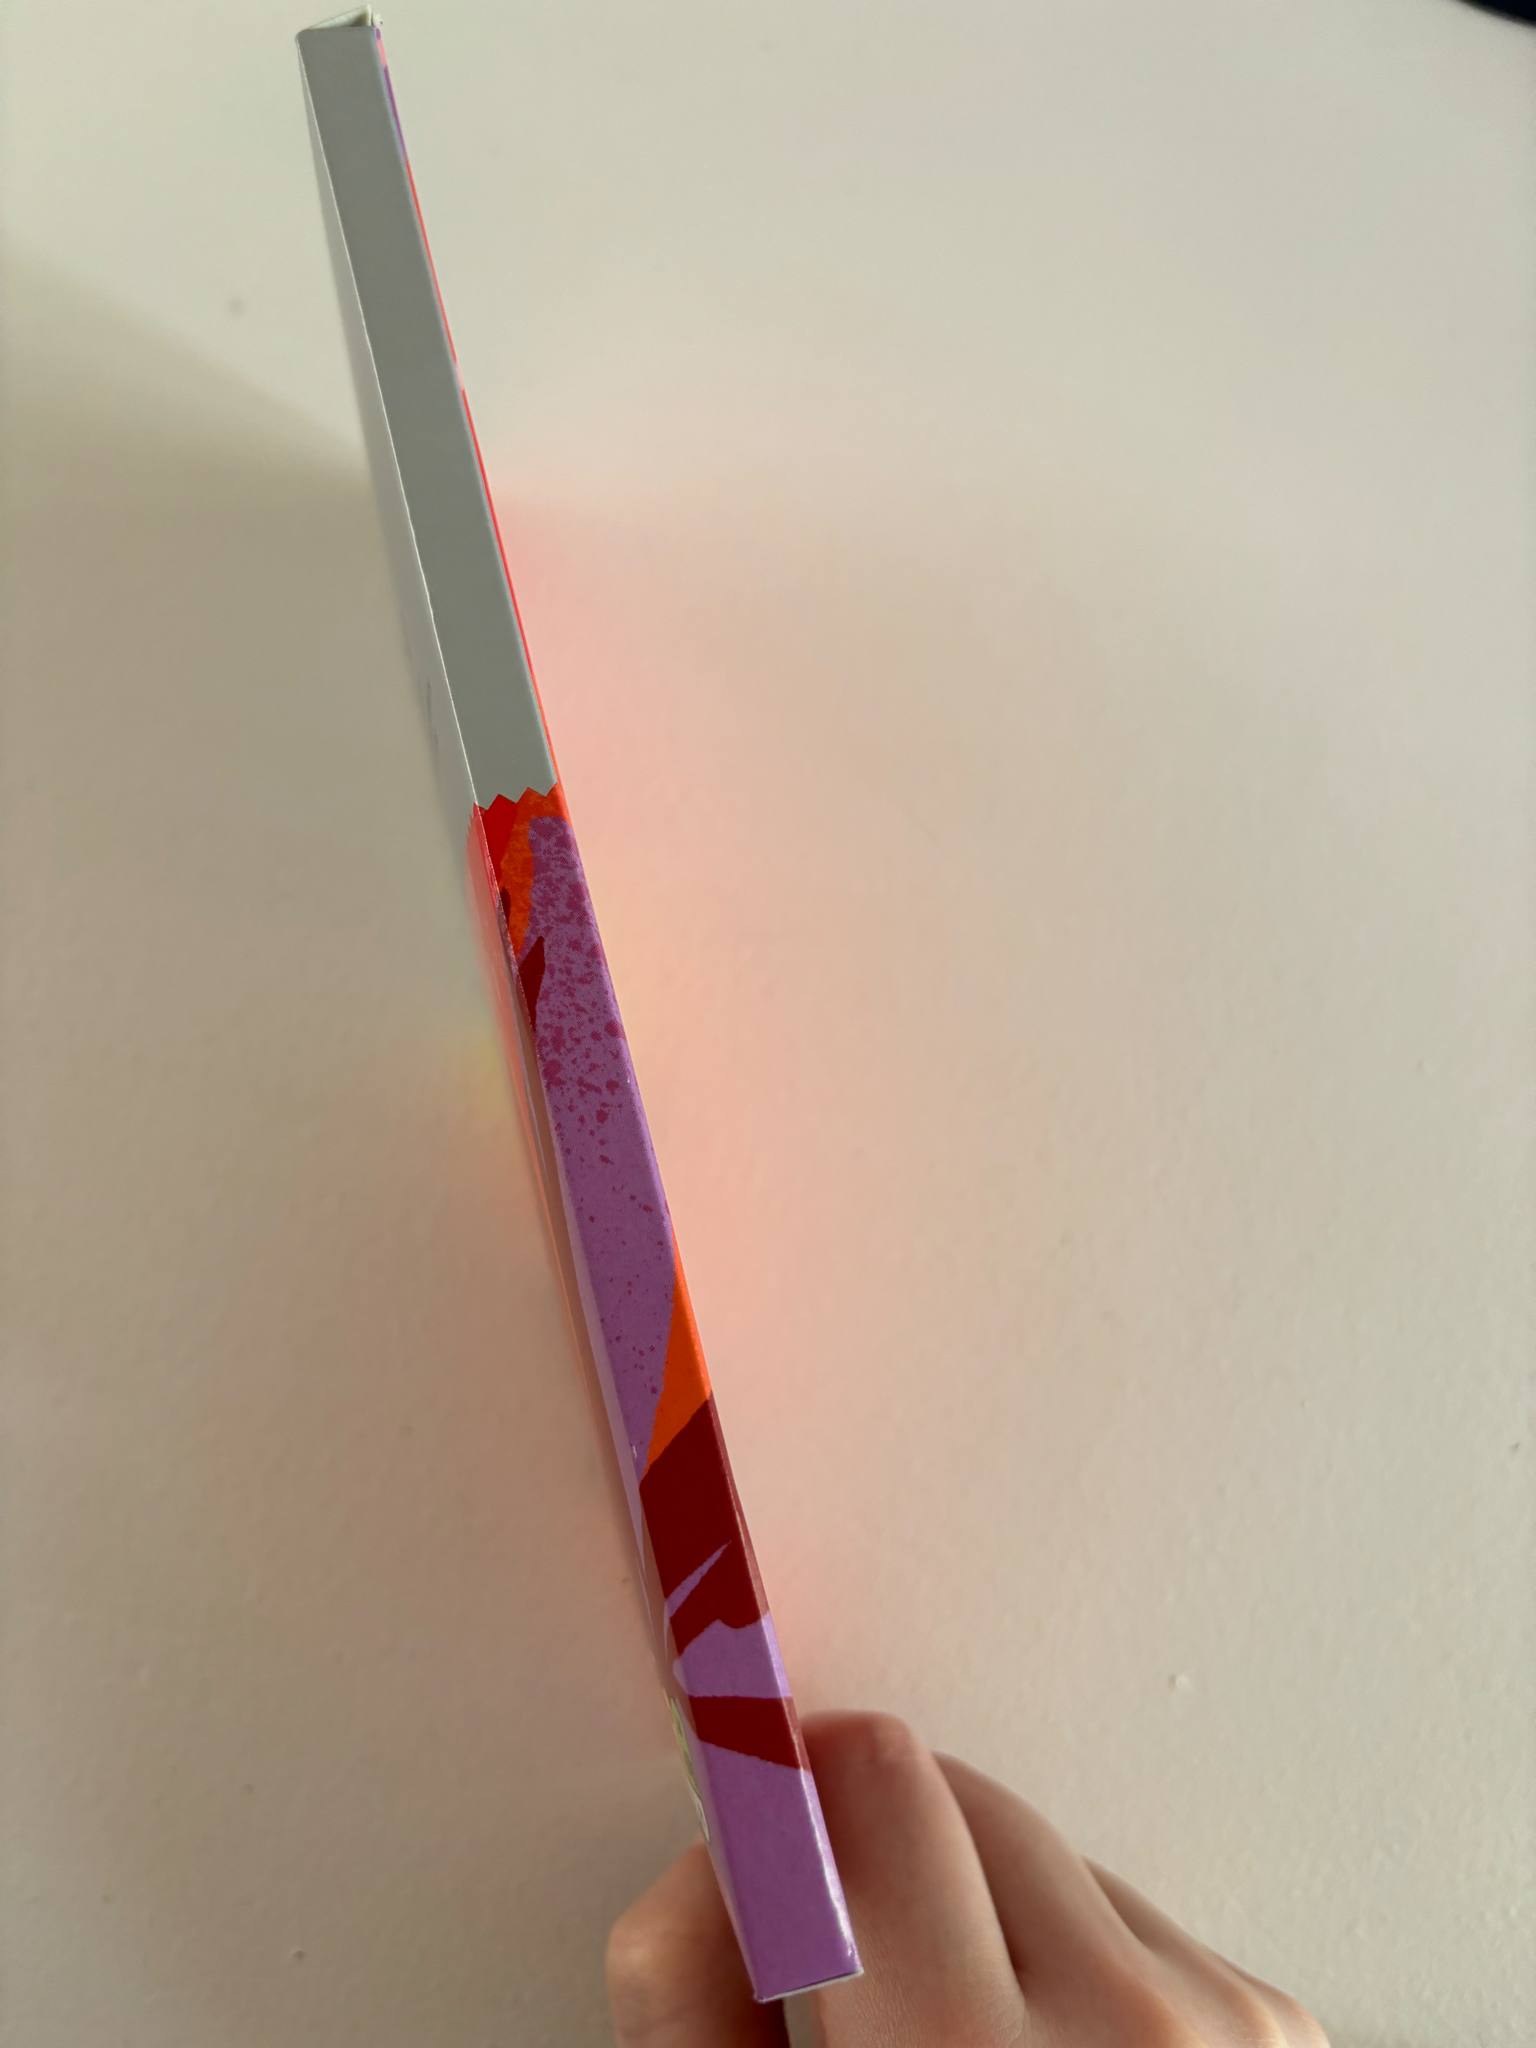
Chocolate Bar Side View
Chocolate Bar Back View
Then I looked at a chocolate bar packaging. This chocolate bar comes in a paper packaging which is more environmentally friendly than plastic wrappers and easier for children to unwrap. There is an area where you can press your thumb down and open the packet to access the chocolate, making it easier to slide the chocolate back in and reseal for later. Comparing this to brands such as Cadbury’s, who use plastic wrappers which don’t reseal as well, I think I would also like for my packaging to use paper since it is more friendly for young people to access and can be stored away easily with less mess.
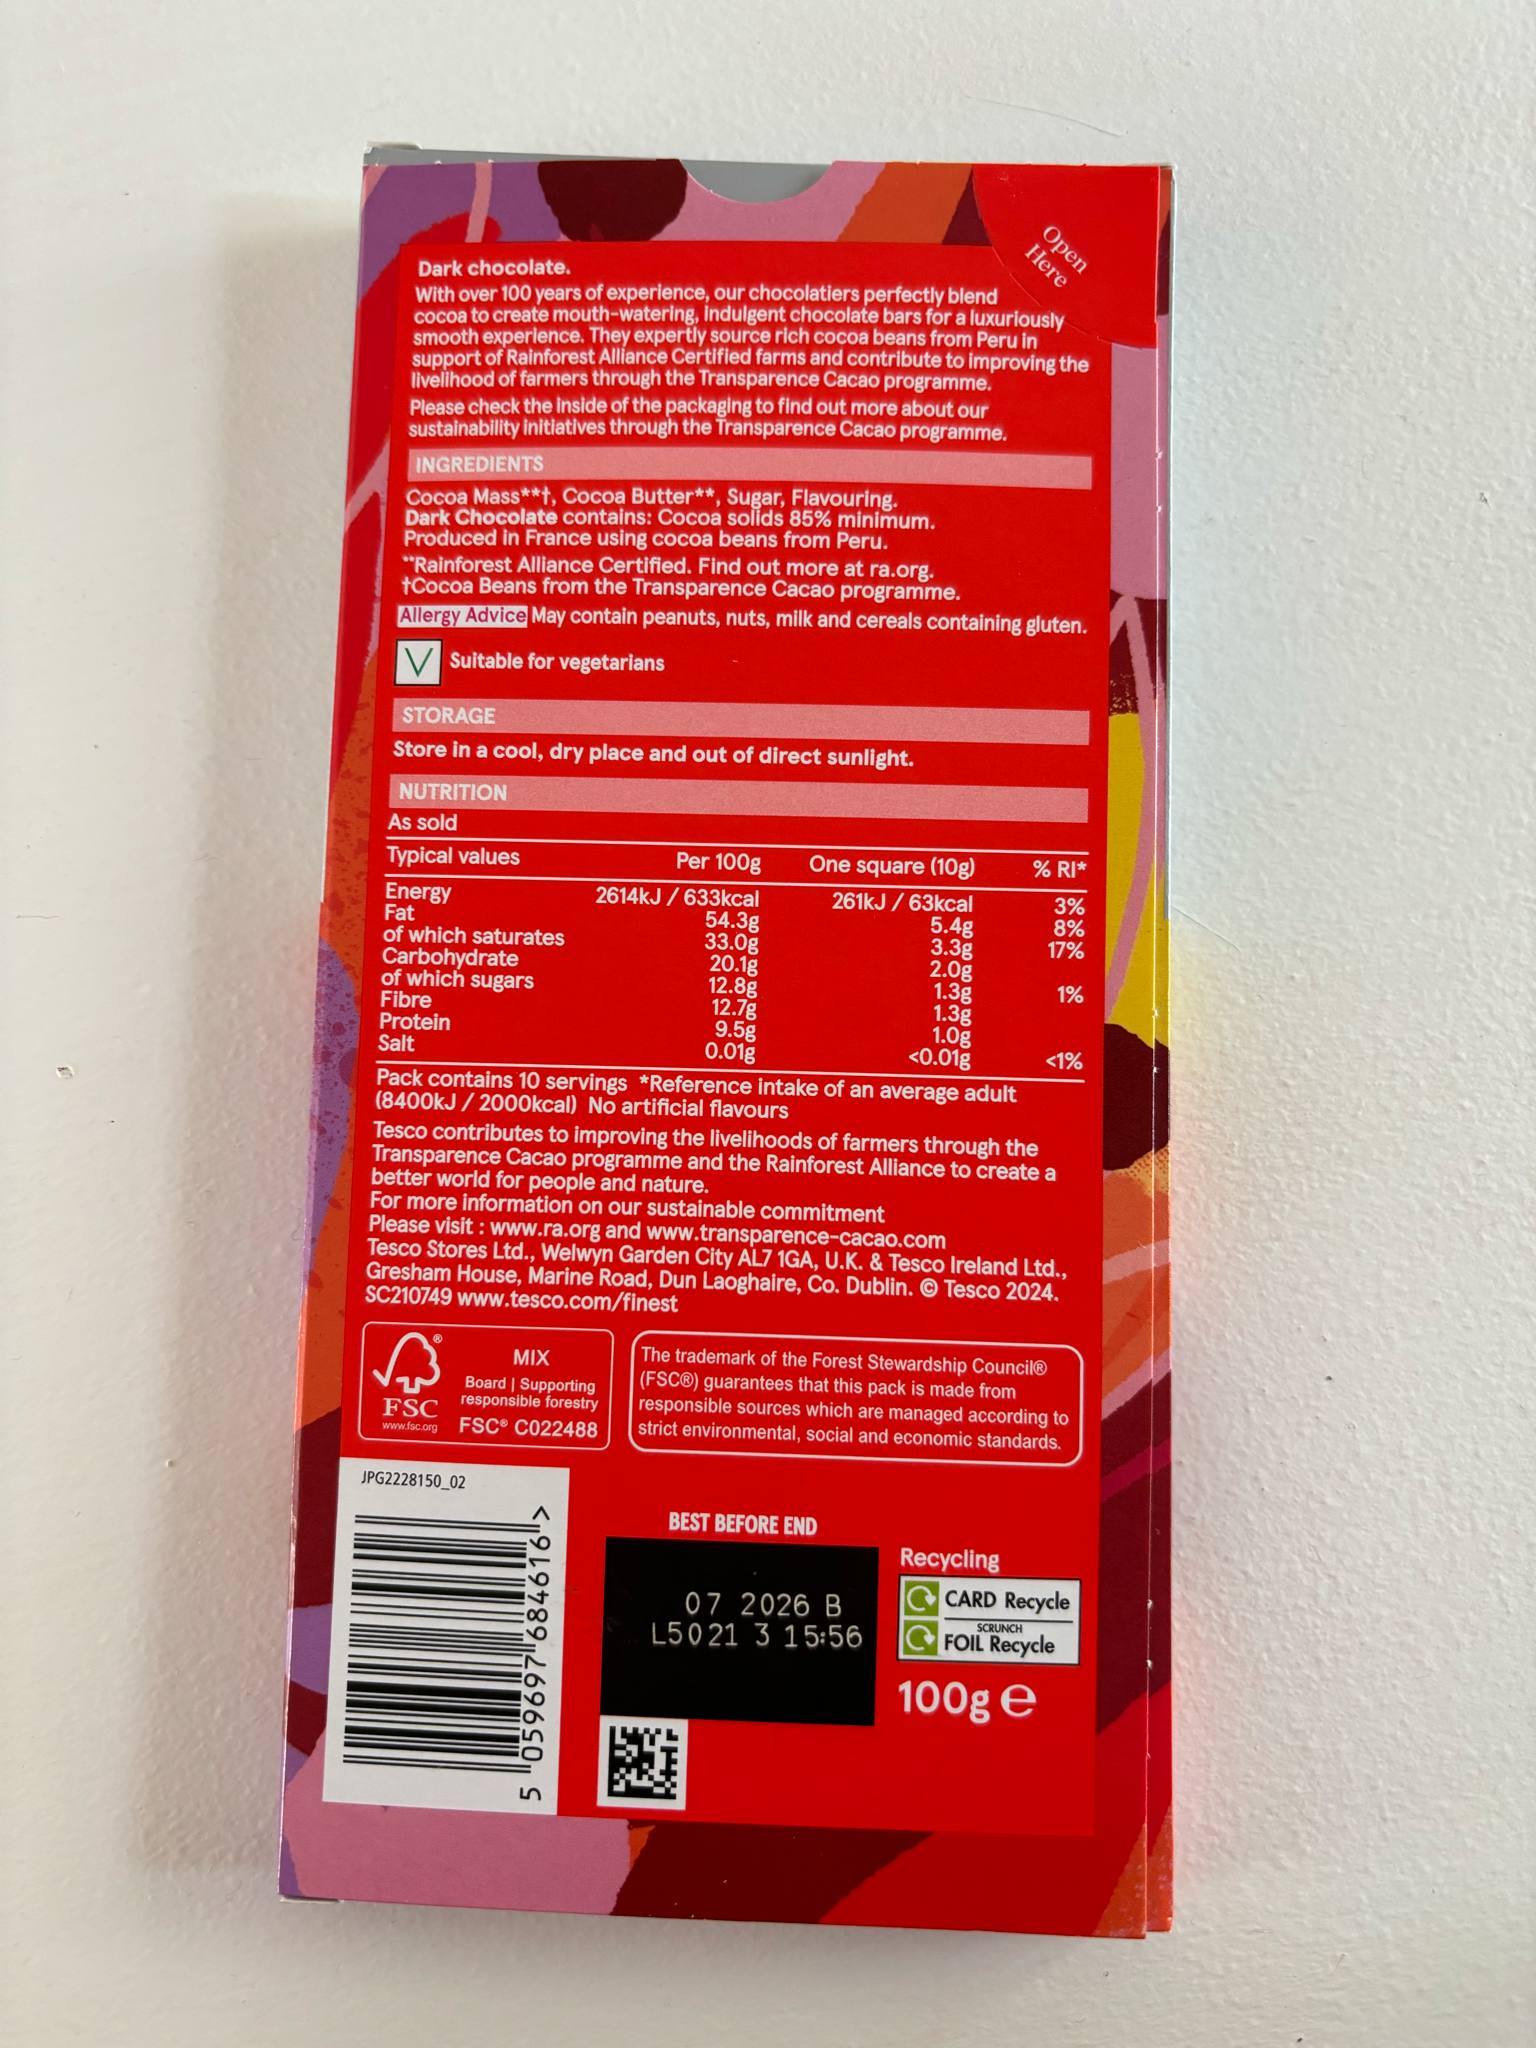
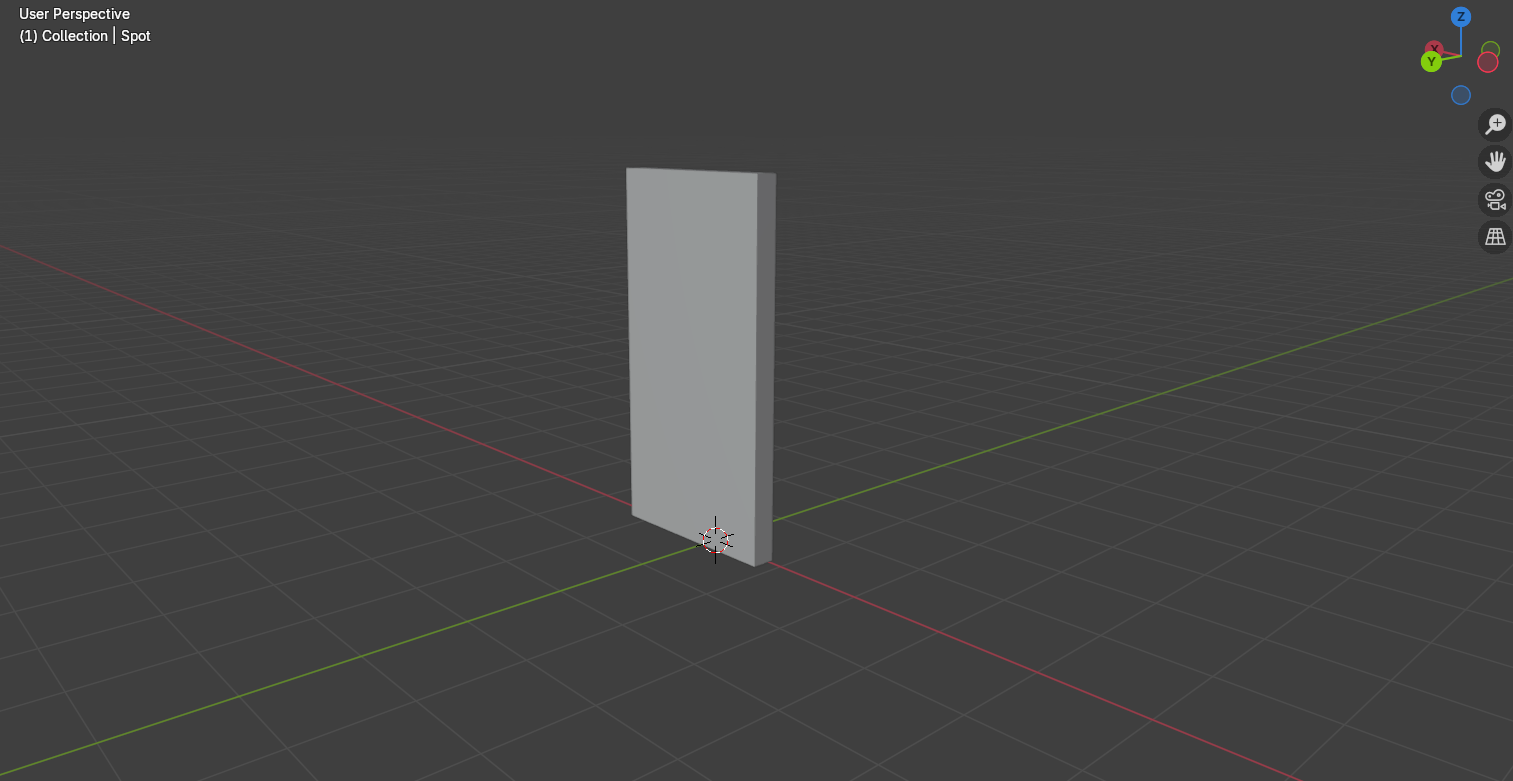
Solid View of Ready Meal
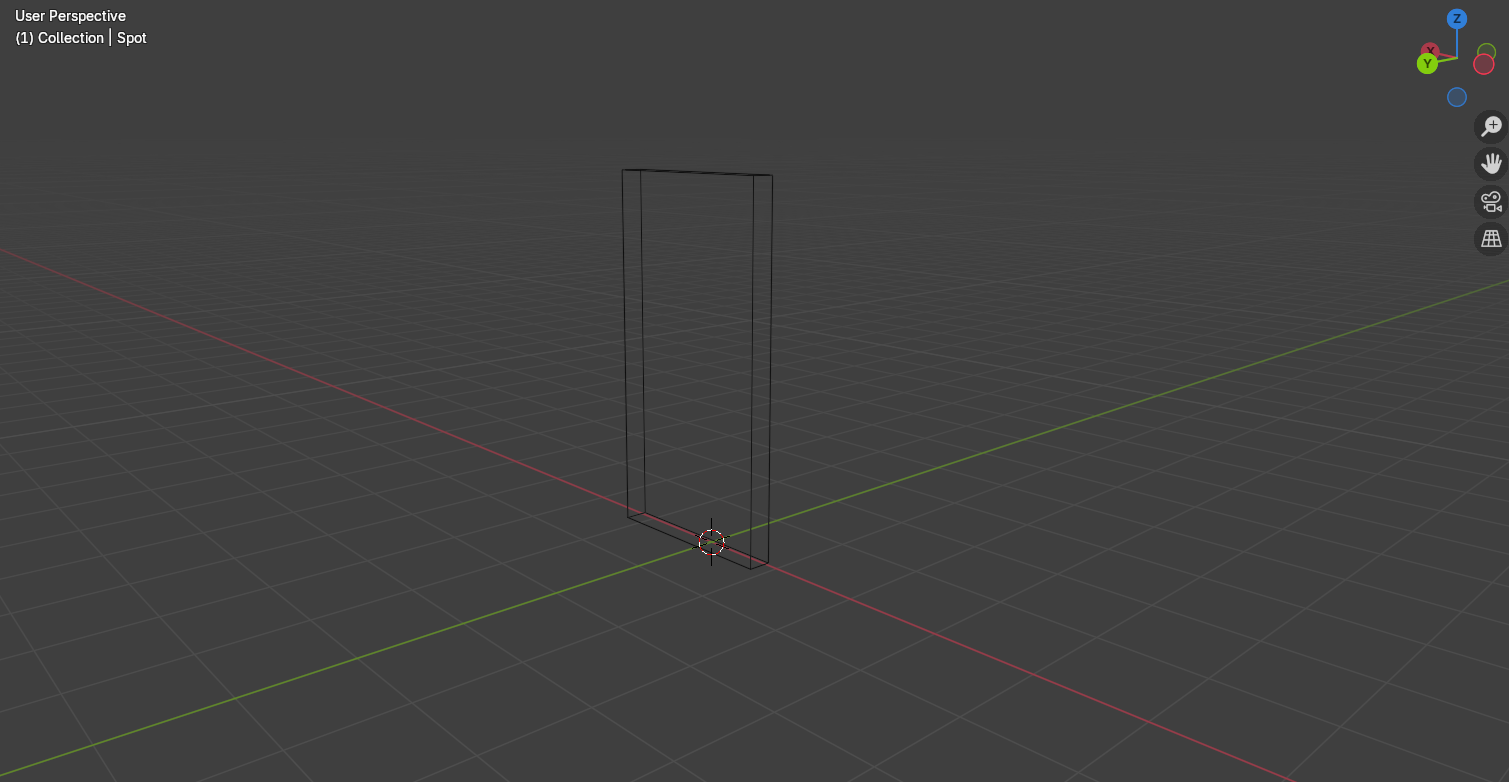
Wireframe View of Ready Meal
I started to make my packaging models in Blender and began with the ready meal. I found the ready meal quite straightforward because it was mostly rectangular and smooth. I bevelled the edges of the box so there wouldn’t be any sharp edges which could poke or scratch, which may be dangerous for young children when eating the meal. For the plastic seal I used a plane and scaled it down to be very thin. I placed it over the top of the tray and scaled it up so that the bottom right corner came over the tray slightly, making it easier to peel off. I joined the seal to the tray using ctrl+j so that the packaging could be moved together when I made an animation later on rather than having to move them both individually.
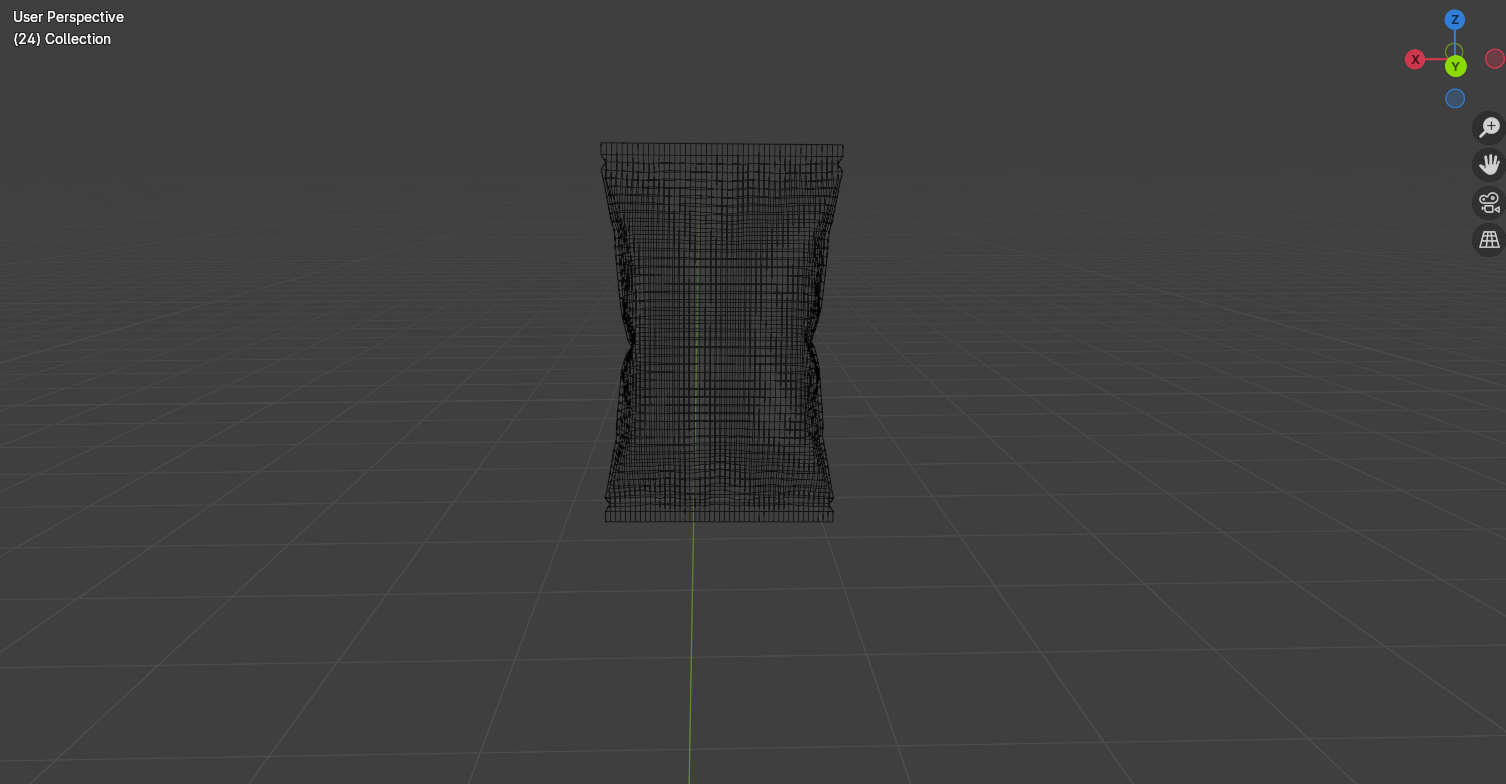
For the outer packaging, I added a cube and removed two of the outer faces so the inside was hollow. I scaled and resized the cube to fit around the tray and added loop cuts to create extra edges around the sides of the sleeve, which I moved out slightly to make the model less stiff, matching the slight bendiness of the ready meal packaging I had looked at for inspiration.
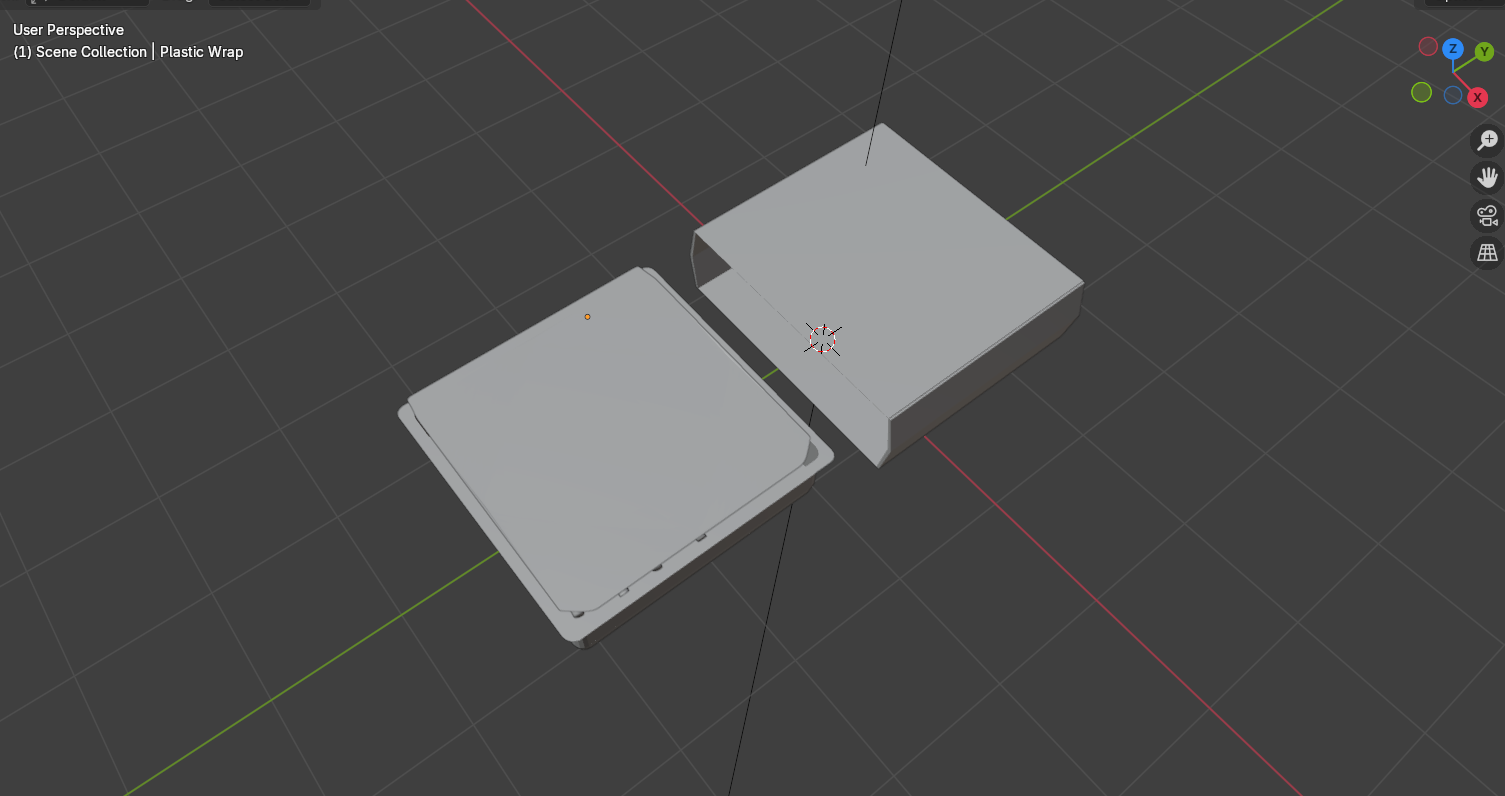
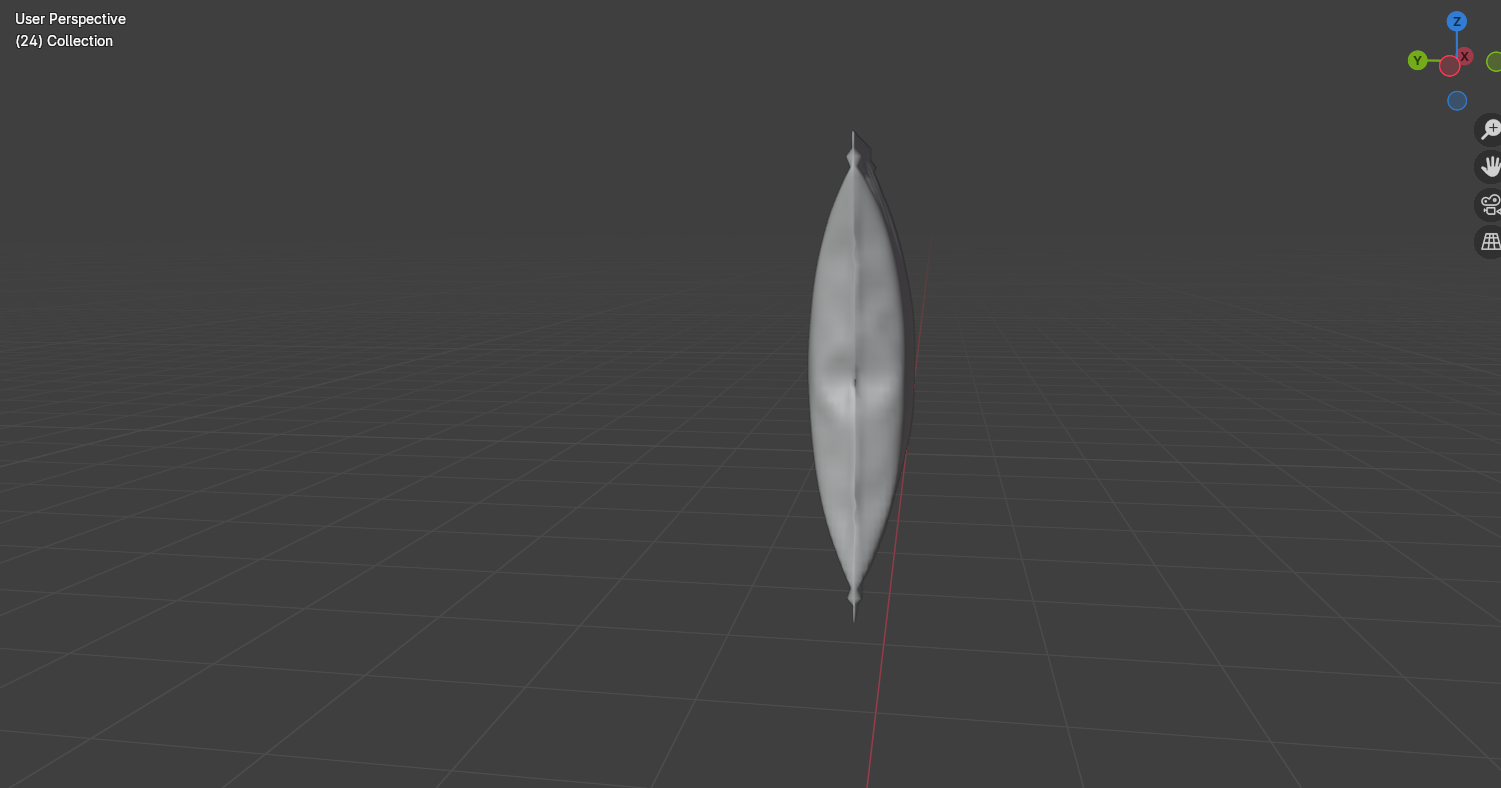
Solid View of Crisps Front
Solid View of Crisps Side
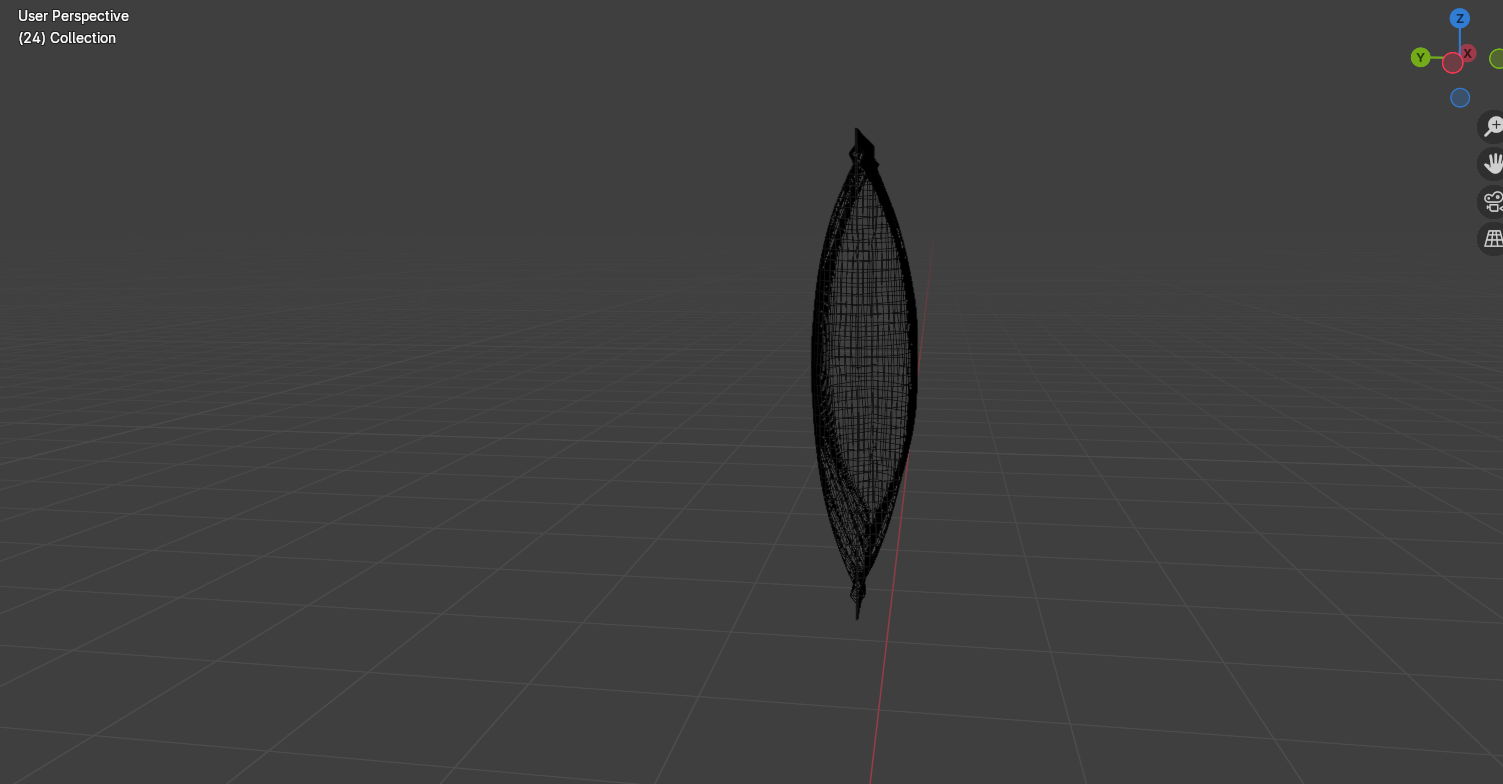
Wireframe View of Crisps Front
Wireframe View of Crisps Side
Tutorial I followed to make crisp packet creases.
I then moved onto the crisps packet. This was the hardest to model because of the inflated effect in the middle. I had to look at some tutorials on how to inflate a model and found it frustrating the first few tries as it wasn’t giving me the results I wanted and kept over inflating. After changing the settings, I finally had an effect that I liked and was able to carry on adding details such as the creases. To make the creases, I sub divided the model into many small squares and group selected different areas and pushed them in and out, so it looked like the packet had small dips where creases had formed. Then I added the edges where the crisps sealed together by extruding the top and bottom edges to create a flat rectangle.
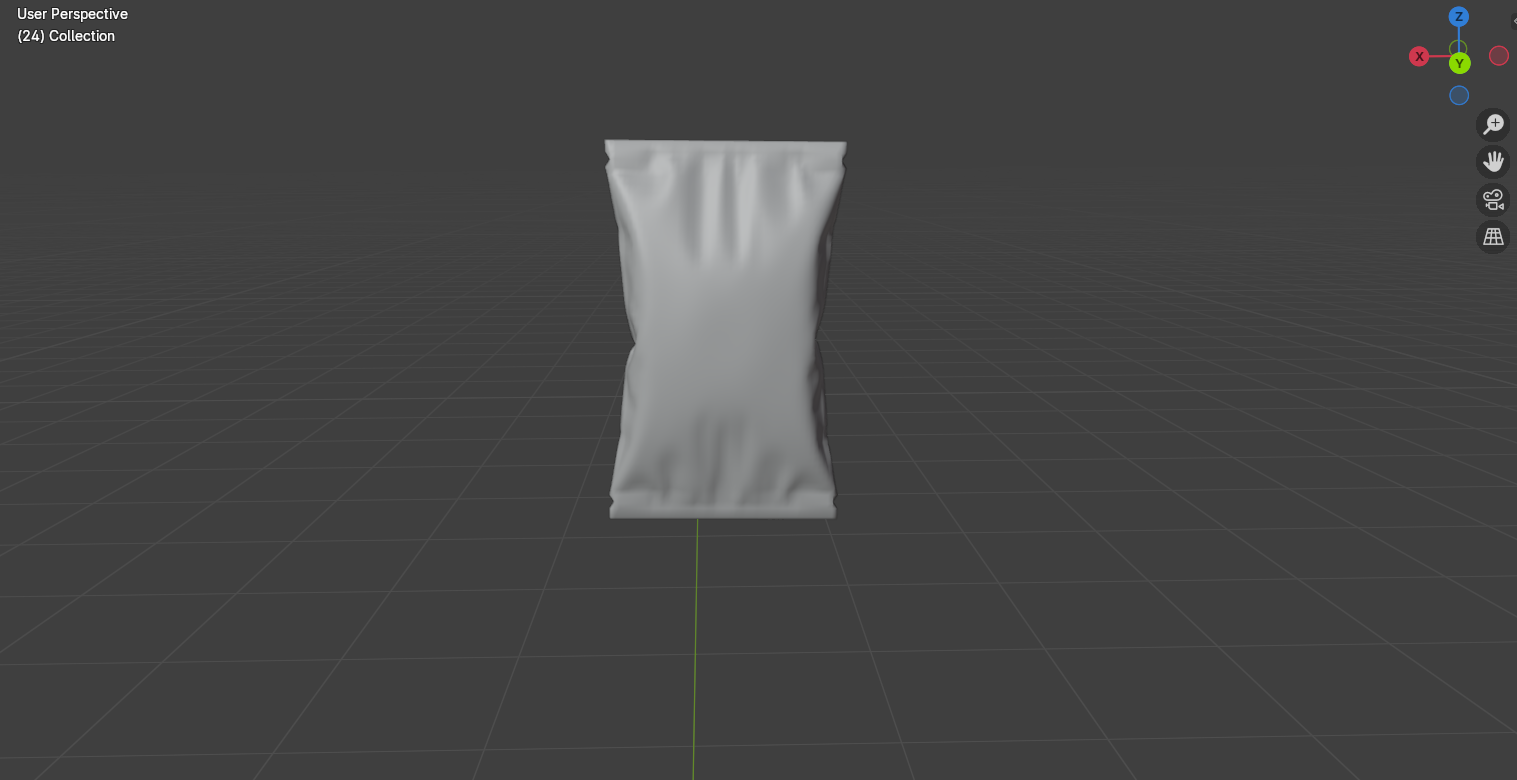
Solid View of Chocolate Bar
Wireframe View of Chocolate Bar
To make the chocolate bar, I used a single plane and used extrusions to create folds and to make the package take a rectangular shape. I did this instead of using a single rectangle because I wanted to create the overlapping parts instead of a solid single shape.
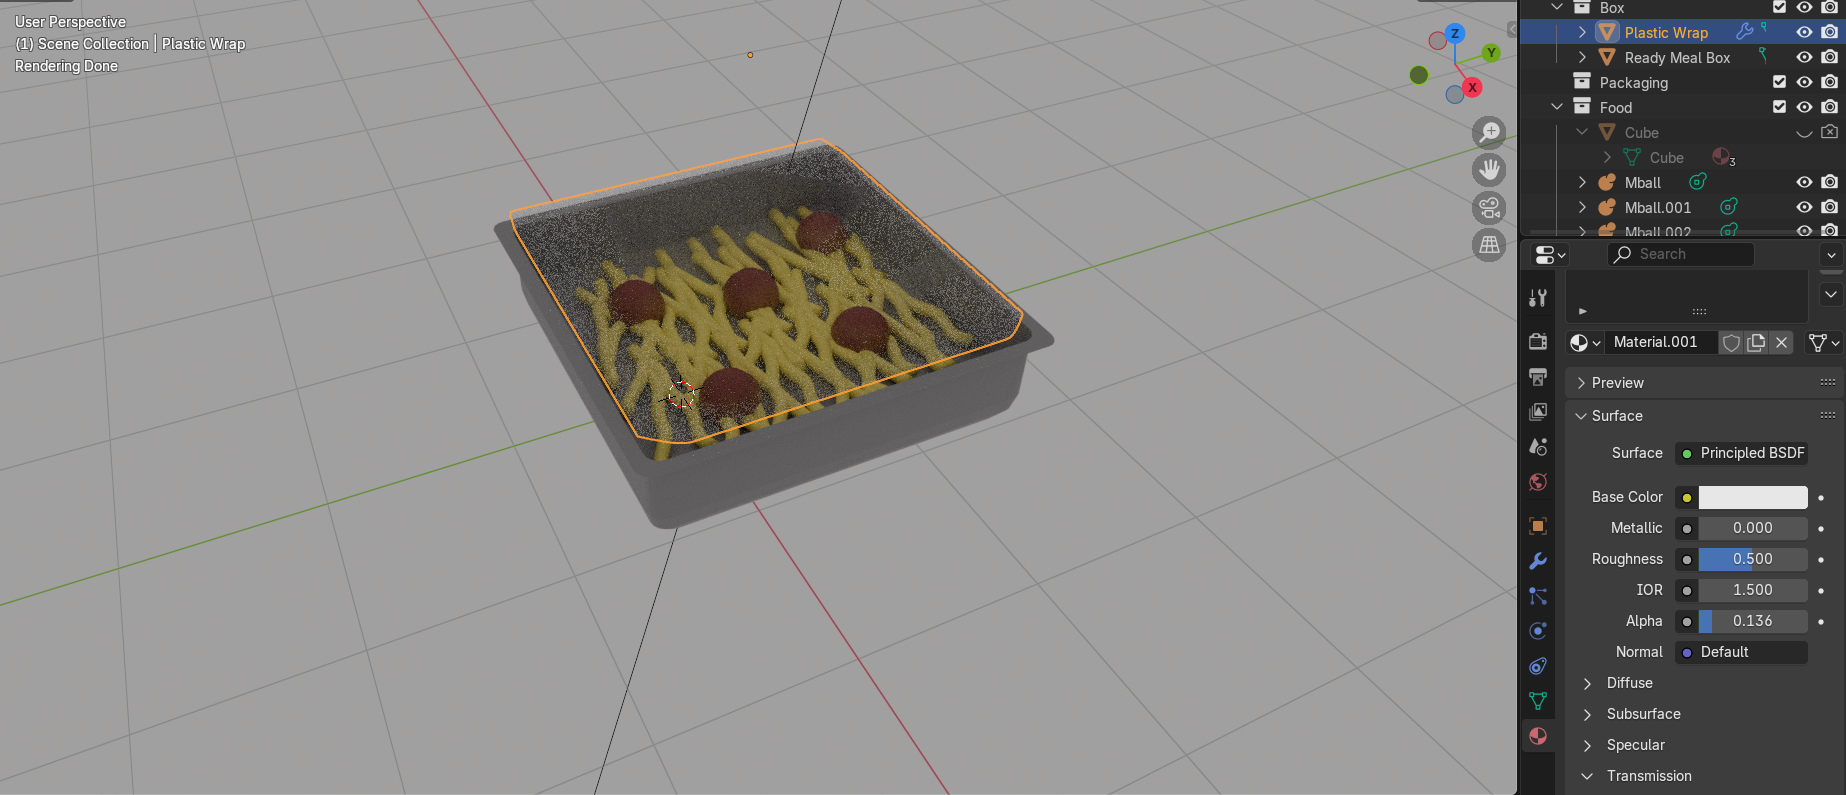
Material Settings for Plastic Tray
I then had to add textures to the models. I started with the basic textures such as the plastic tray design. I used a glossy material to make the plastic look shiny and a solid colour for the main tray. For the seal, I used a transparent shader and turned the opacity down so that it looked translucent and I turned the roughness down to add a slight shine to reflect light.
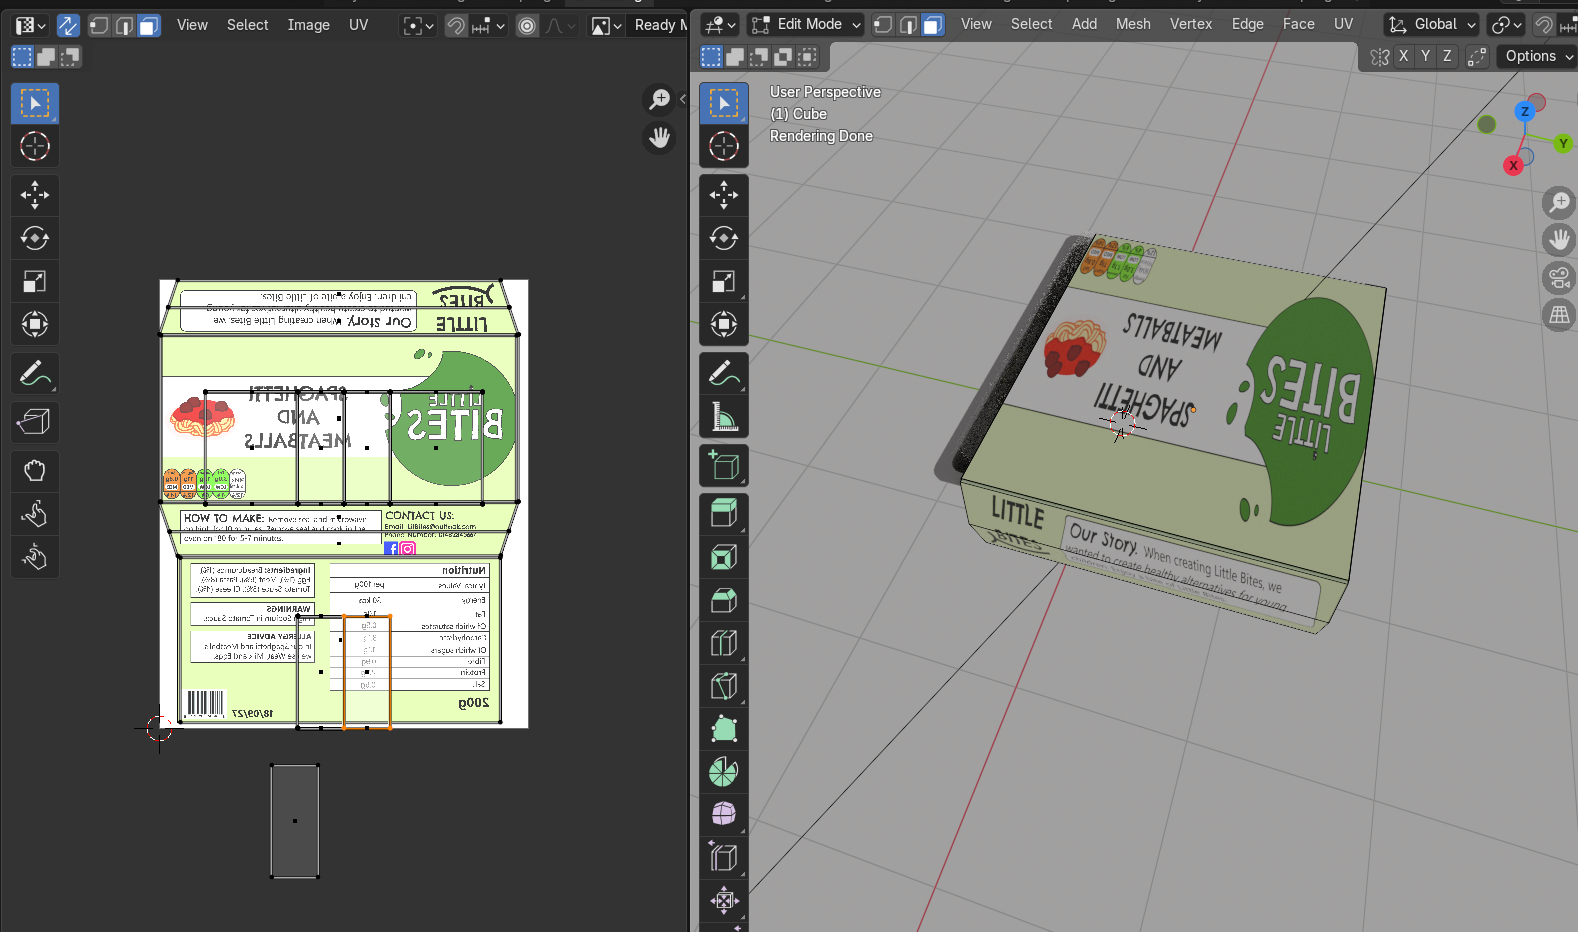
UV Unwrapping Packaging Design
For the rest of the packaging, I wanted to use my designs I had already made. This meant I had to UV unwrap the models and apply the designs on top. I clicked on the edges of my models and clicked mark seams to show where the stops in the packaging were, before pressing u+smart unwrap to create flat versions of the packaging which I was then able to lay over my designs to place them onto the packaging. I had an issue with the designs mirroring on one side of the models and found this frustrating as I wasn’t sure on how to fix this in Blender, so instead I went back to Illustrator, and I flipped the areas which were mirroring. When I brought them back into the UV editor, it fixed the problem, and the designs were correct.
On top of the UV’s, I also added some material adjustments such as turning the roughness down on the crisps to make them look shiny with a plastic coating. For the chocolate bar I kept the roughness higher, so the packaging was more matte and paper like.
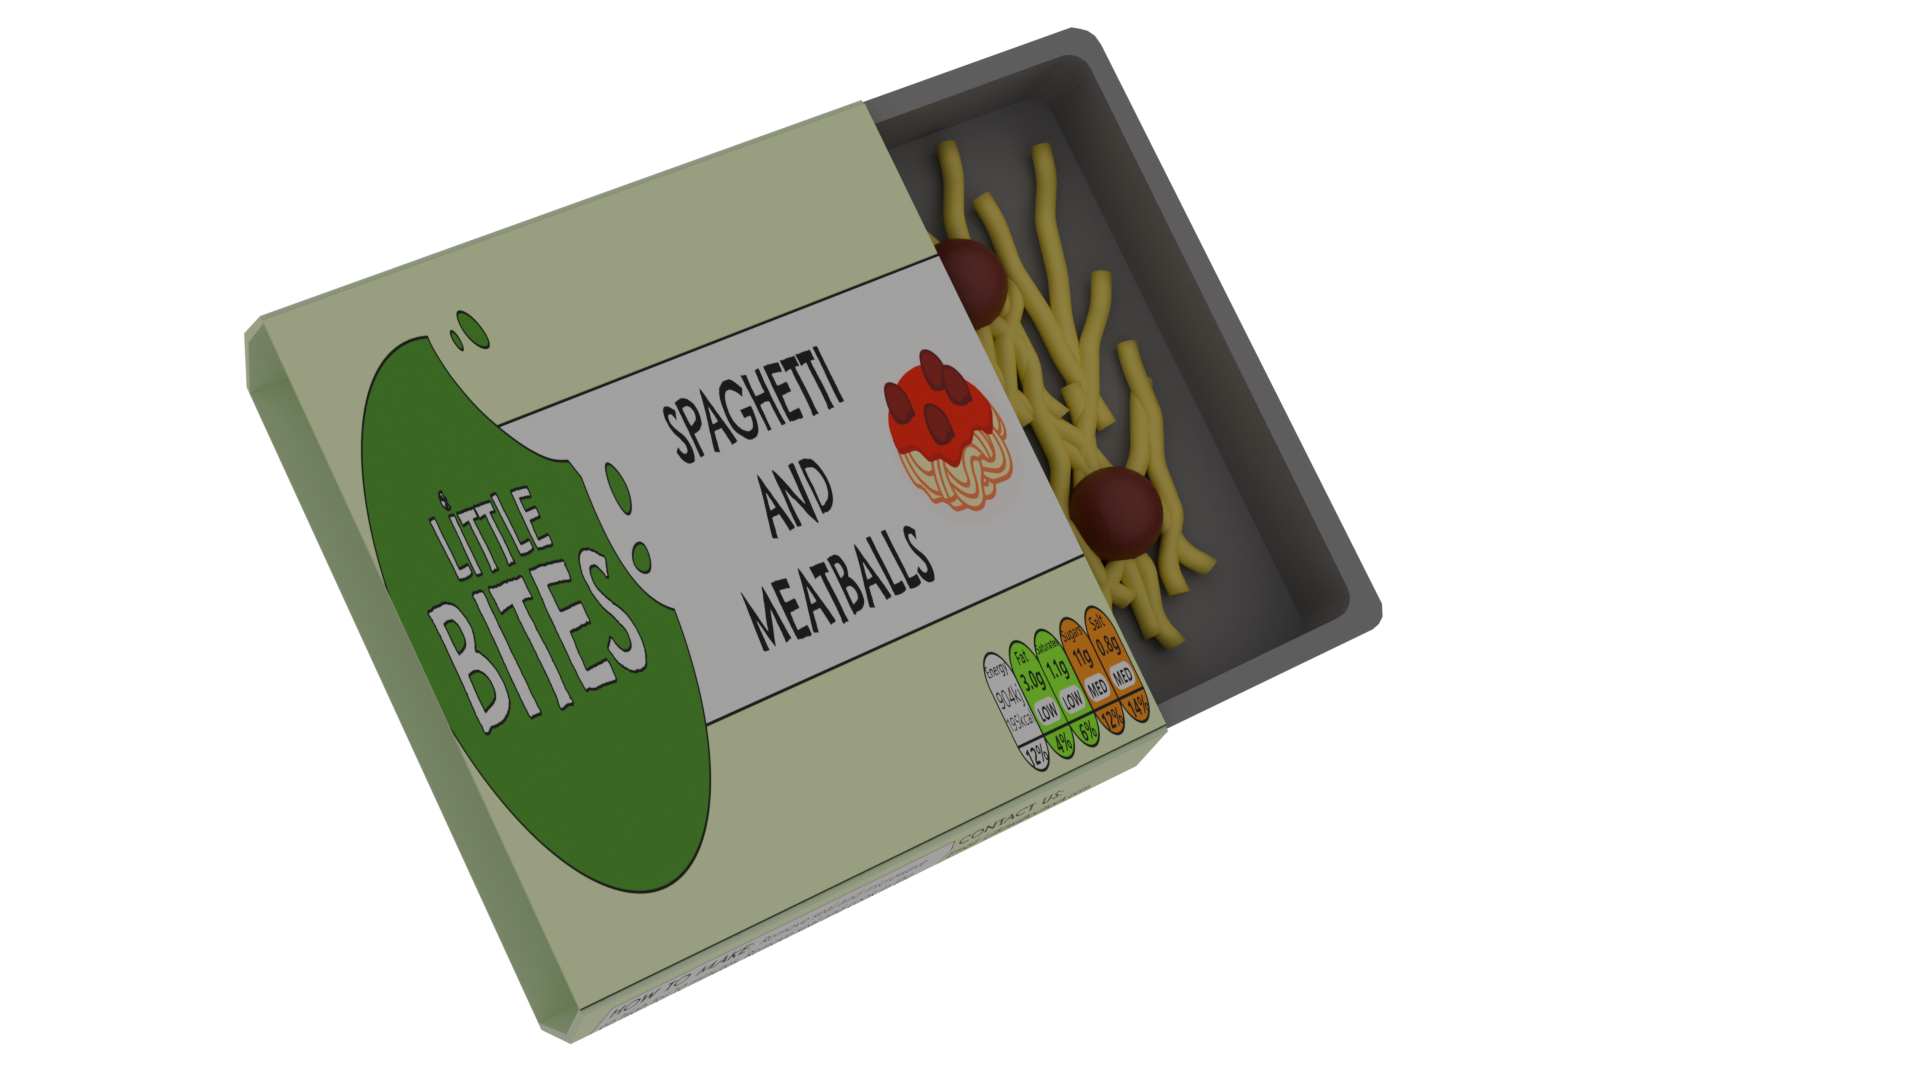
Ready Meal Test Render Open
Ready Meal Test Render Side
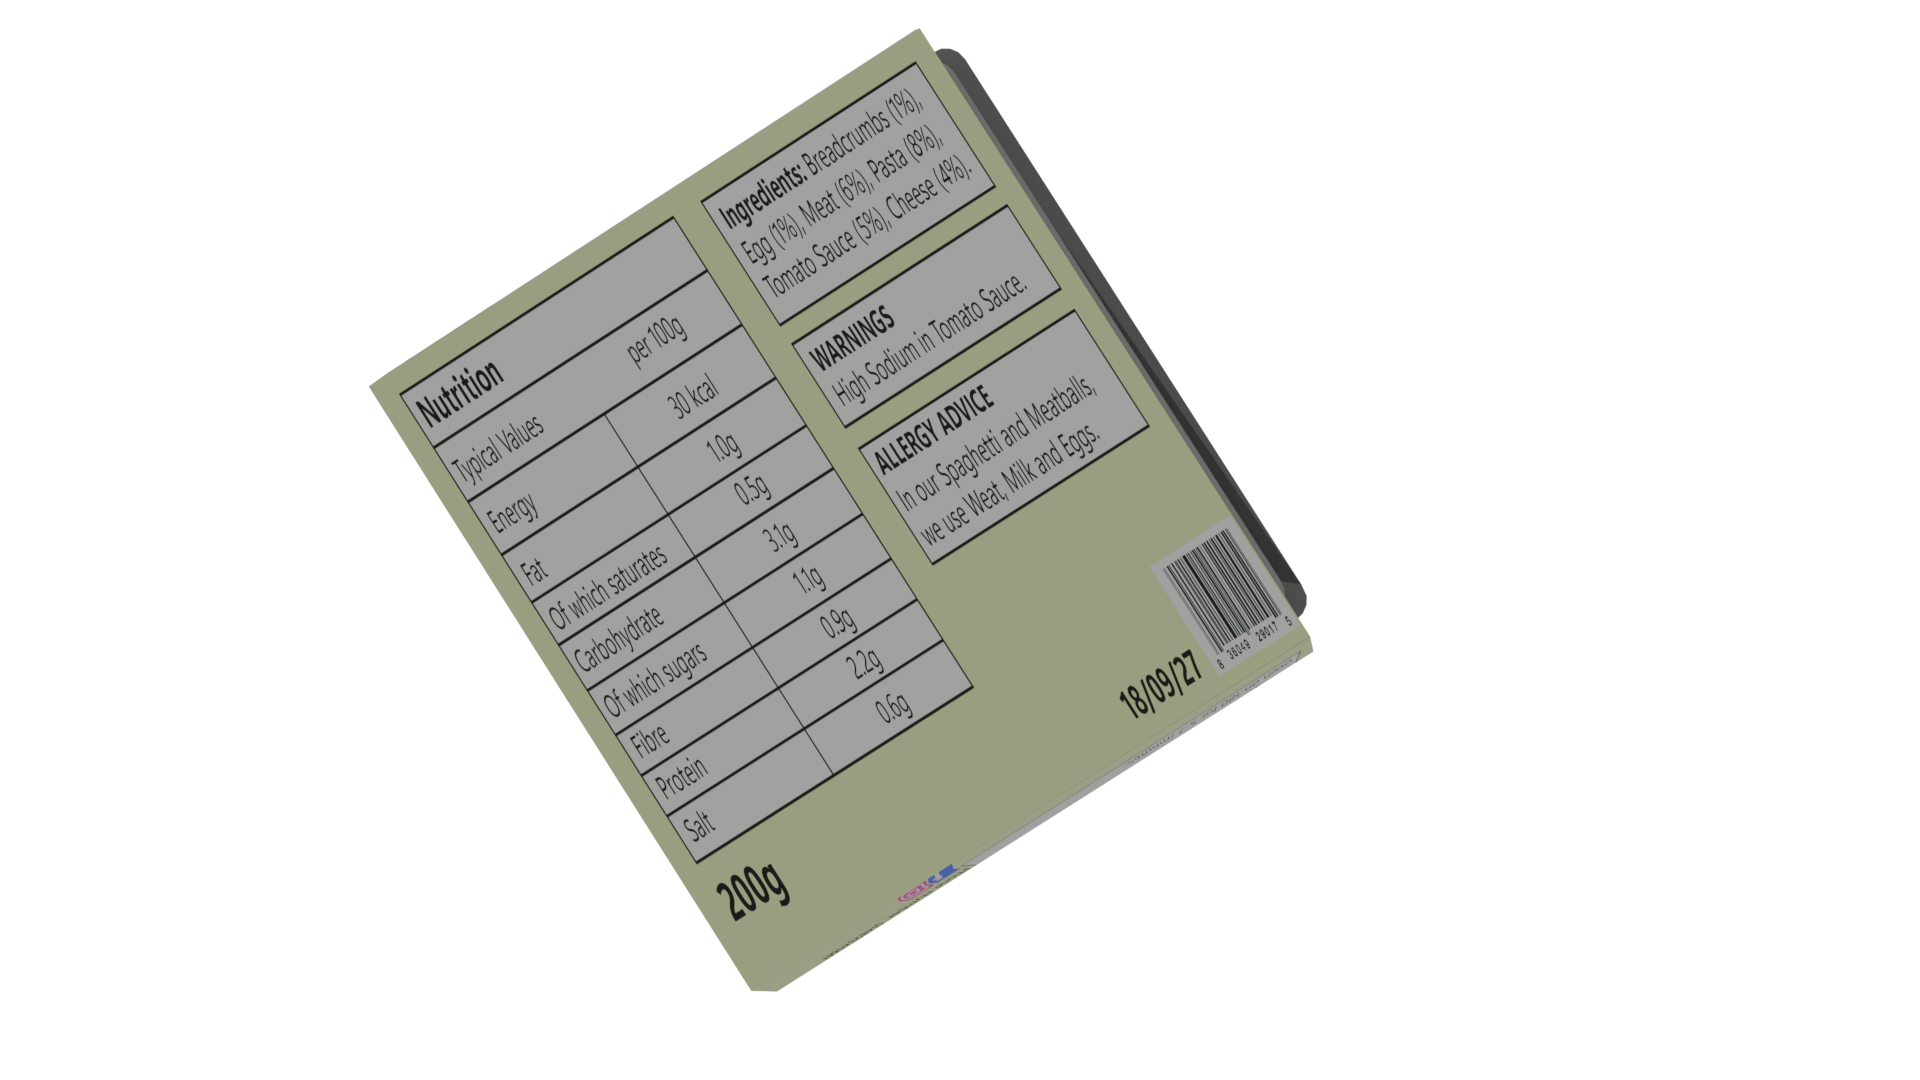
Ready Meal Test Render Back
Crisps test render side and front
Crisps test render back
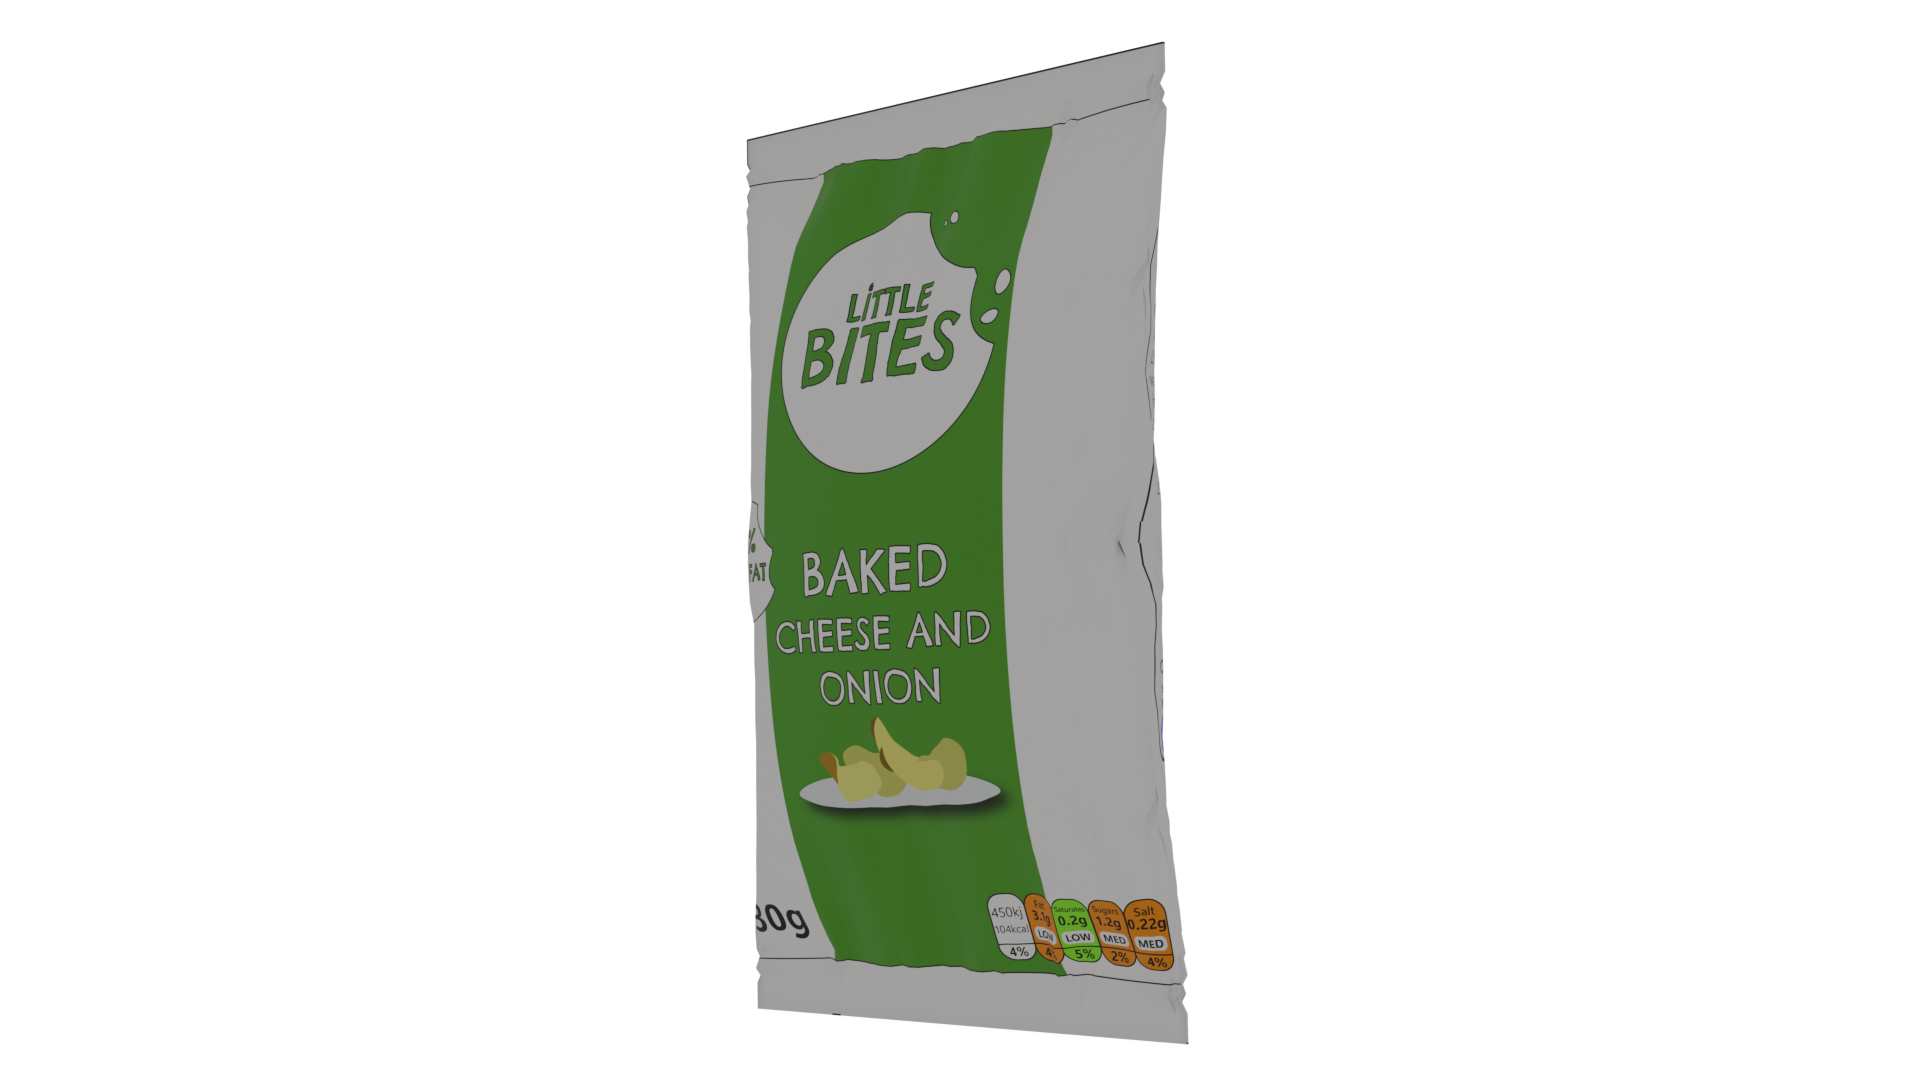
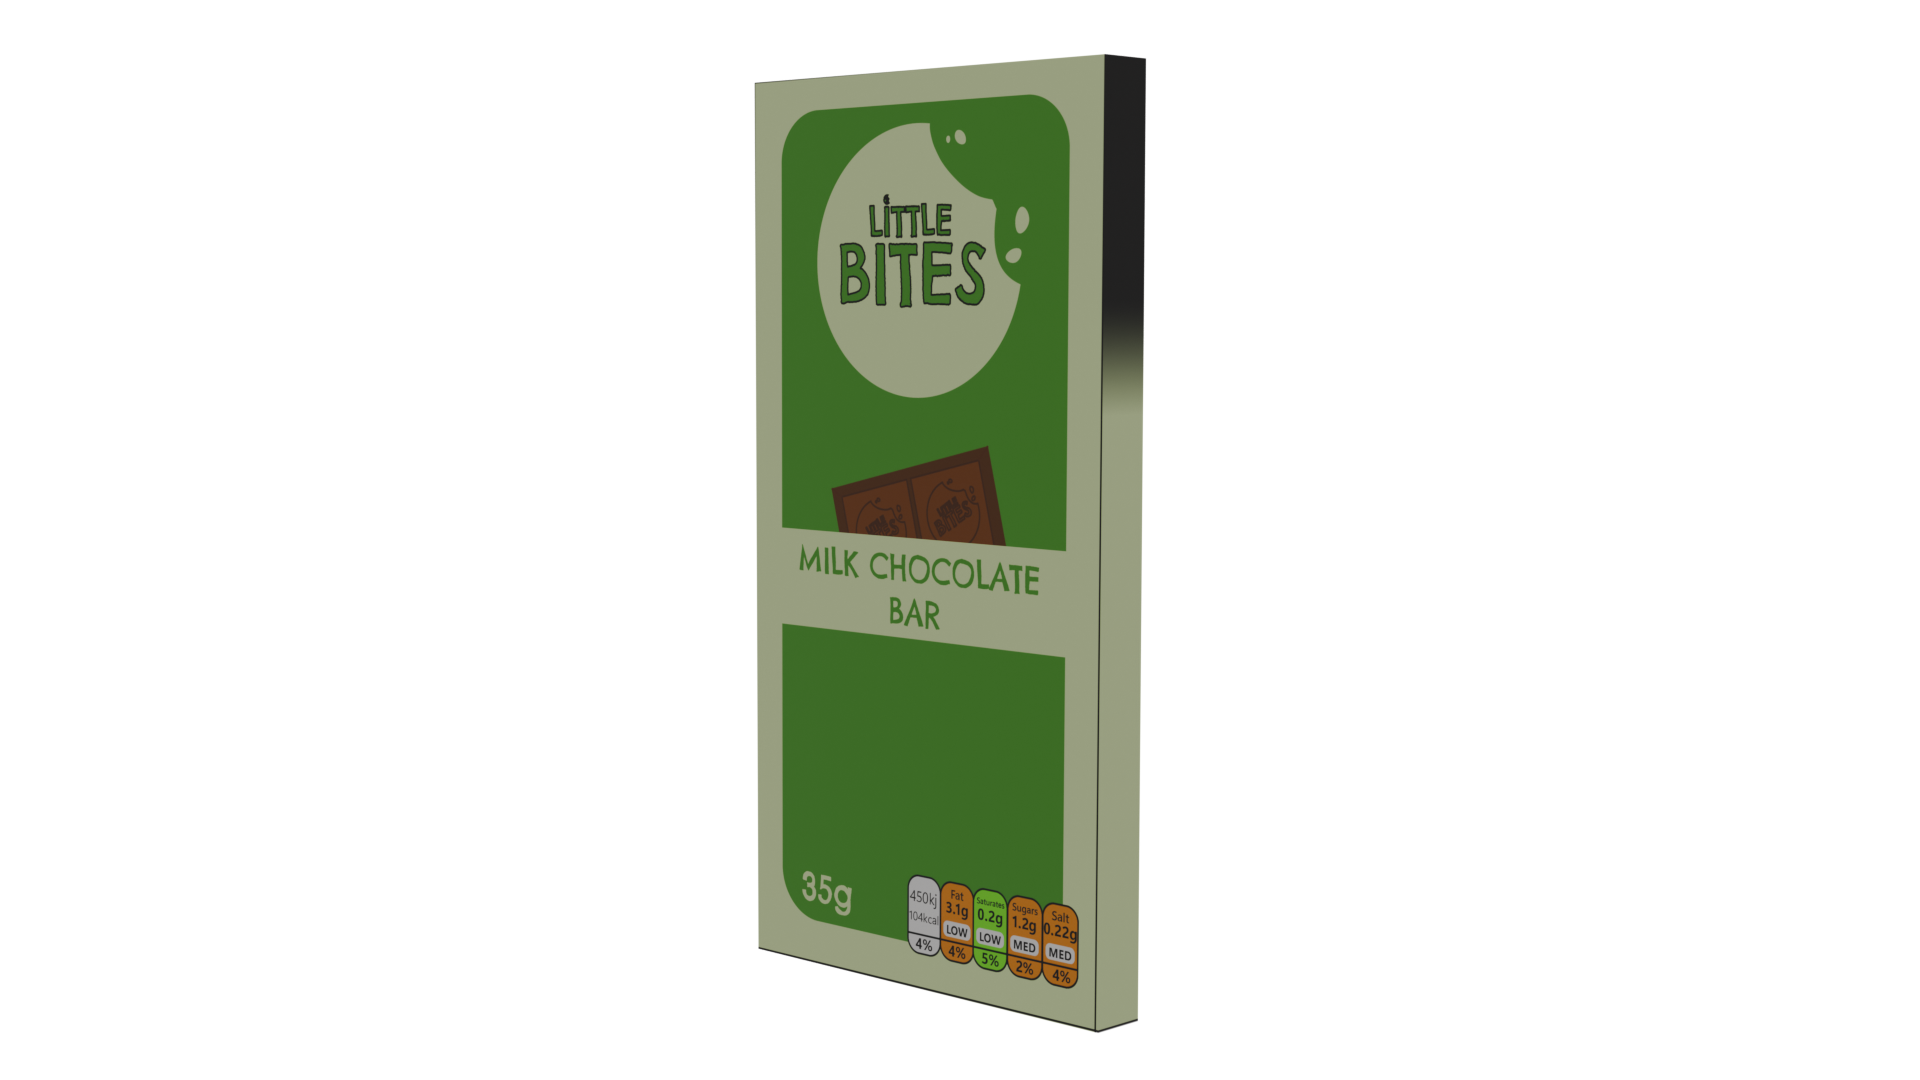
Chocolate Bar Test Render Front and Side
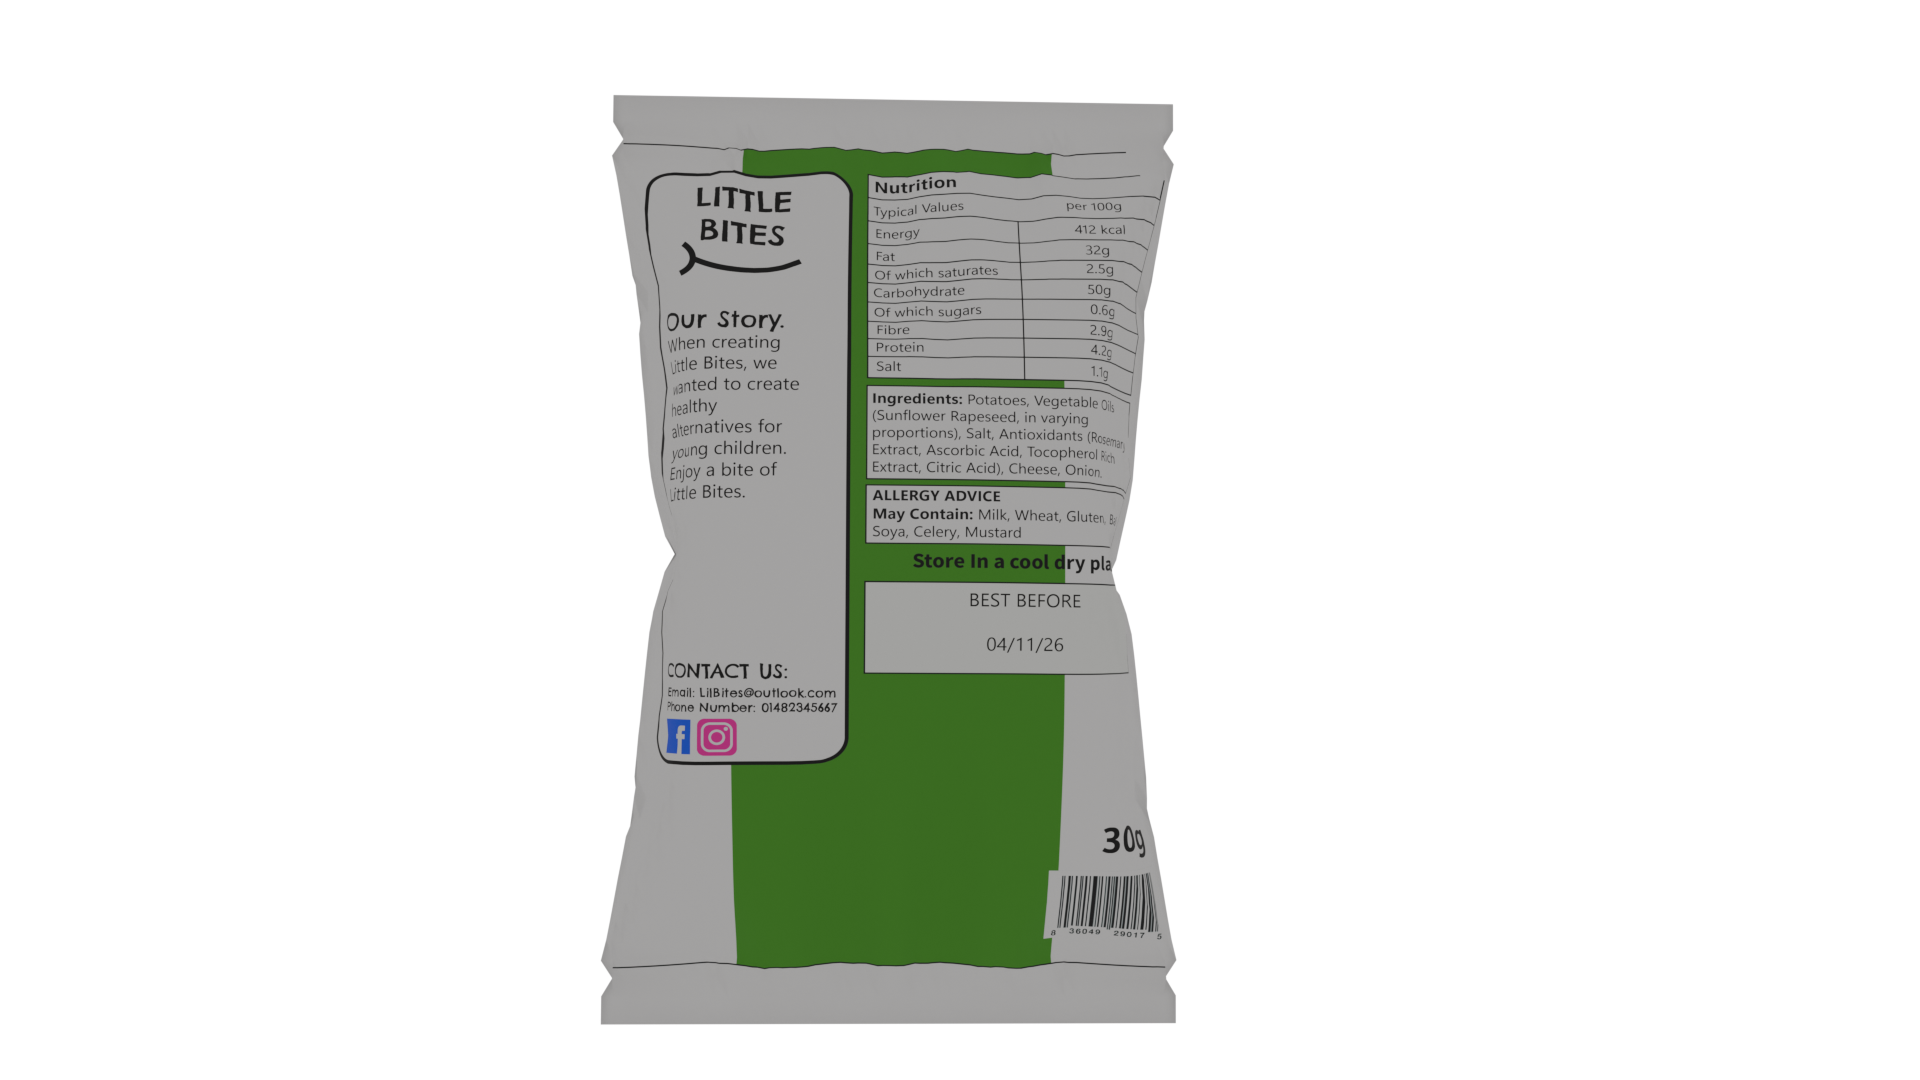
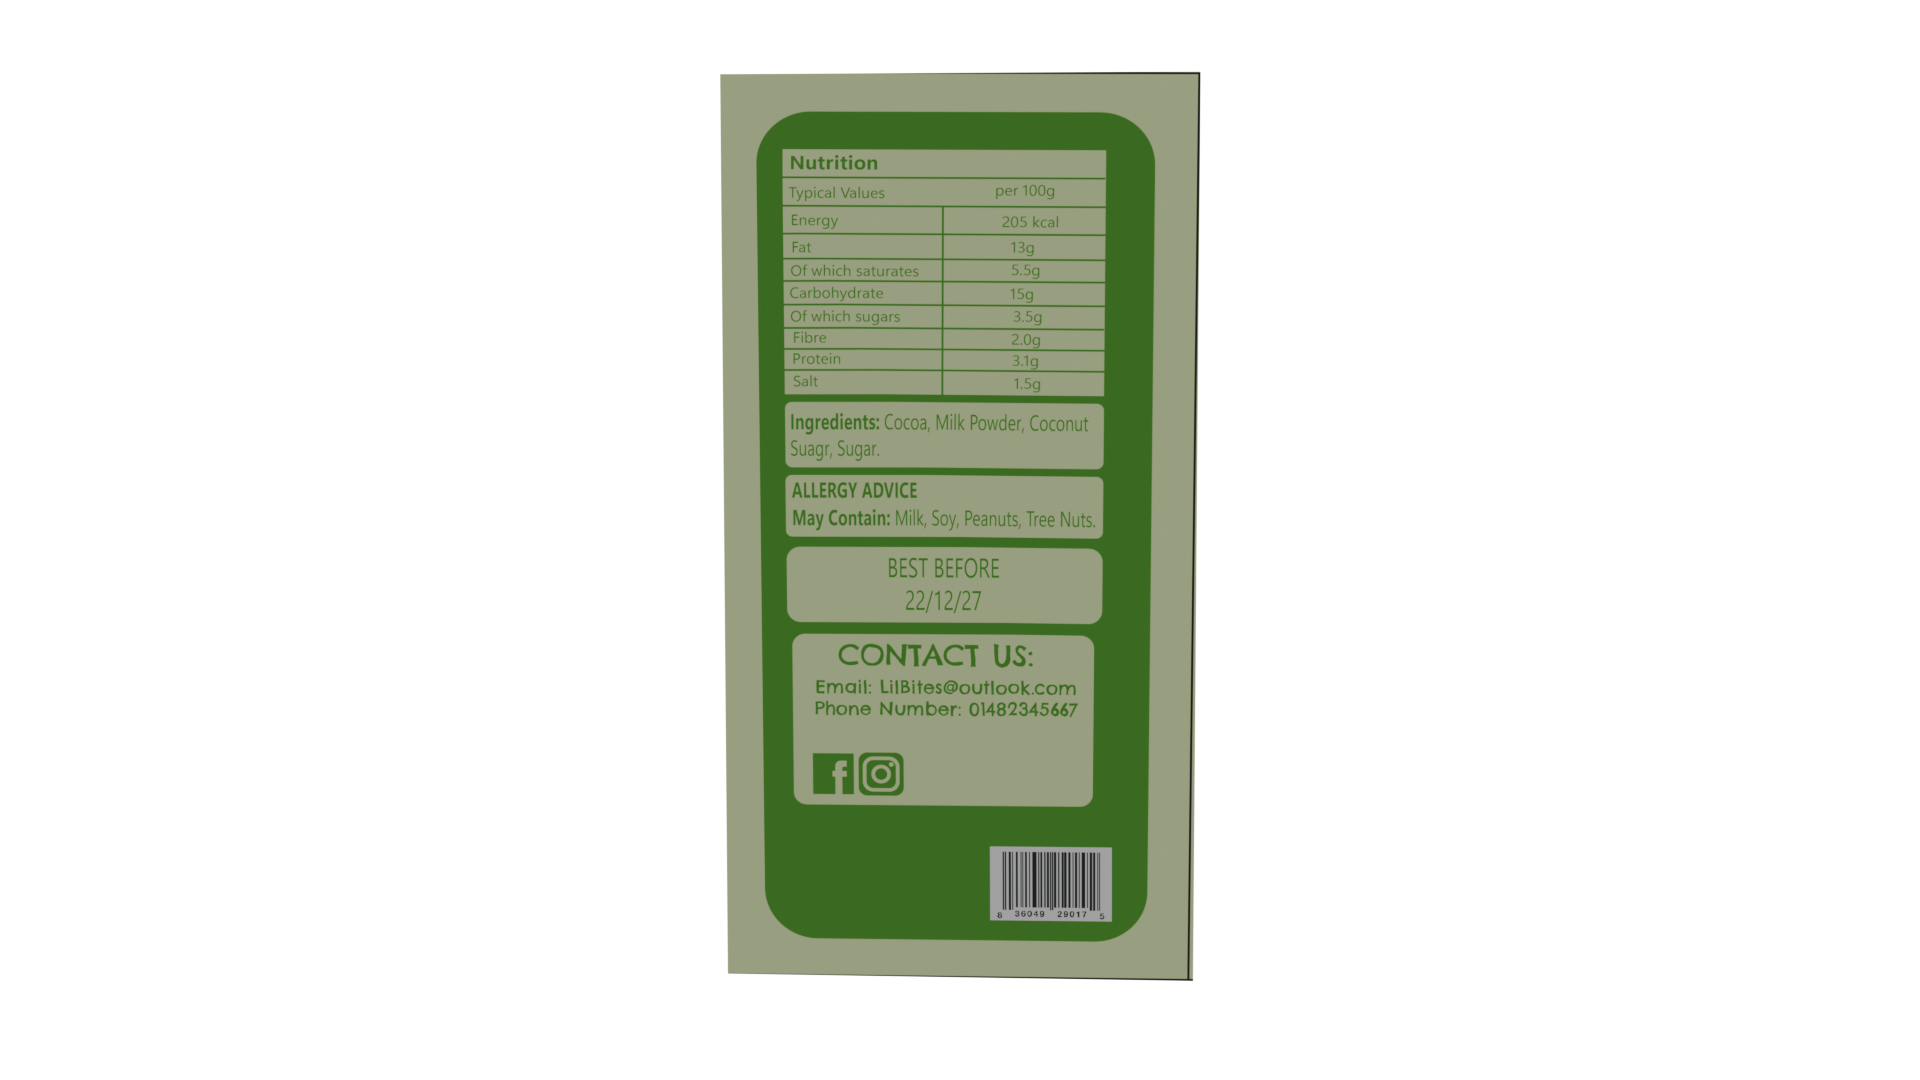
Chocolate Bar Test Render Back
I then made some renders of the models and captured them from different angles to make sure they look all right. I have used the EEVEE render cycle which is quicker but looks less realistic than Cycles. I have tested in EEVEE because I plan to use these models in an animation, which will be rendered in EEVEE for a more stylised and kid-friendly look.
Reference List:
BlenderVitals (2023) Create Chips in Blender in 1 Minute! [Video]. Available Online: Create Chips in Blender in 1 Minute! [Accessed: 06/03/2025]