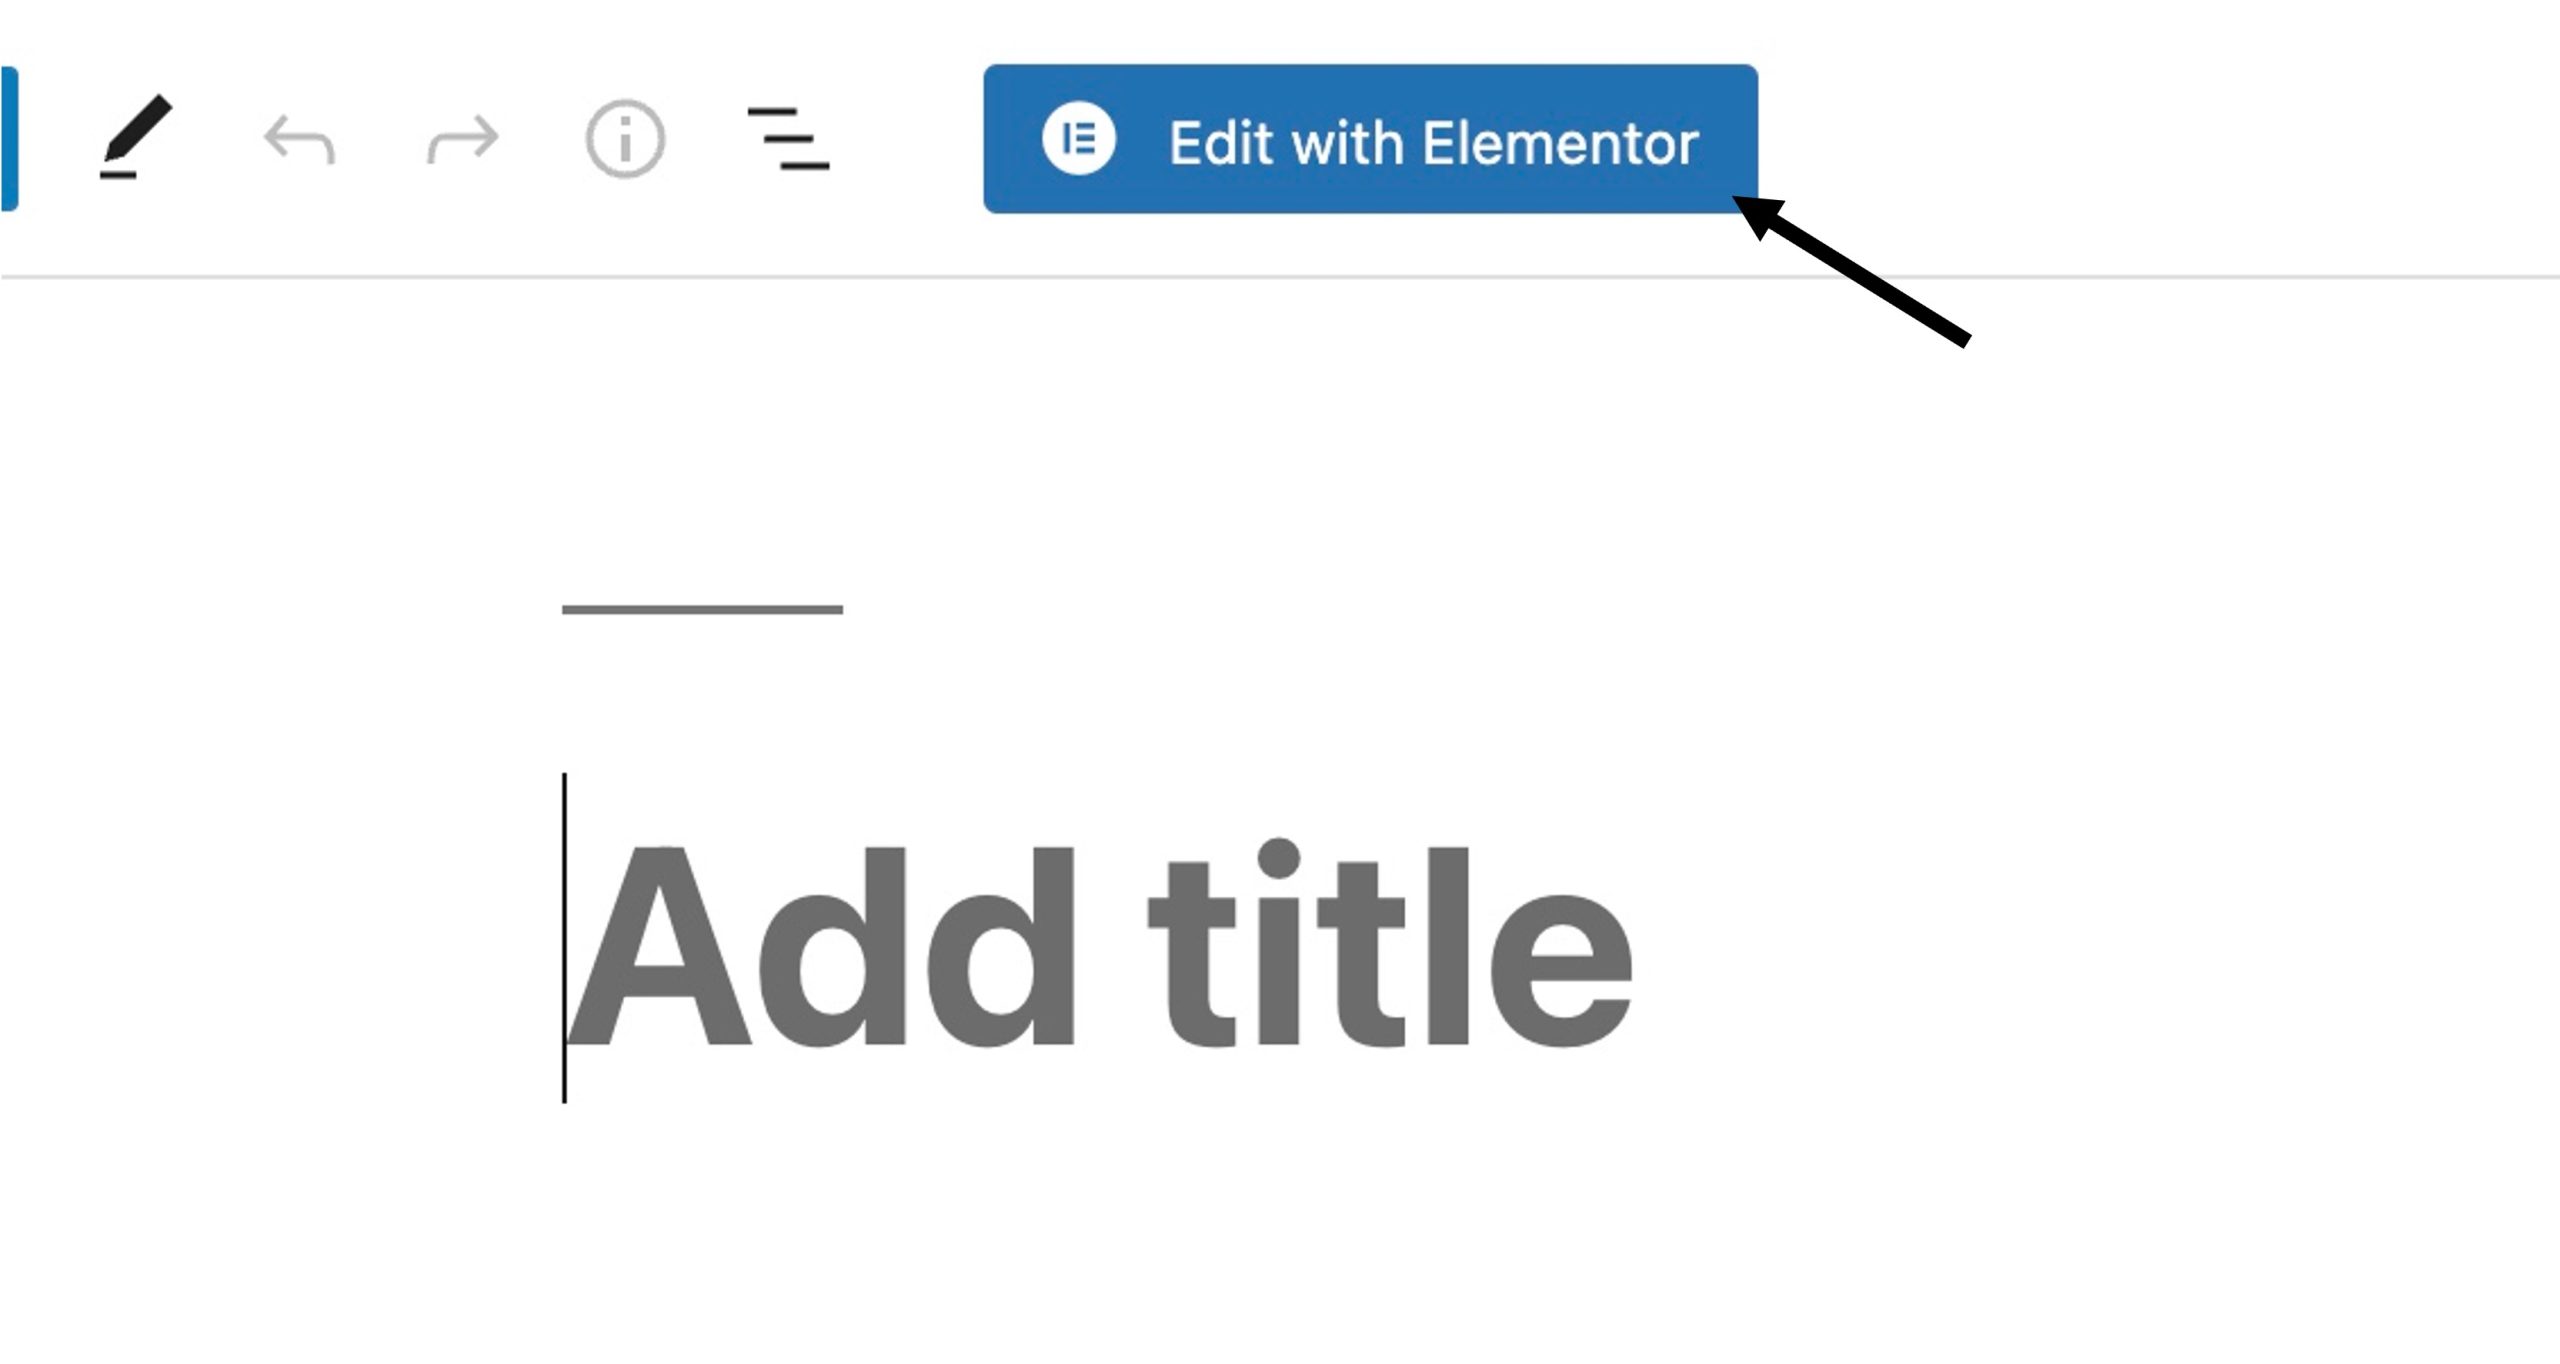
Step 1.You would start by creating a new post in WordPress. To access Elementor, you would press the'Edit with Elementor' button at the top of the screen.
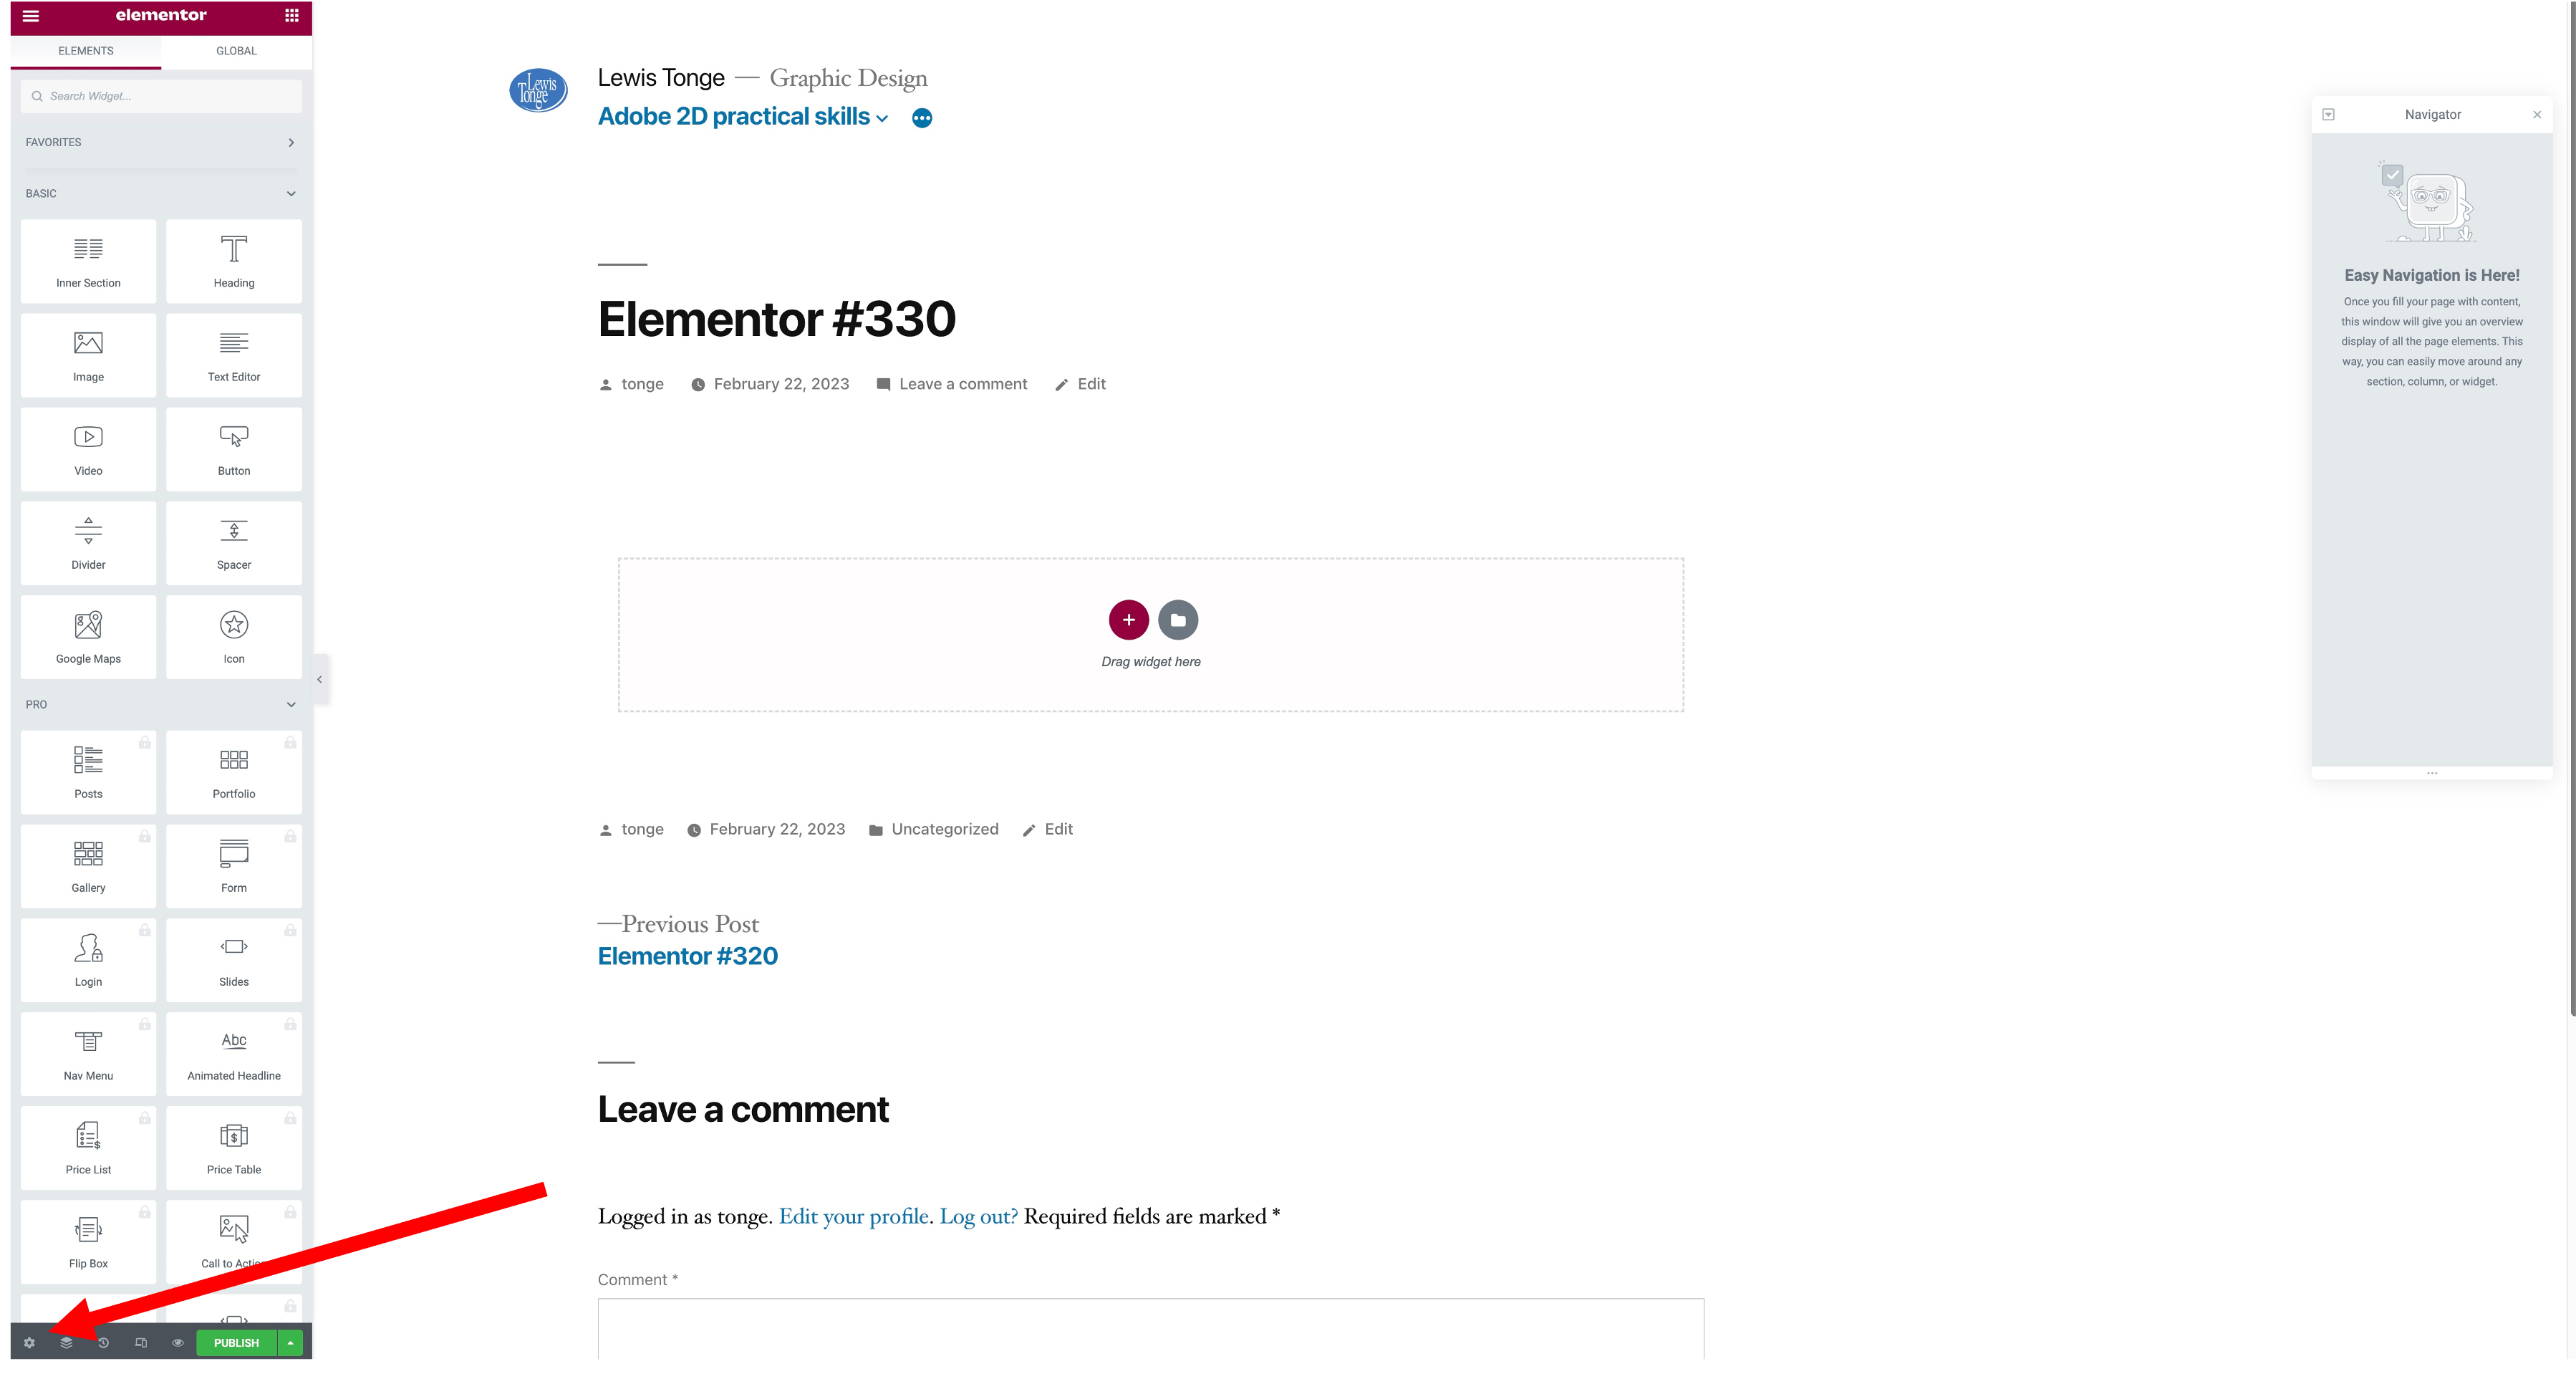
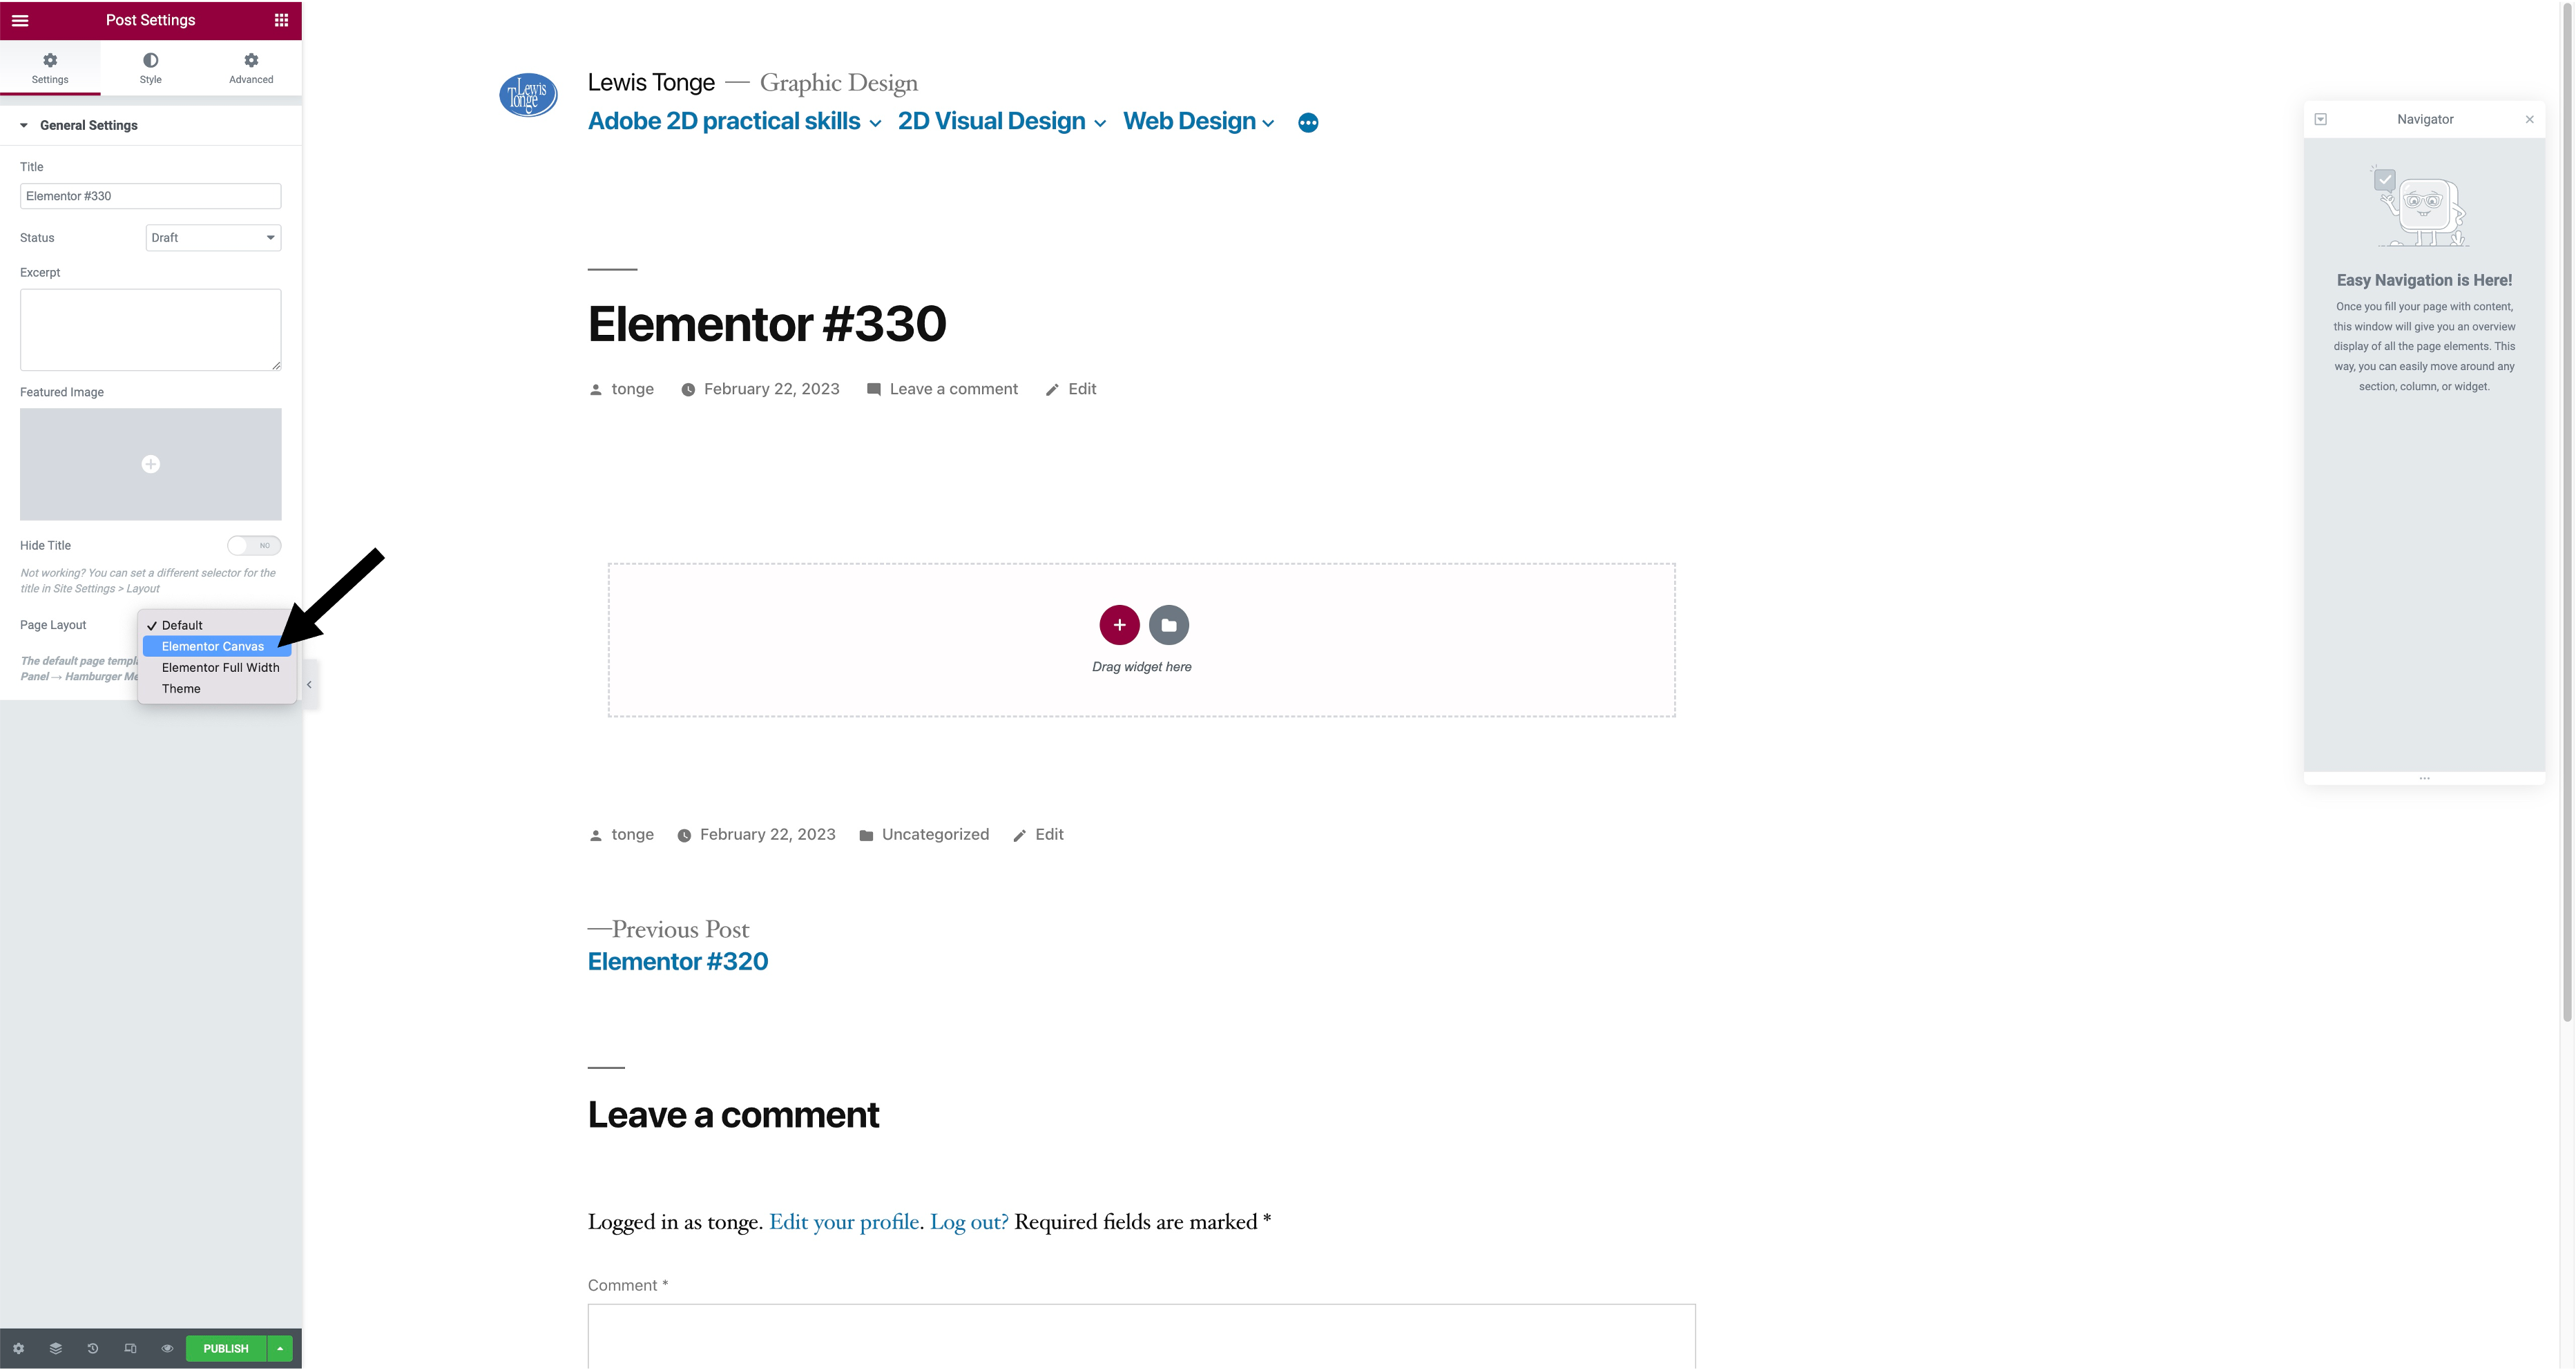
Step 2. Once you have done this, you will go down to settings in the bottom left, then go to page layout and press 'Elementor canvas'.
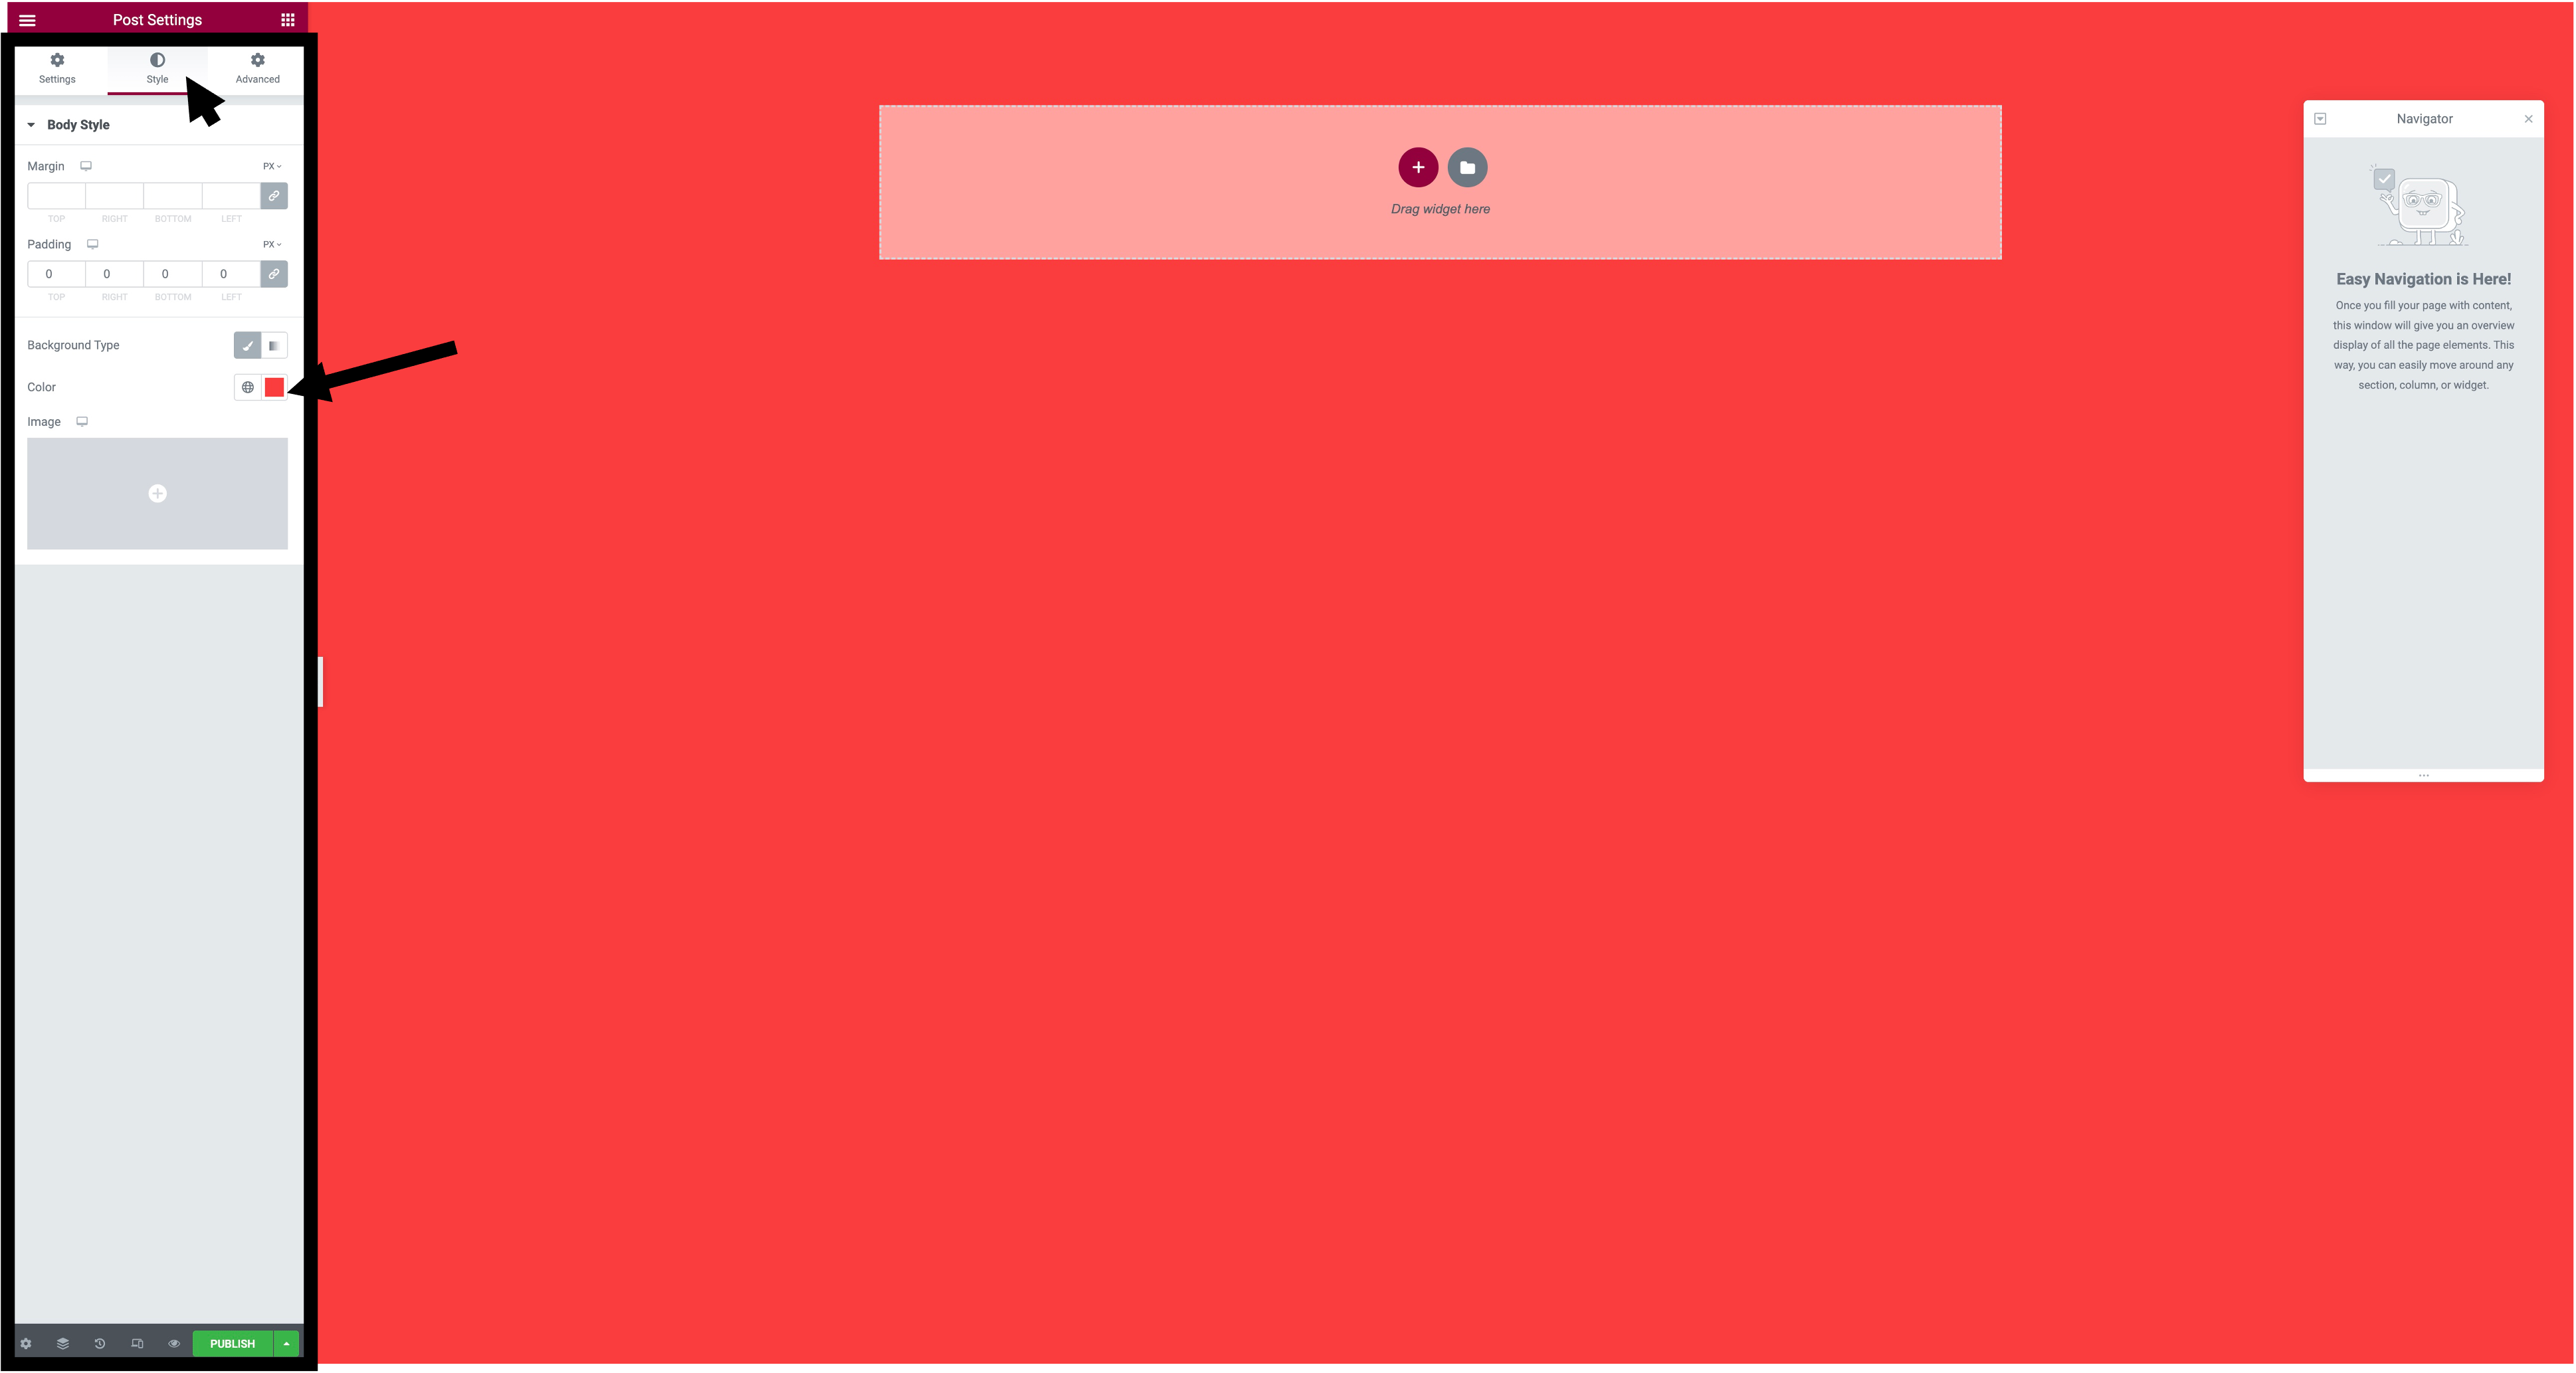
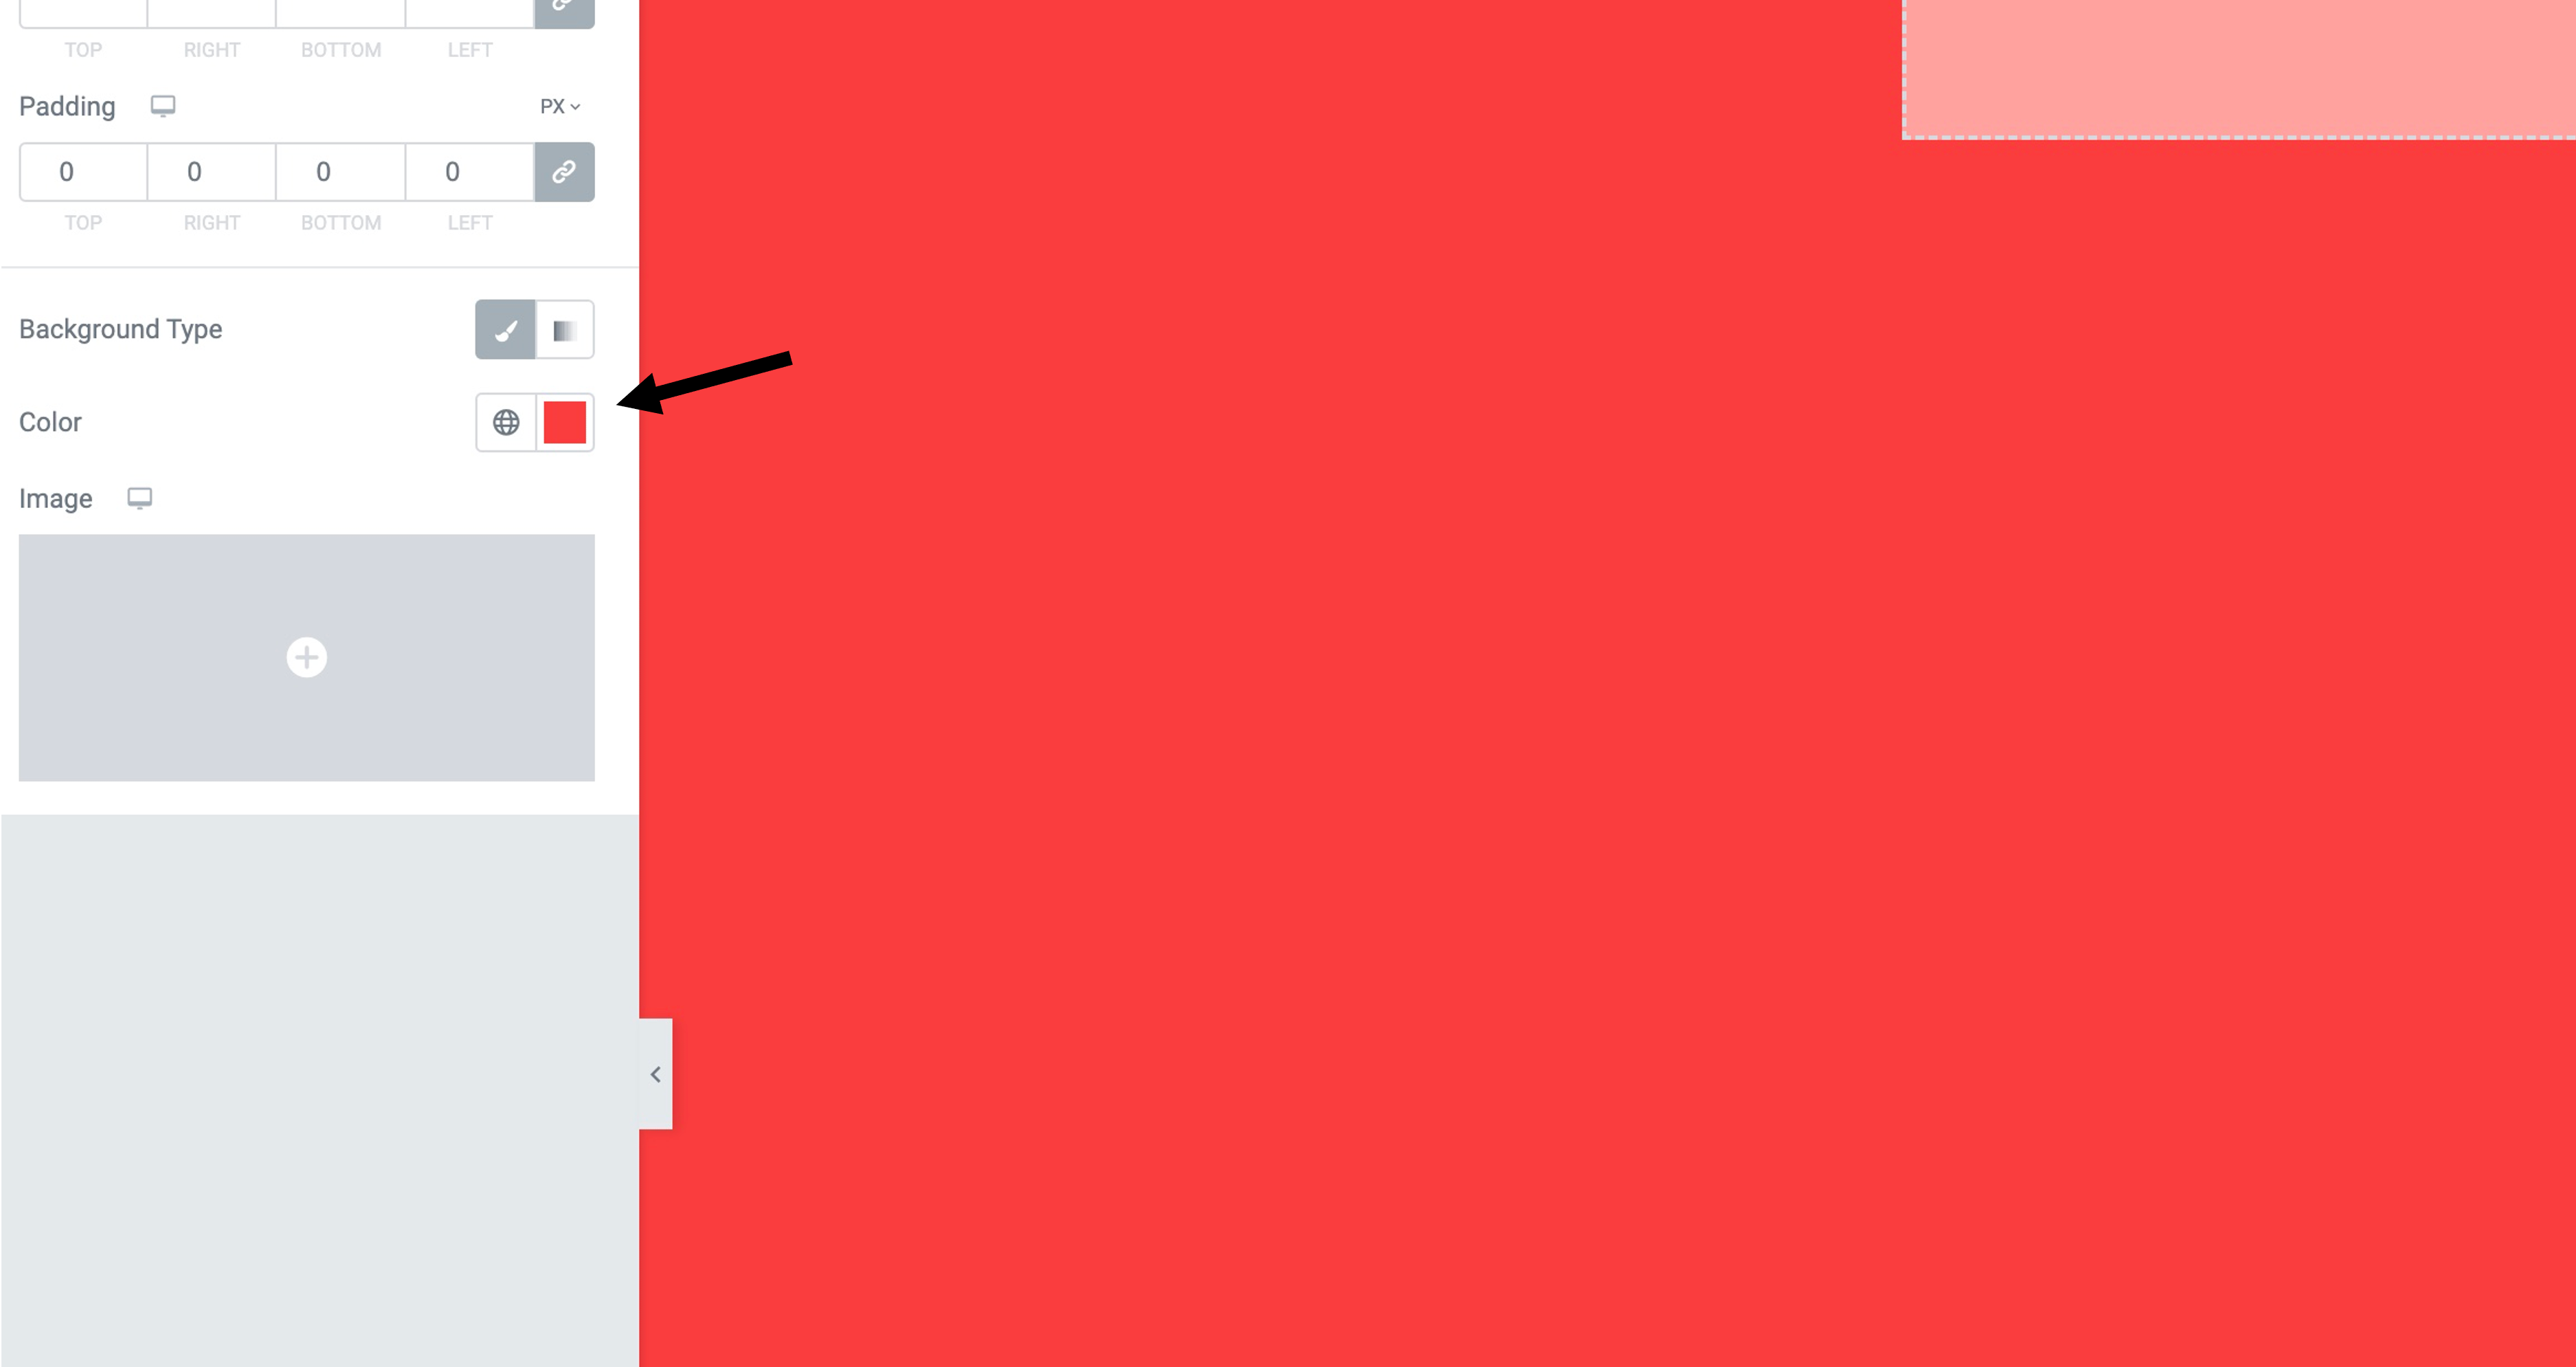
Step 3. After you have pressed 'Elementor canvas' you will might want to change the background, to do that you would go to style, background type then colour and choose which colour you want as a backgound.
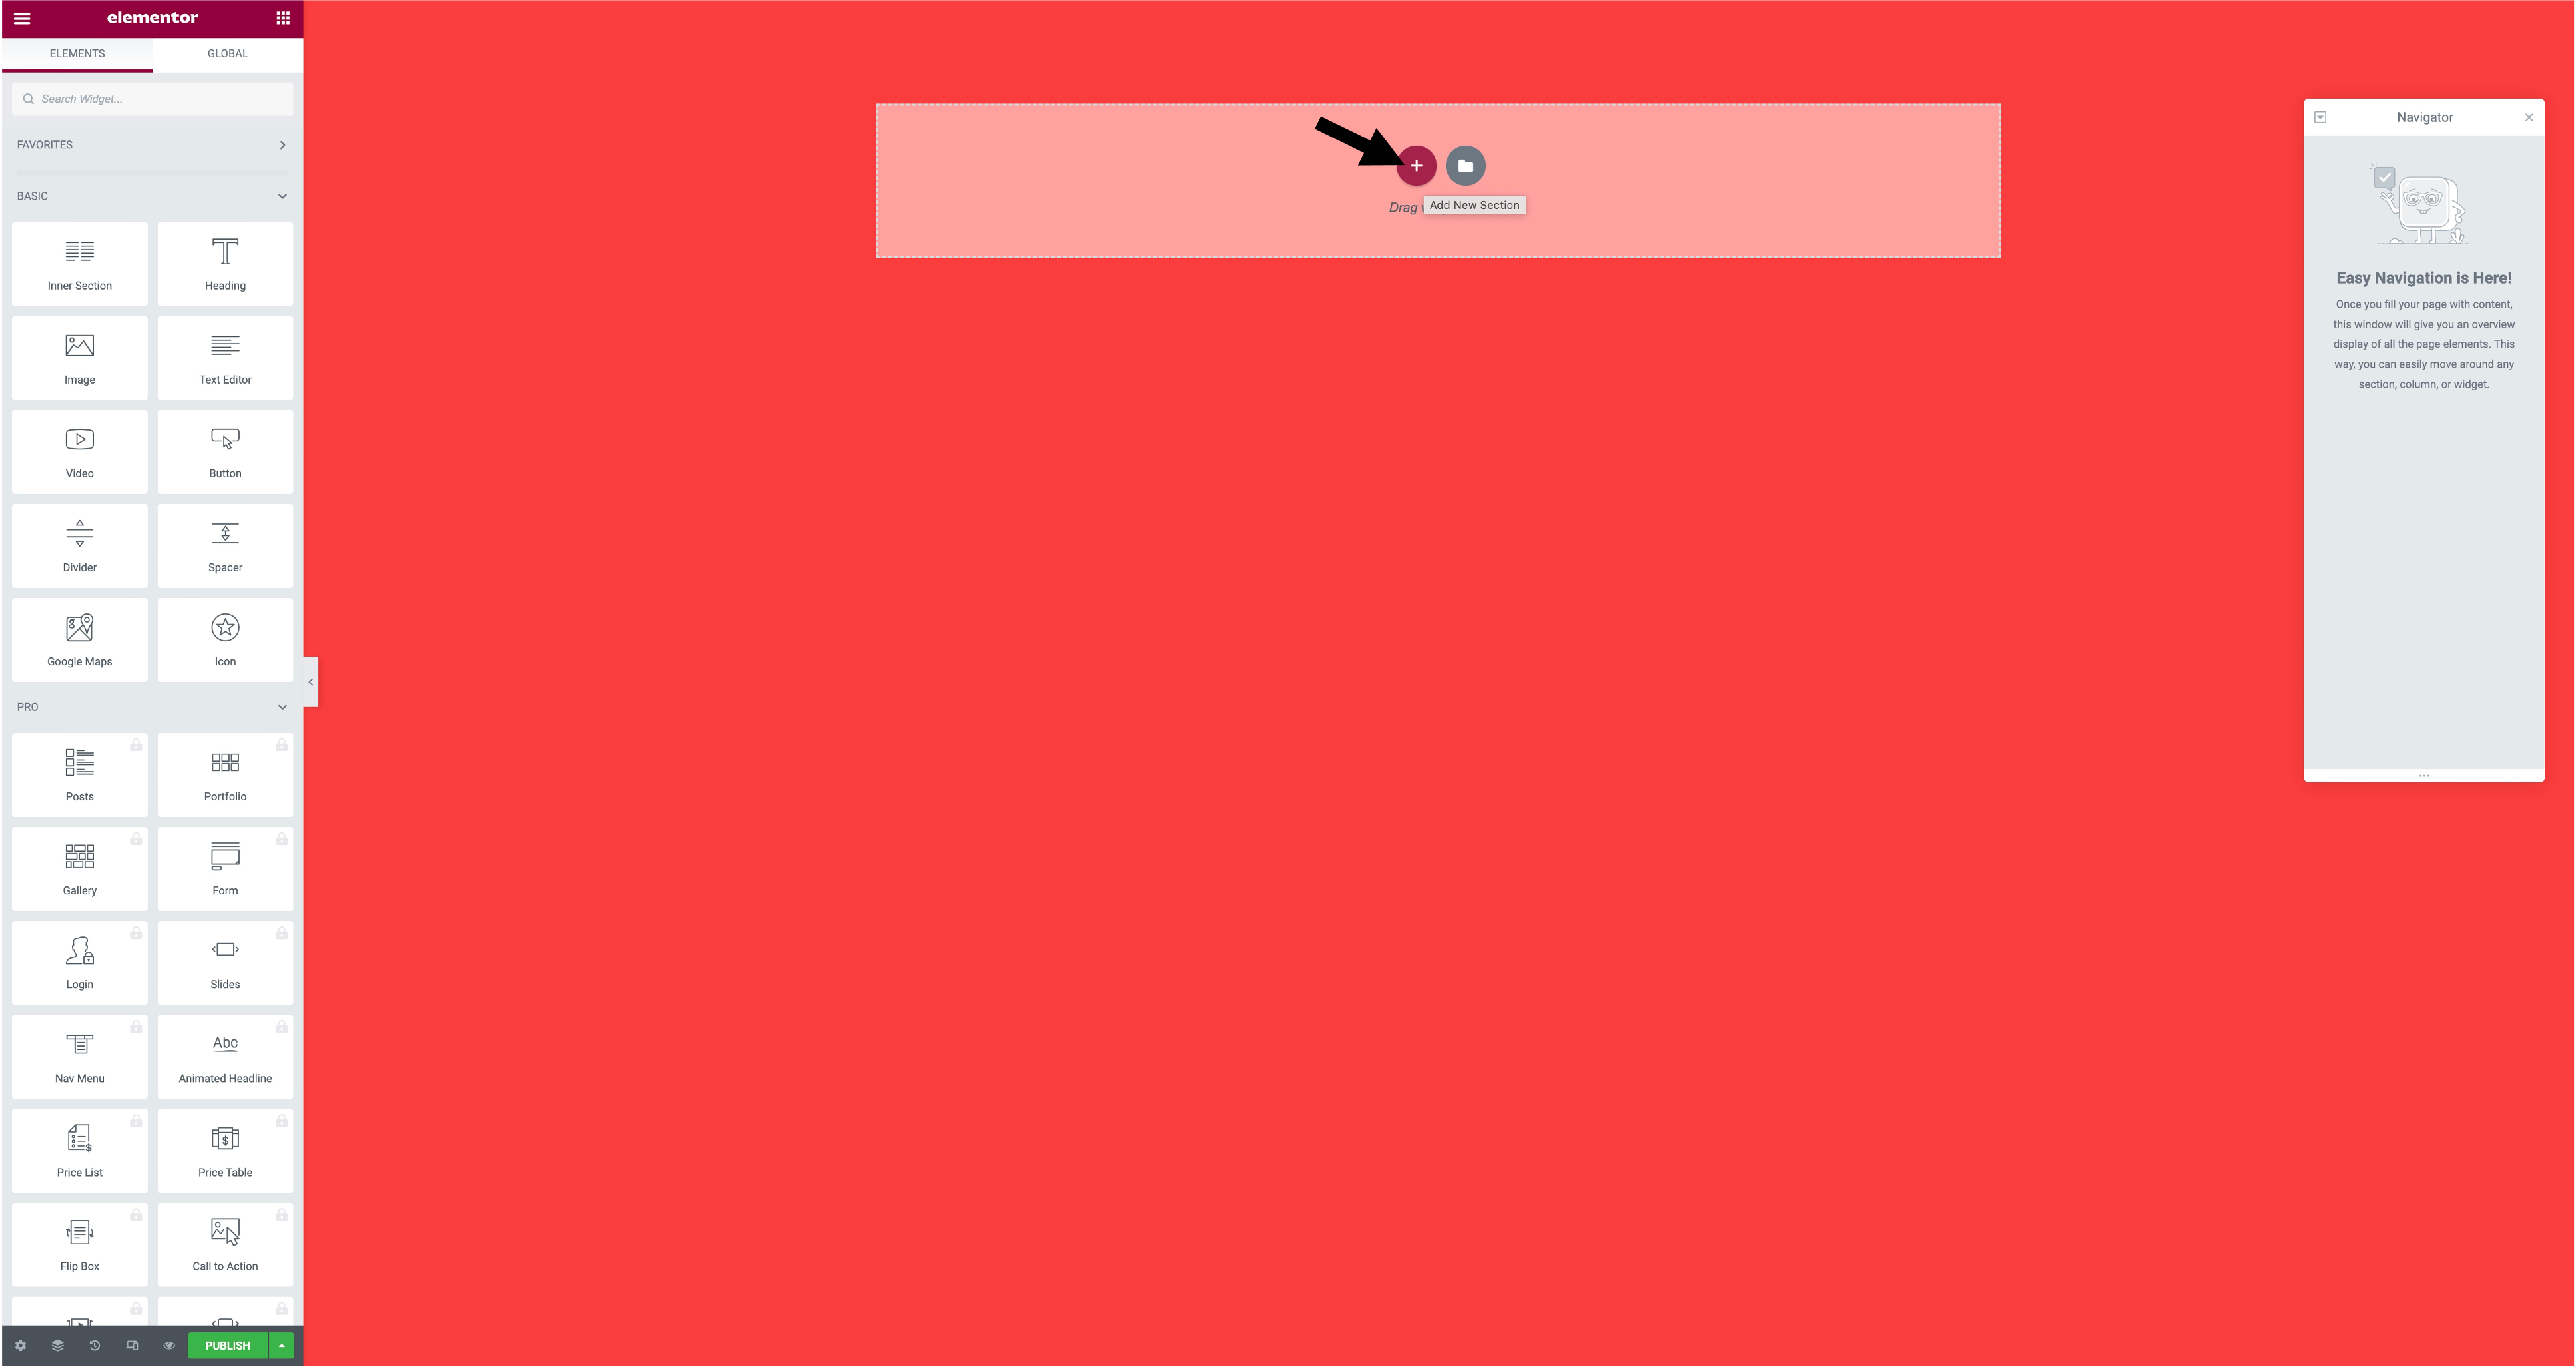
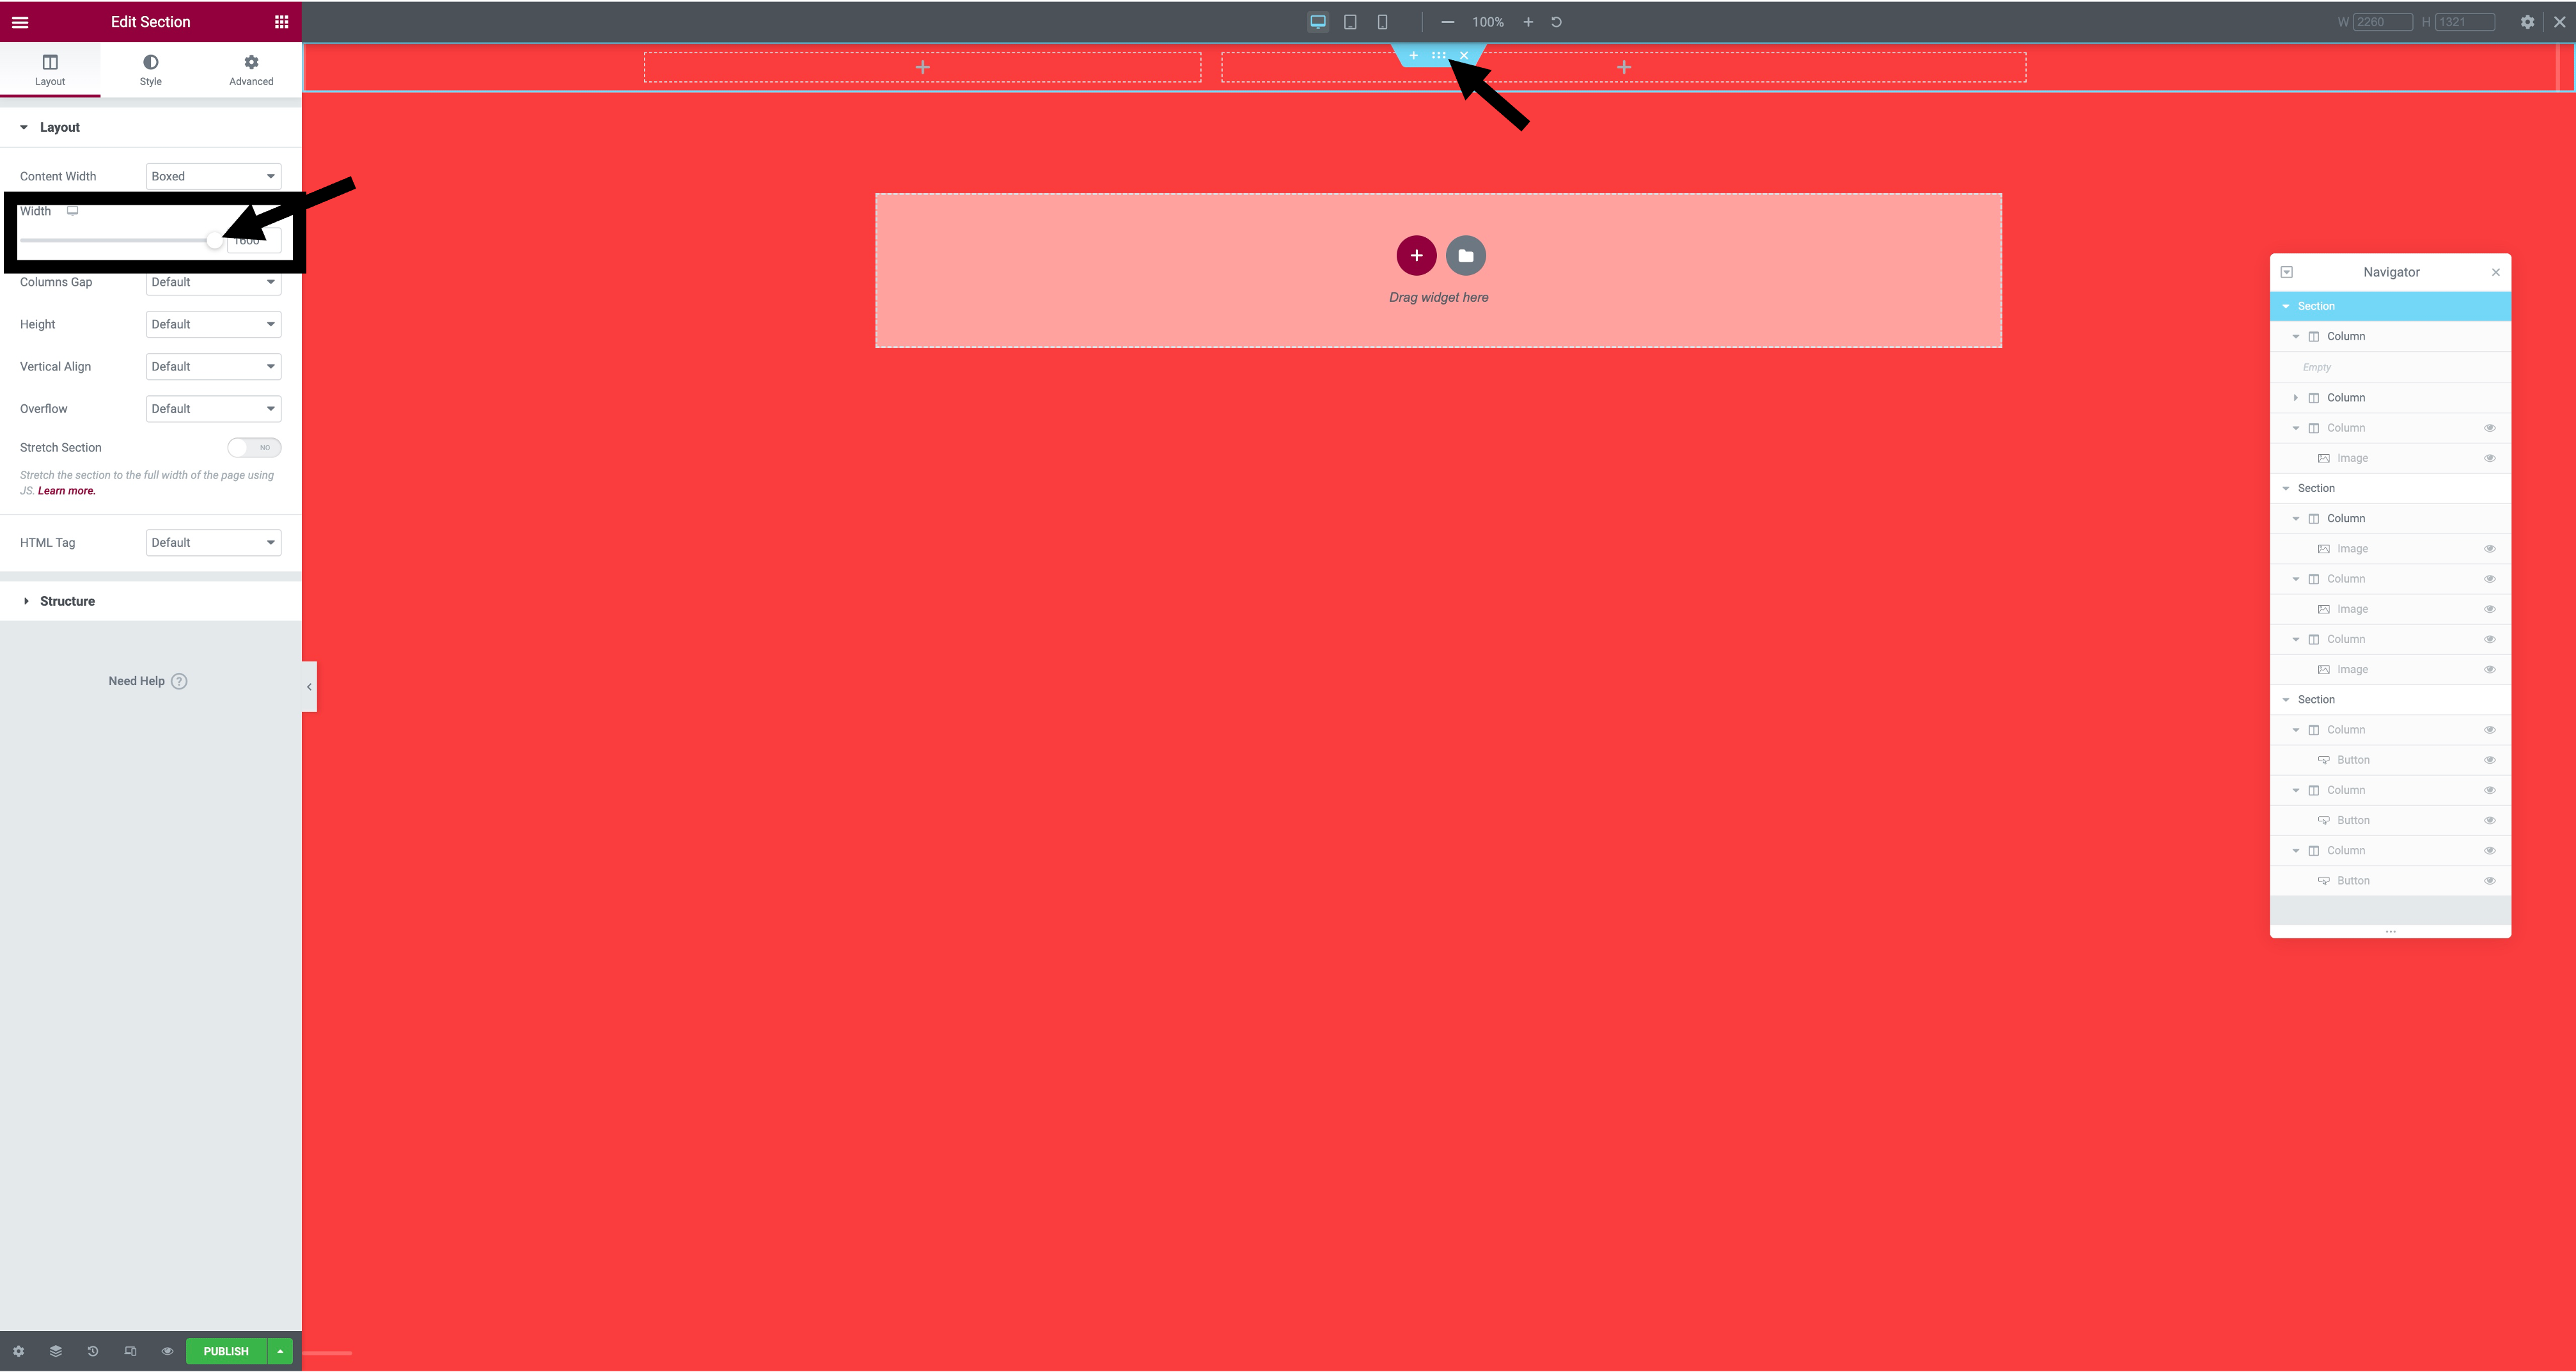
Step 4. The next step after the background is to add your columns. To add your columns you need to press 'add new selection' which is the plus sign in the centre of the screen. After adding your columns you will want to edit the width, to do that you press the six dots in the middle and go to layout.
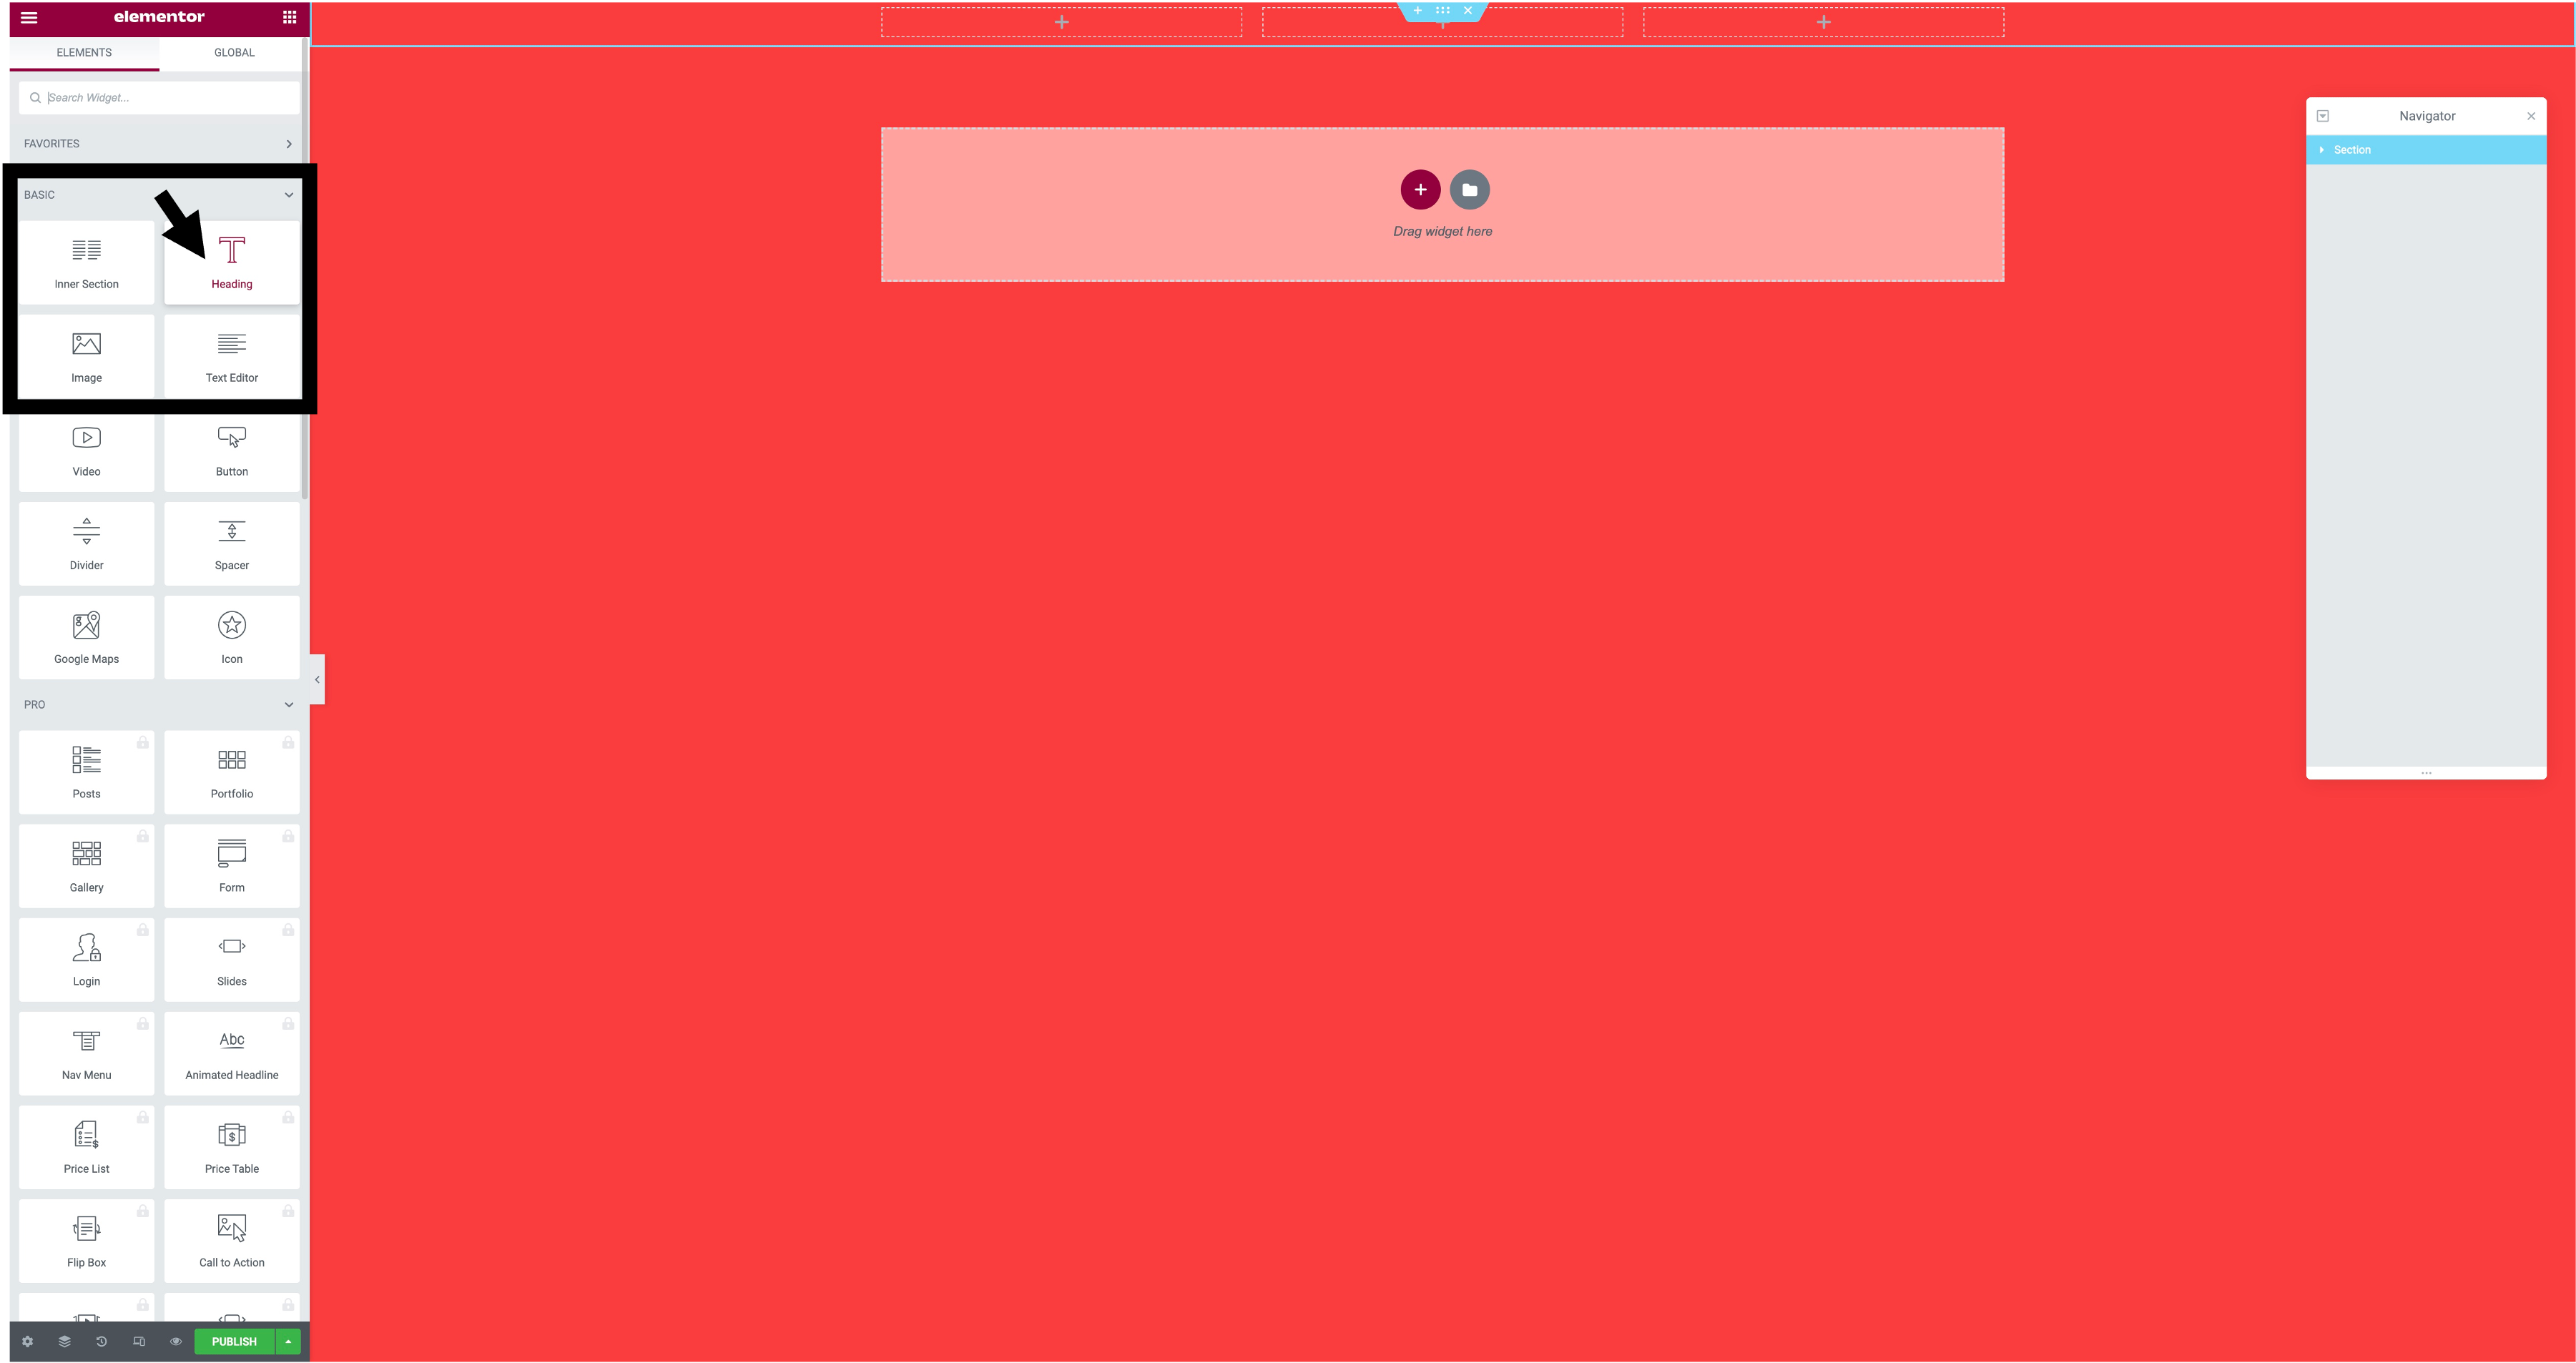
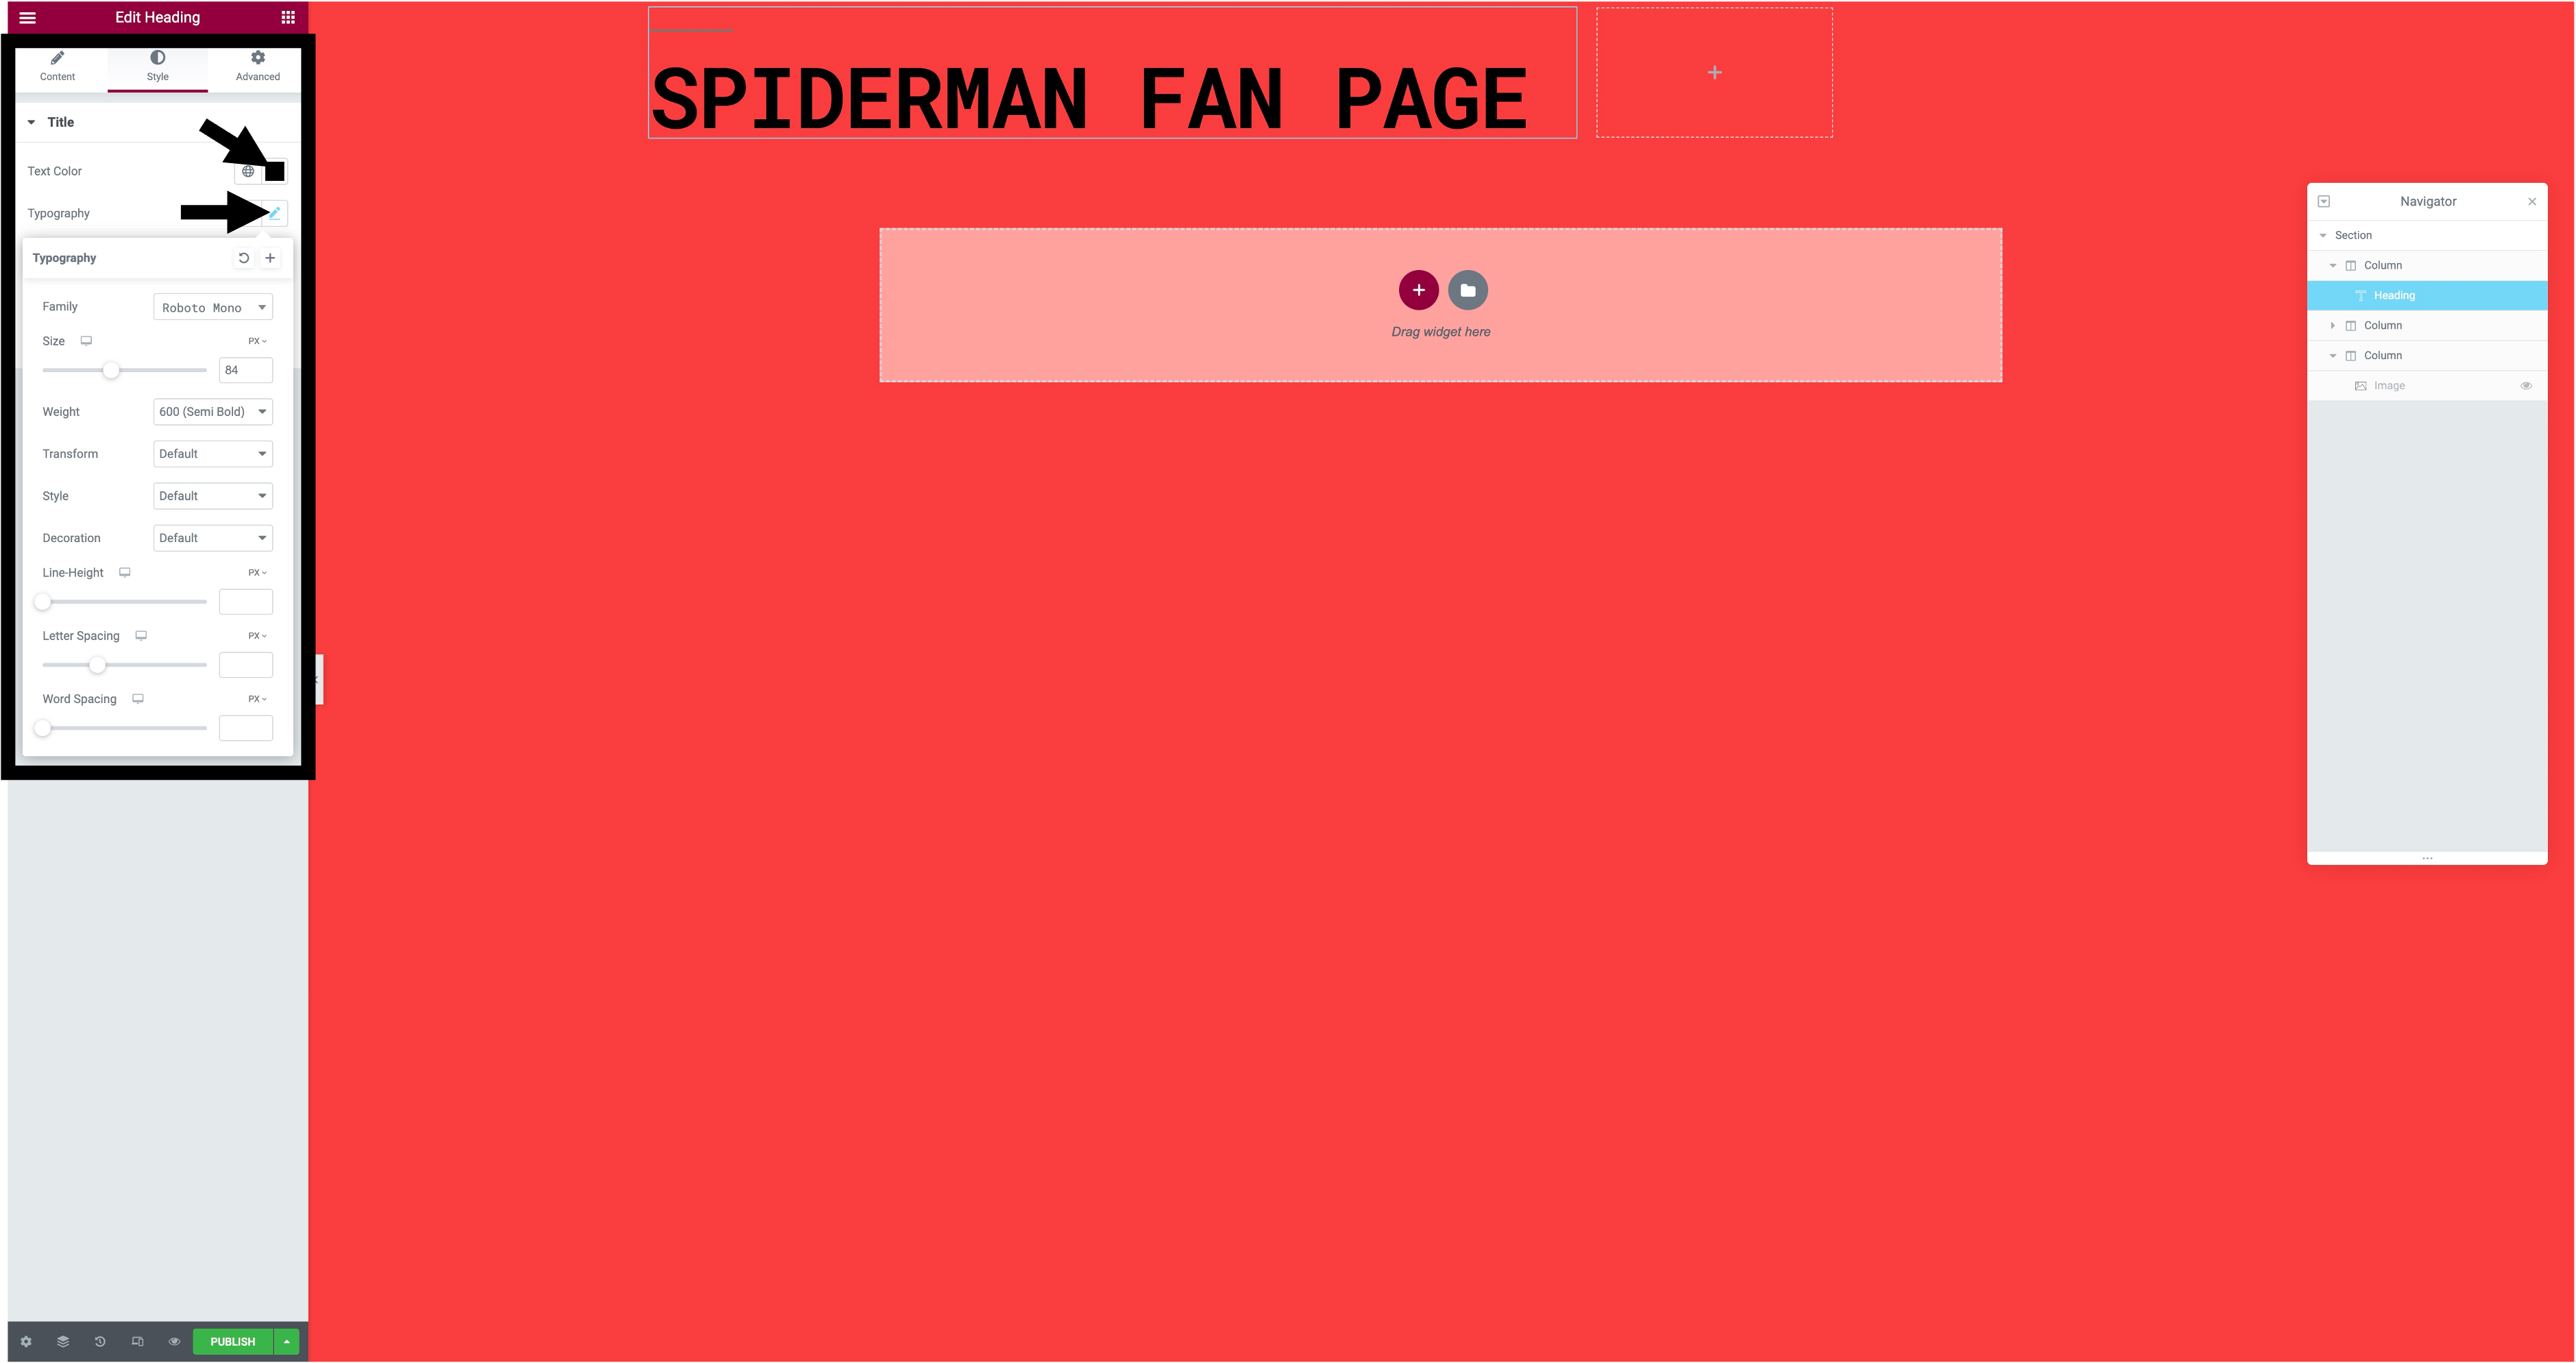
Step 5. To add text to your post you will need to press the plus sign in one of your columns, after doing that you need to drag the 'heading' icon to that column. Once you have done that to change the colour and font you will need to press on the text, go to style and then the text colour and typography will be there for you to change.
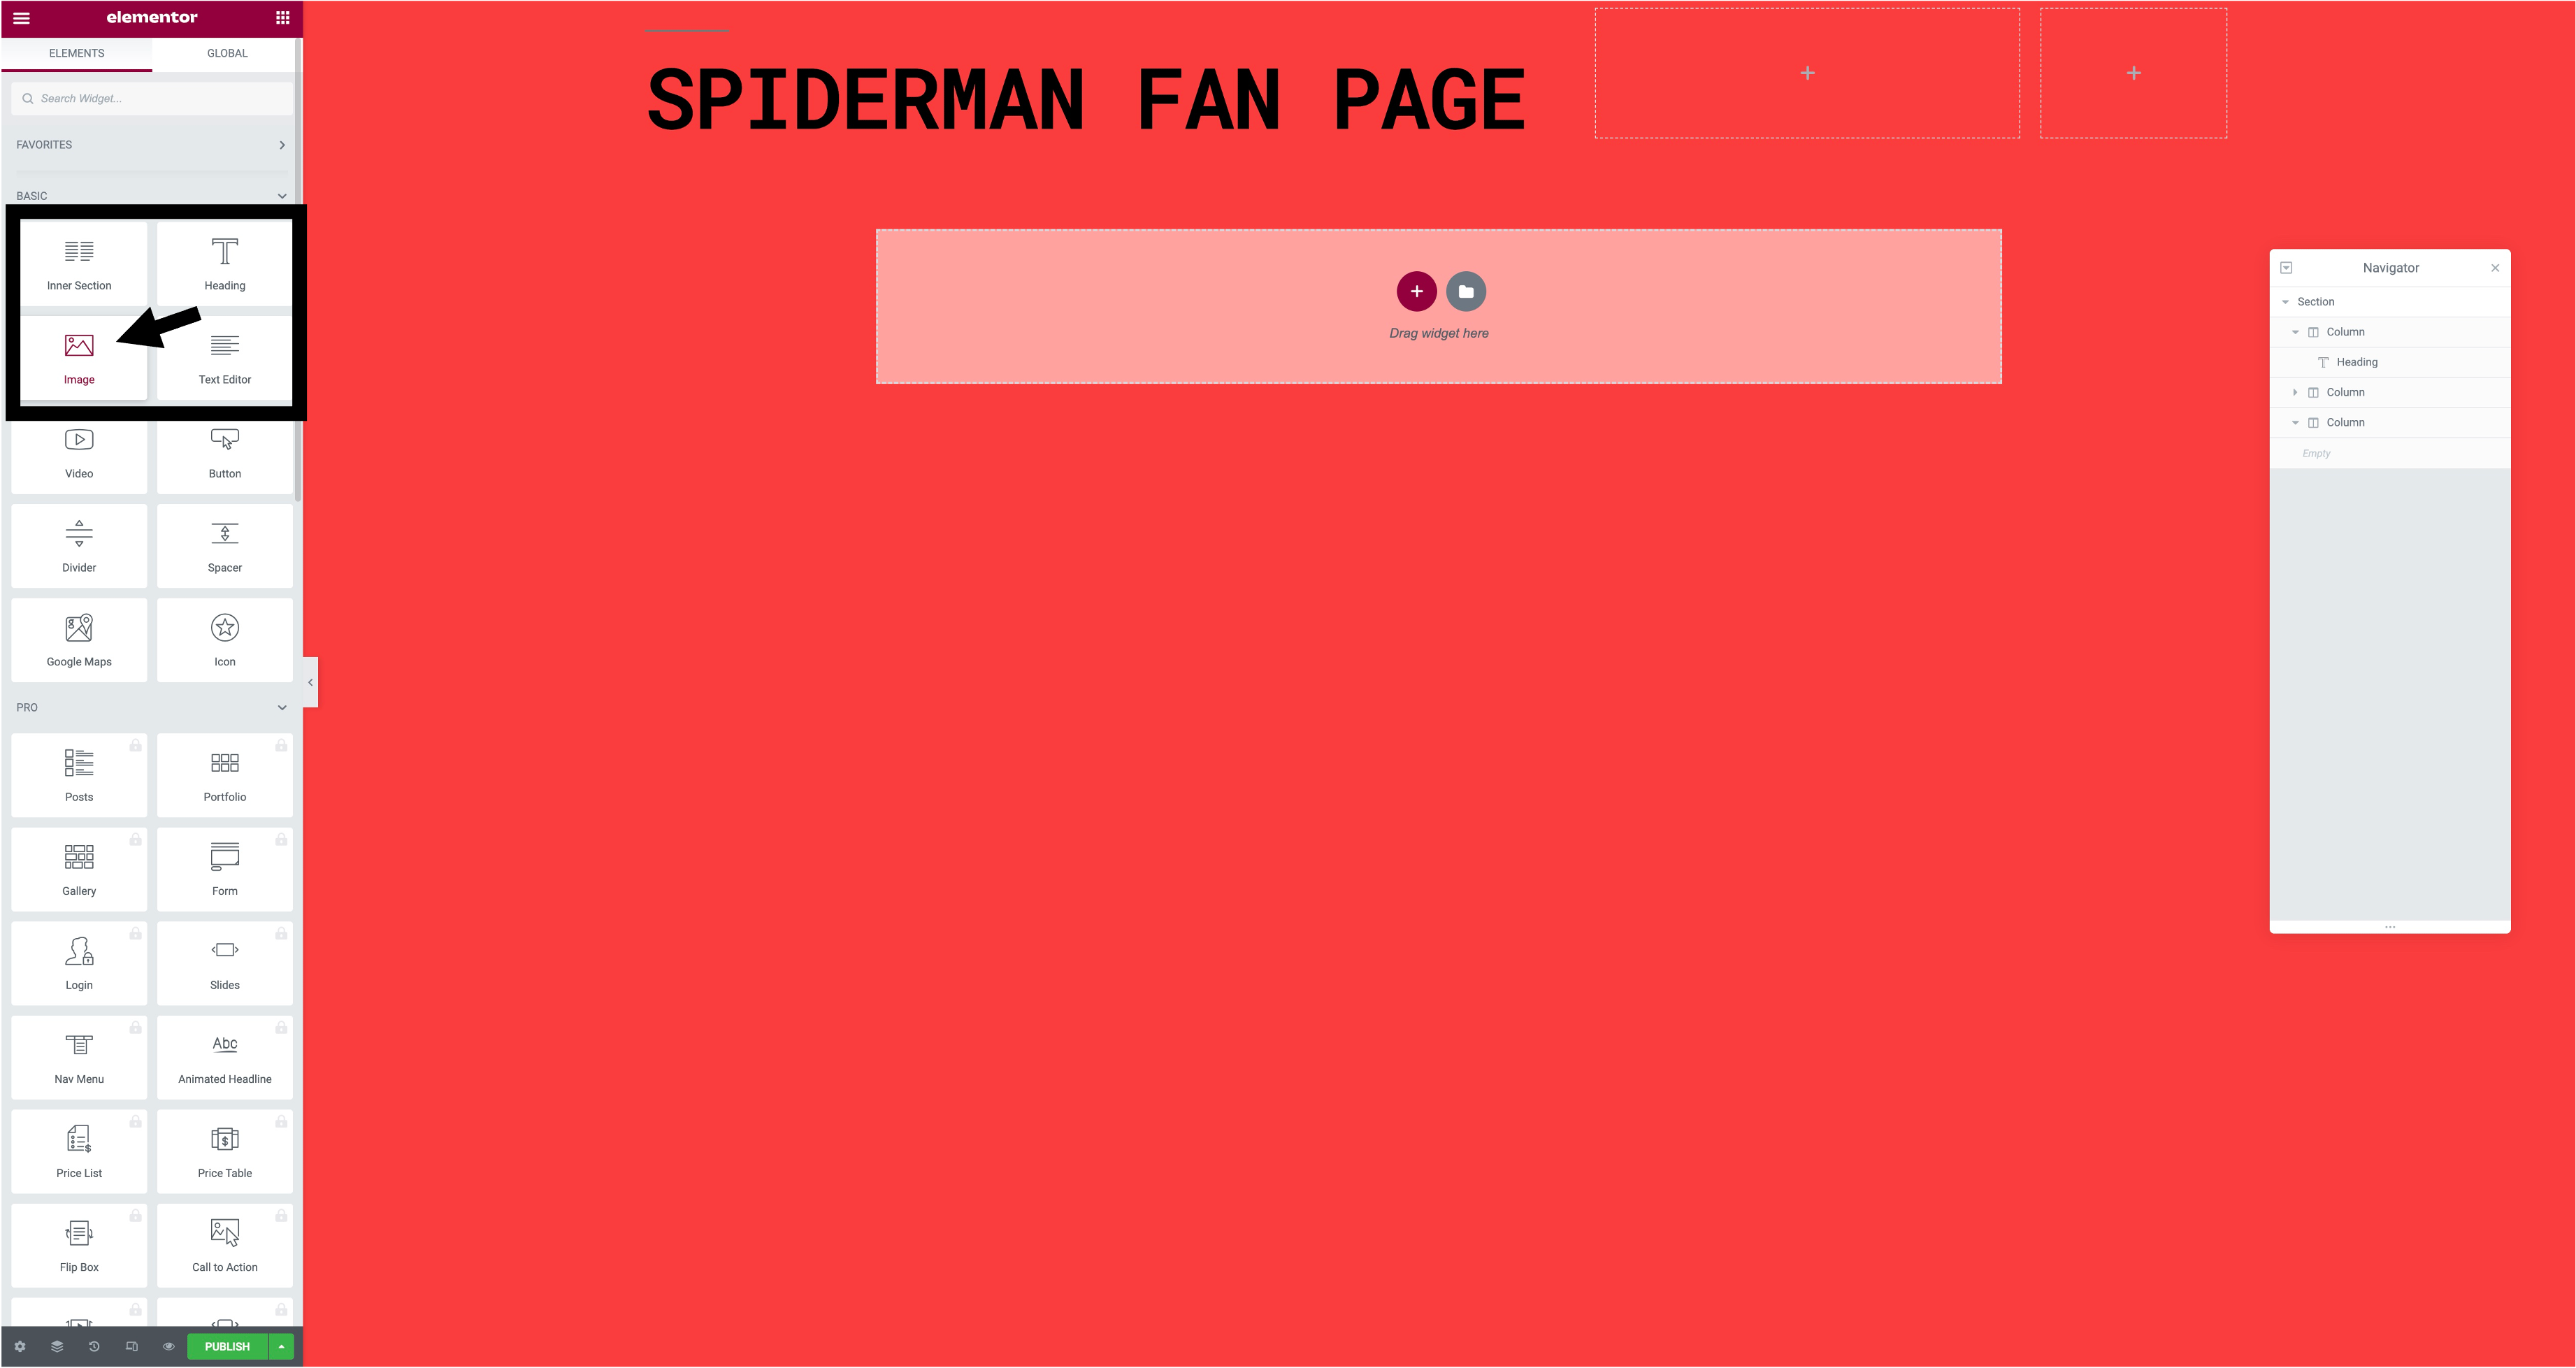
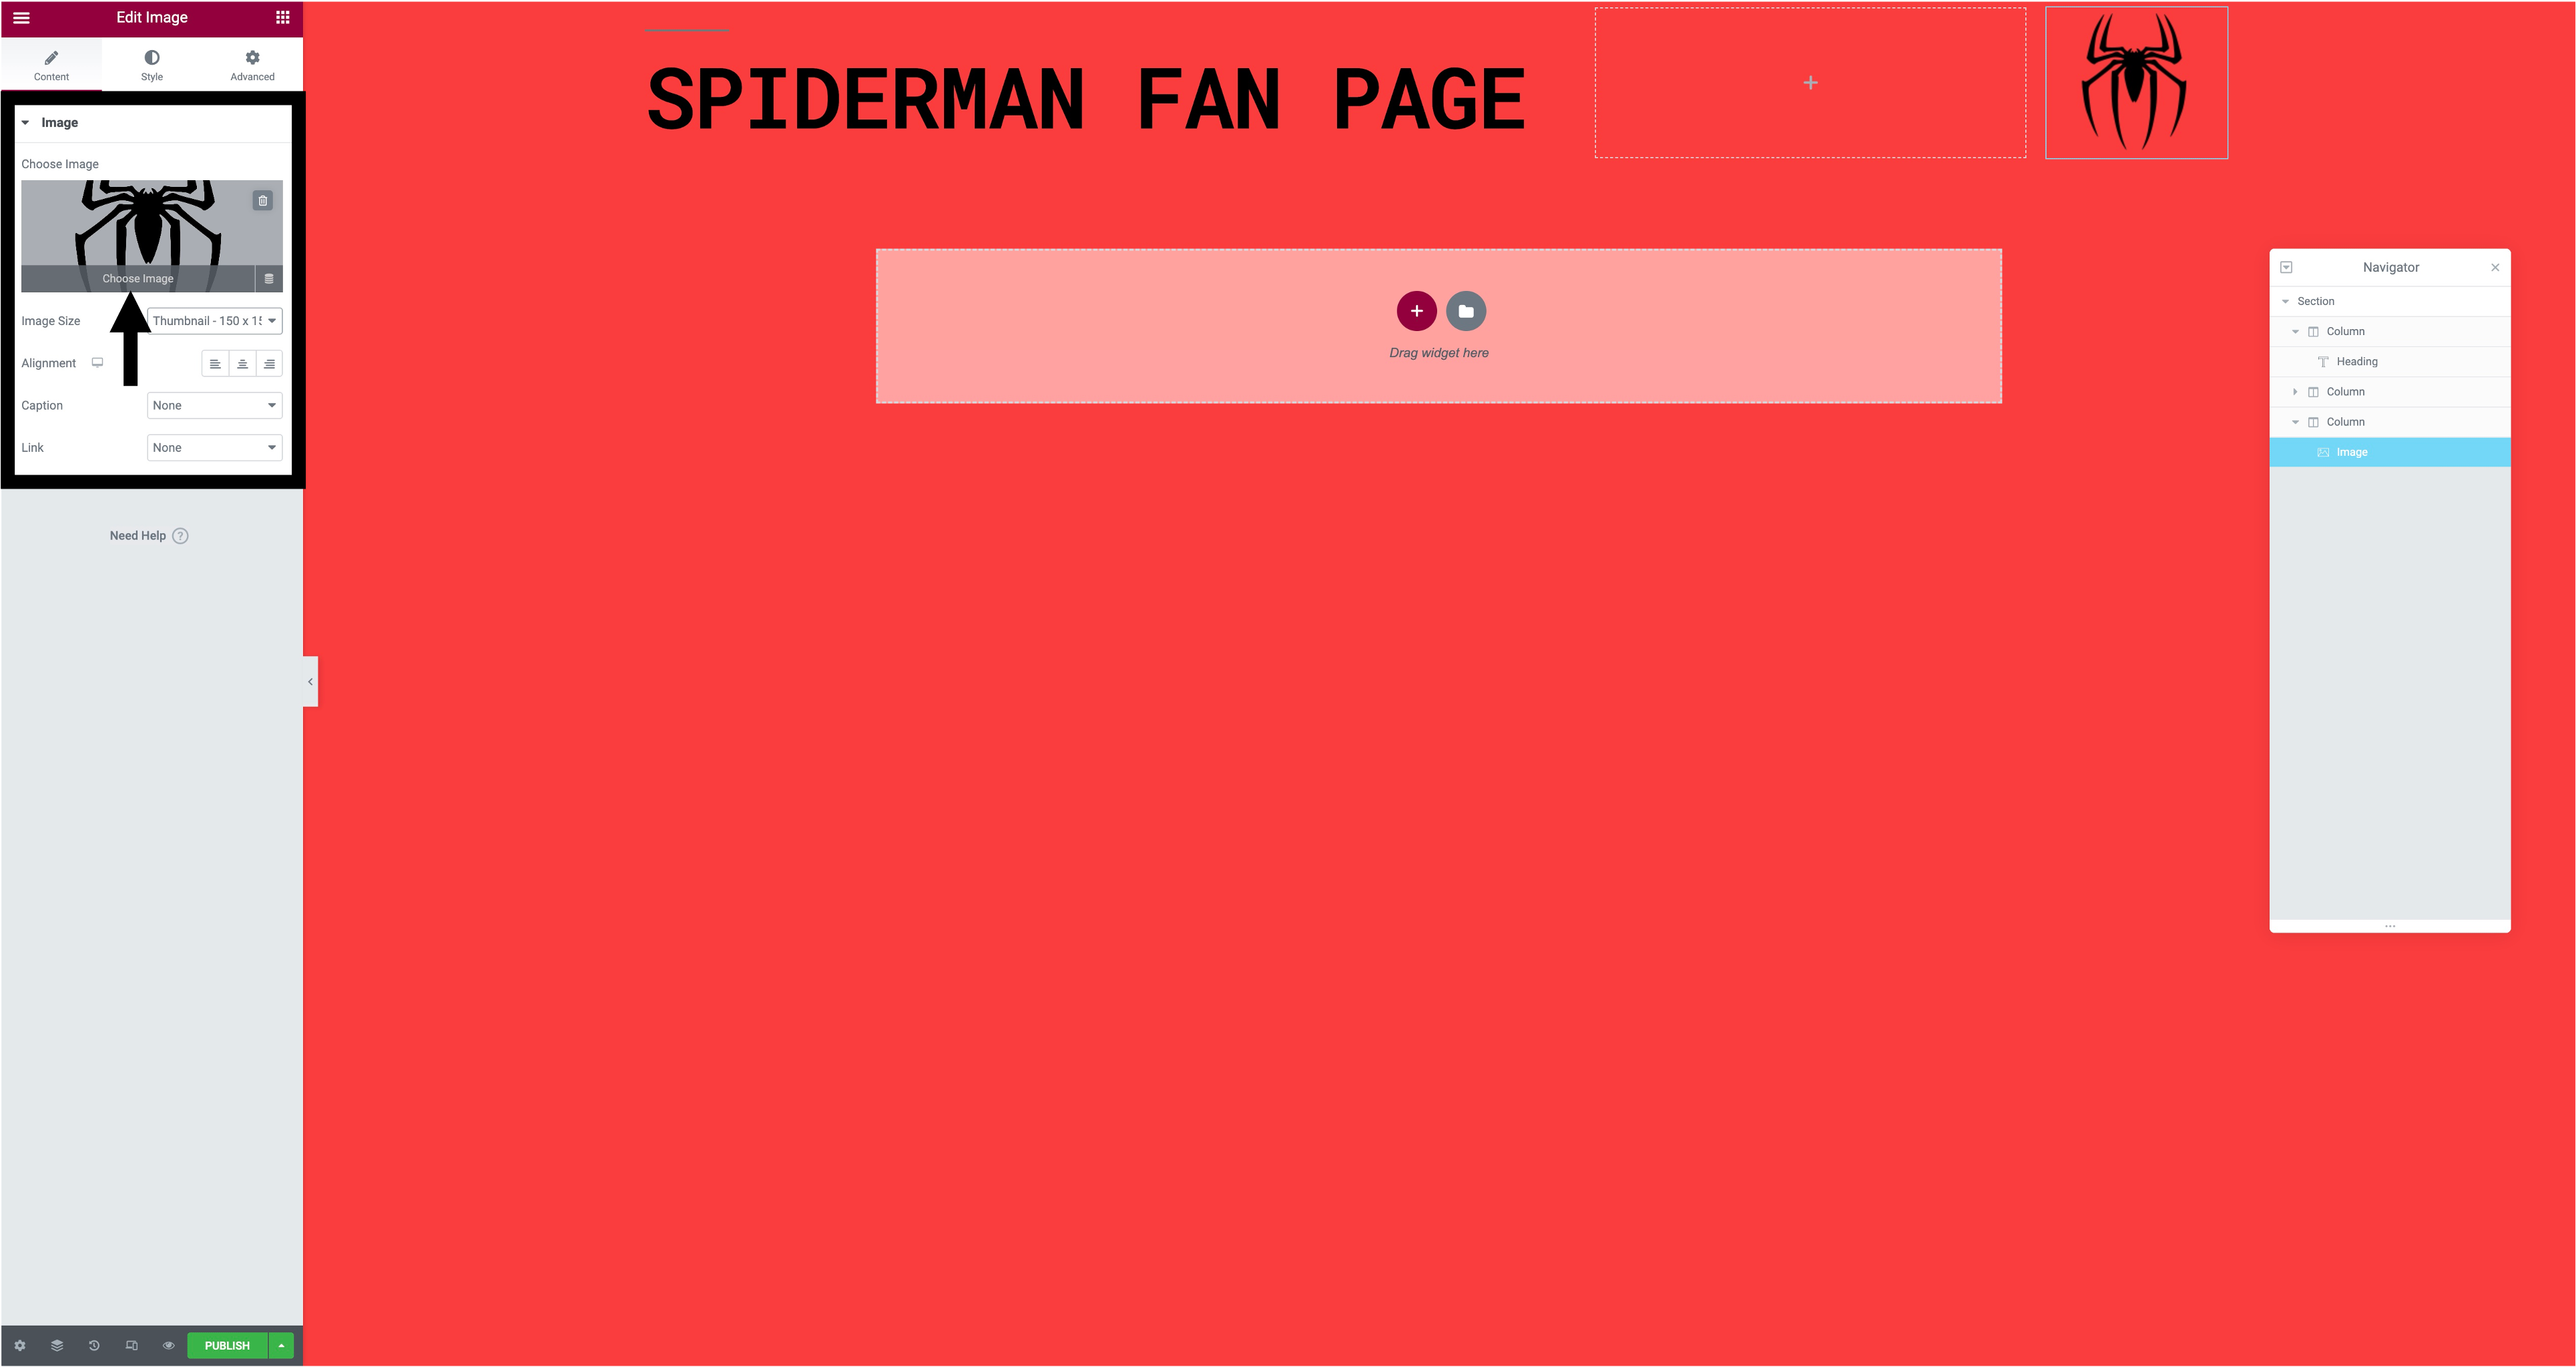
Step 6. When you have added your text you can add an image. To do this you have to do the same as you would with text and drag the 'image' icon to the column, then after doing that you will press chose image then upload the image you want in your post, once the image has uploaded you can change the image size and alignment.
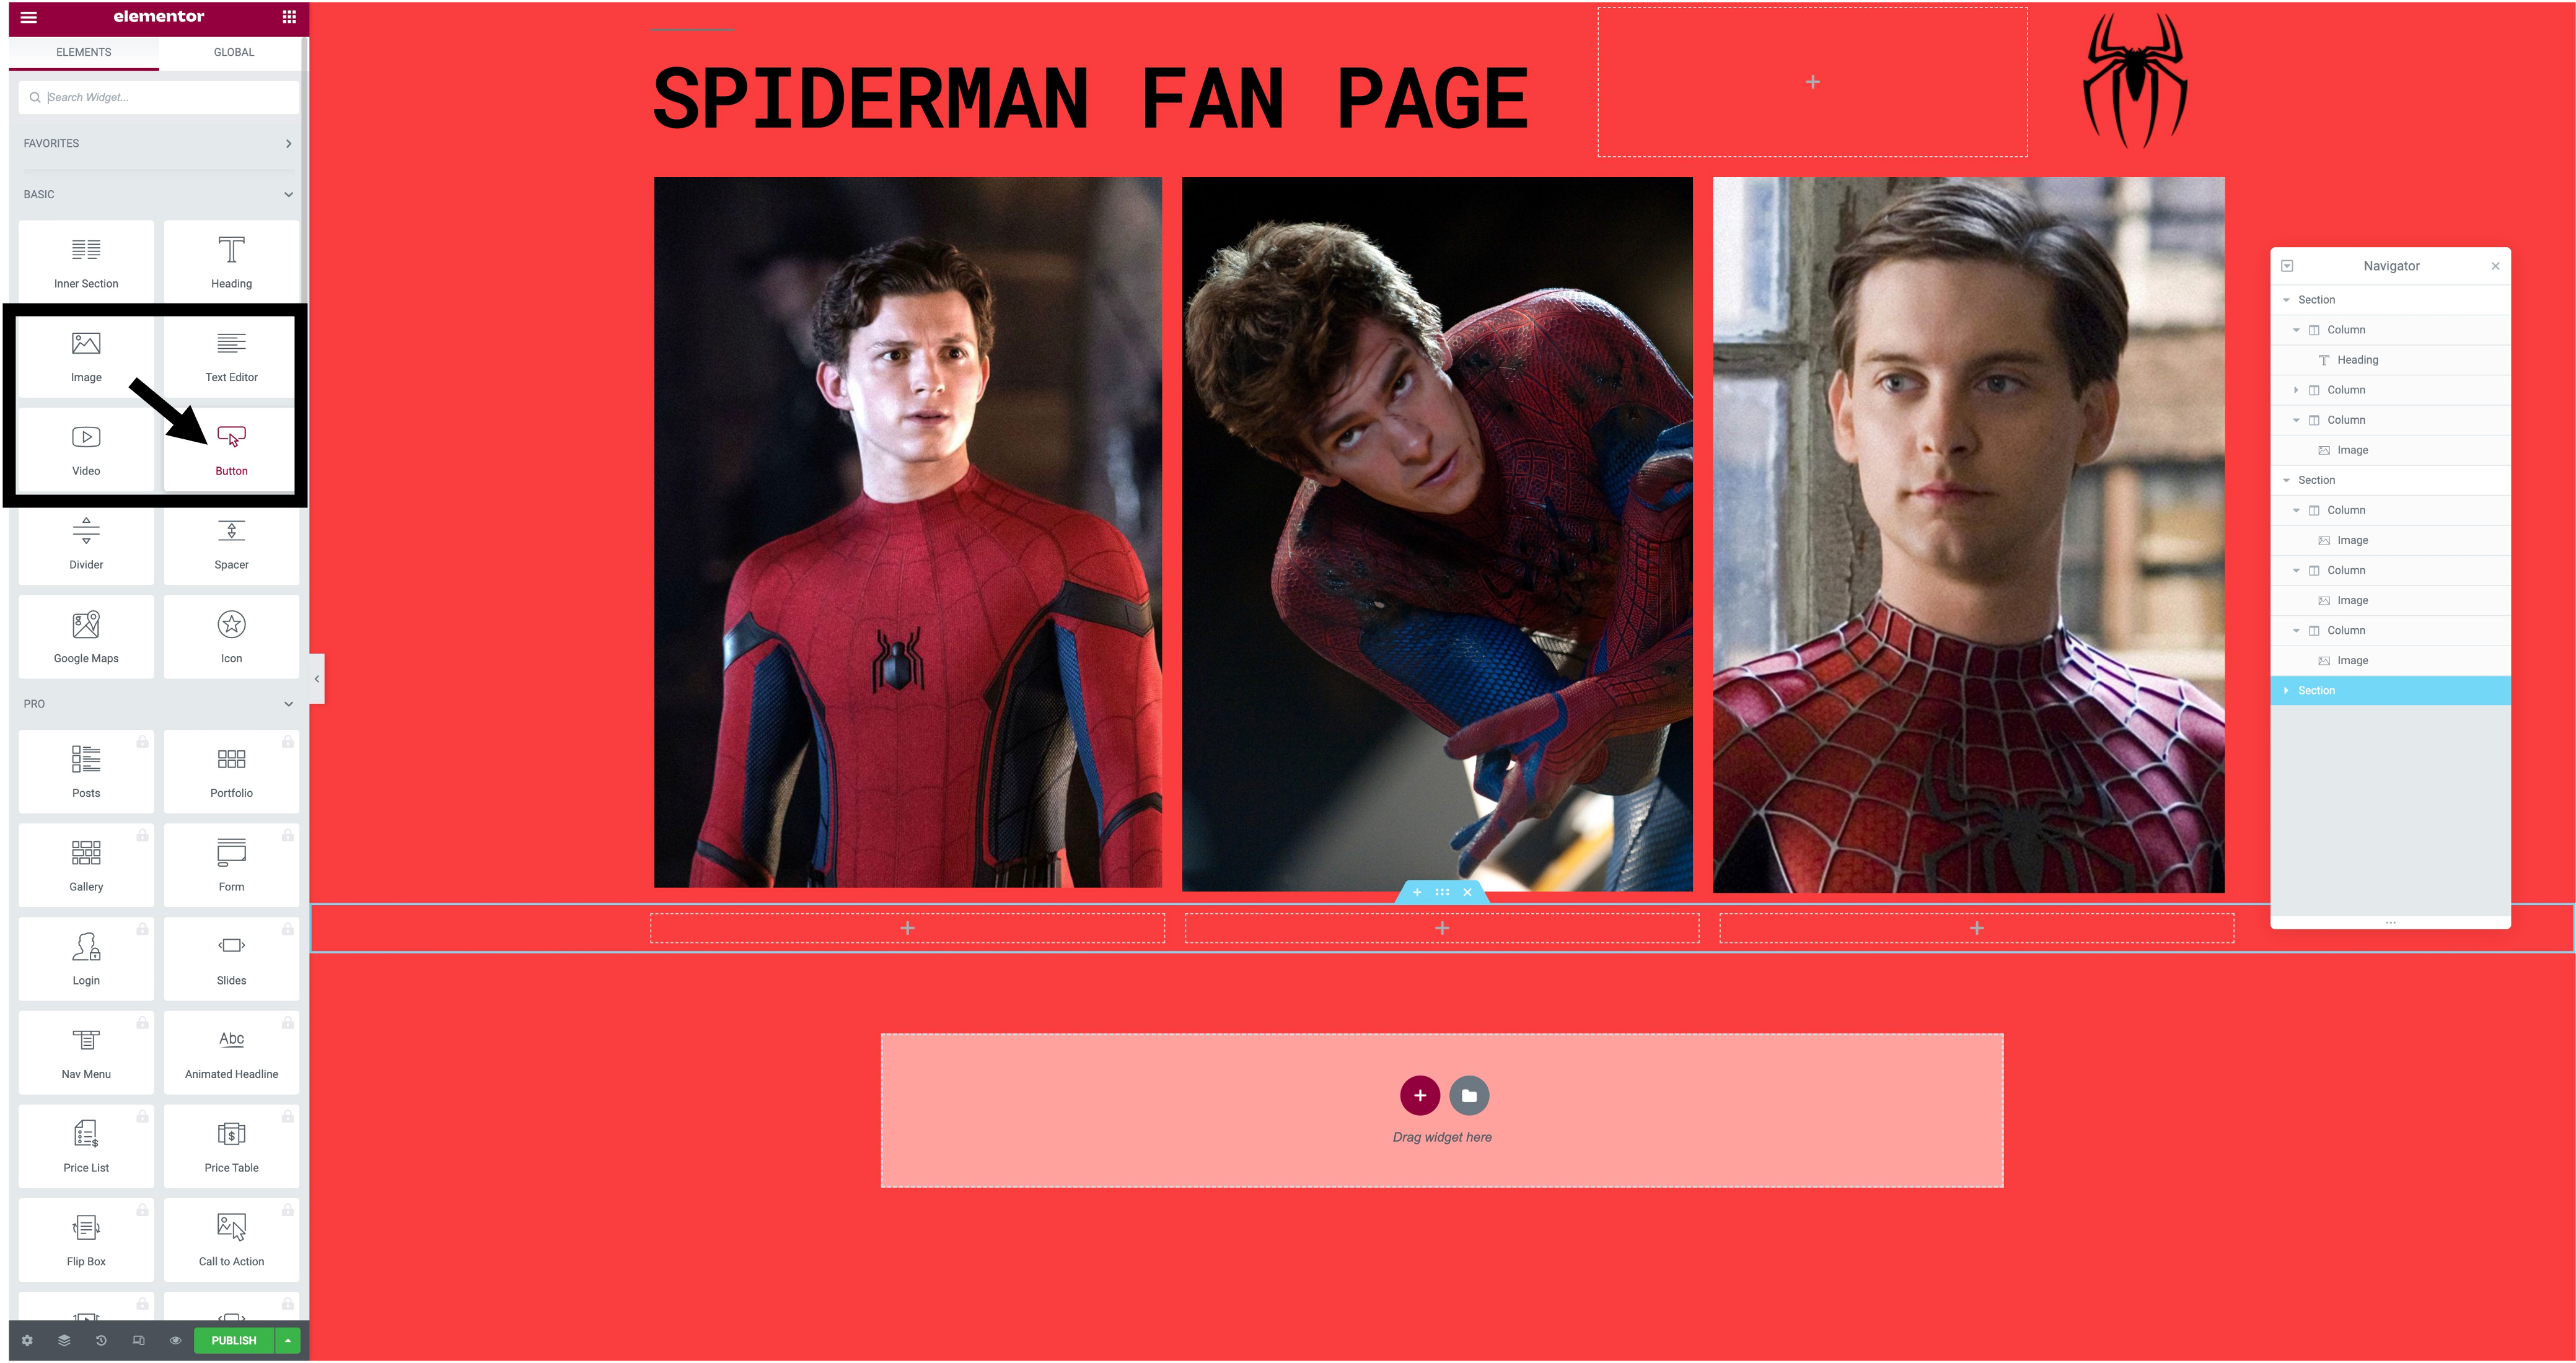
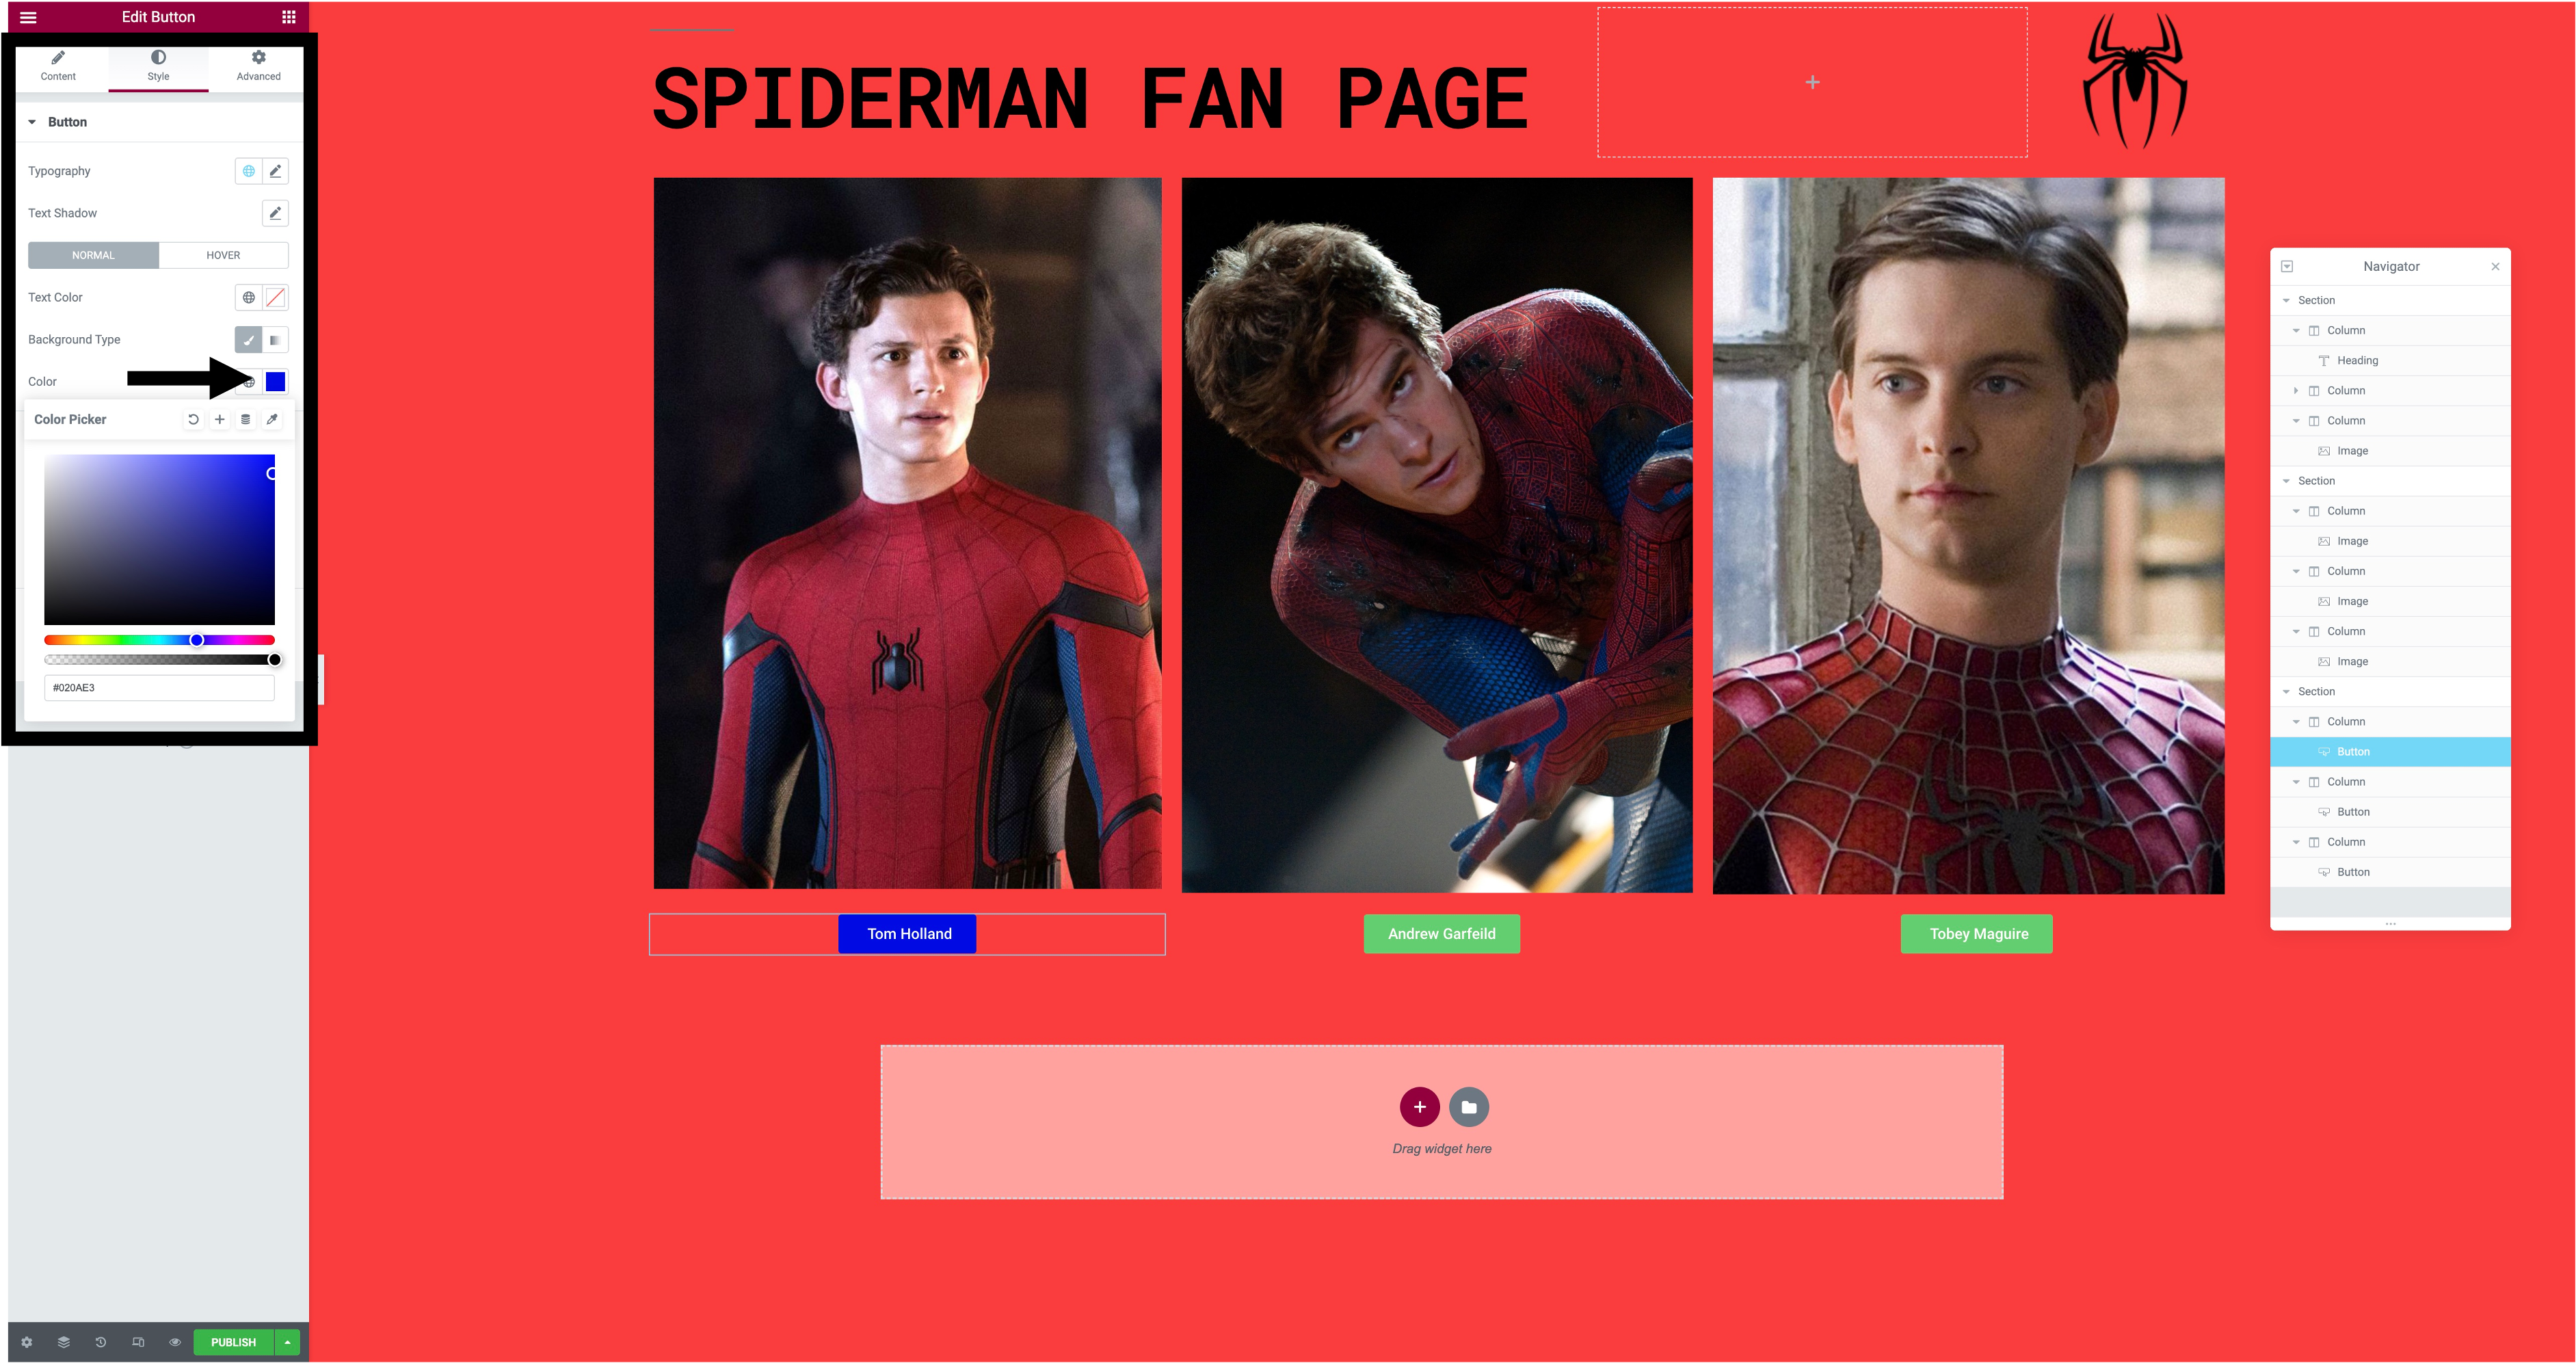
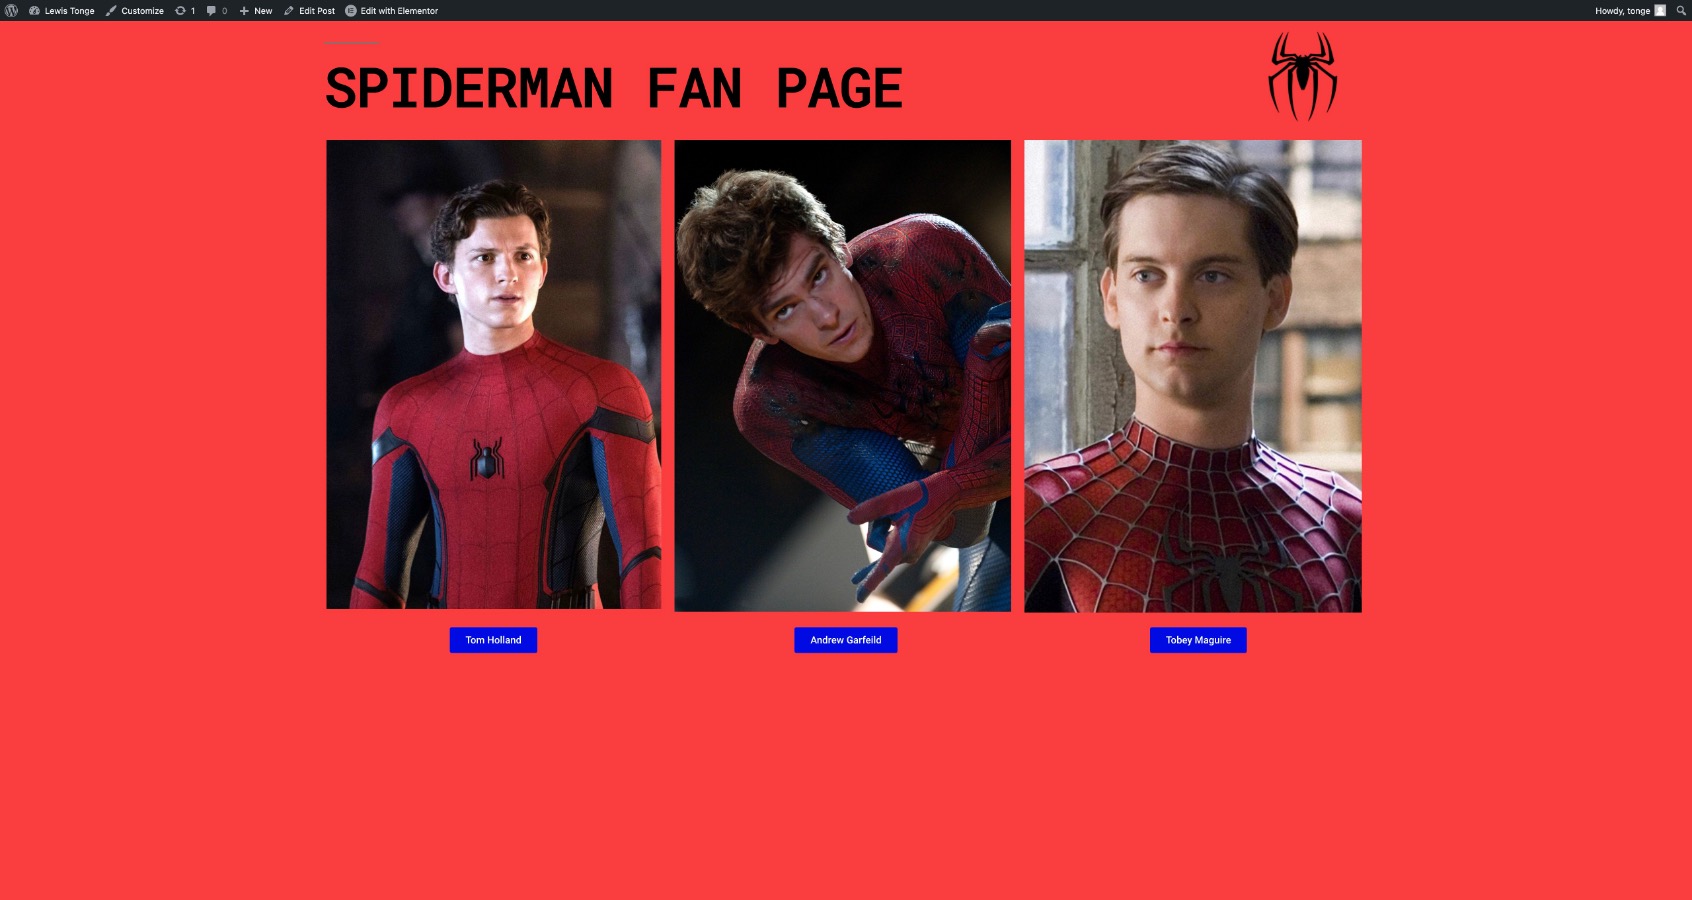
Step 7. After adding your images you might want to add a button to show that you can click on it to show text. To do this you would add some new columns and drag the 'button' icon to the column, if you want to change the colour and the text on the button you would click on the button and you can easily change the text and for the colour you would go on style and change the colour from there.
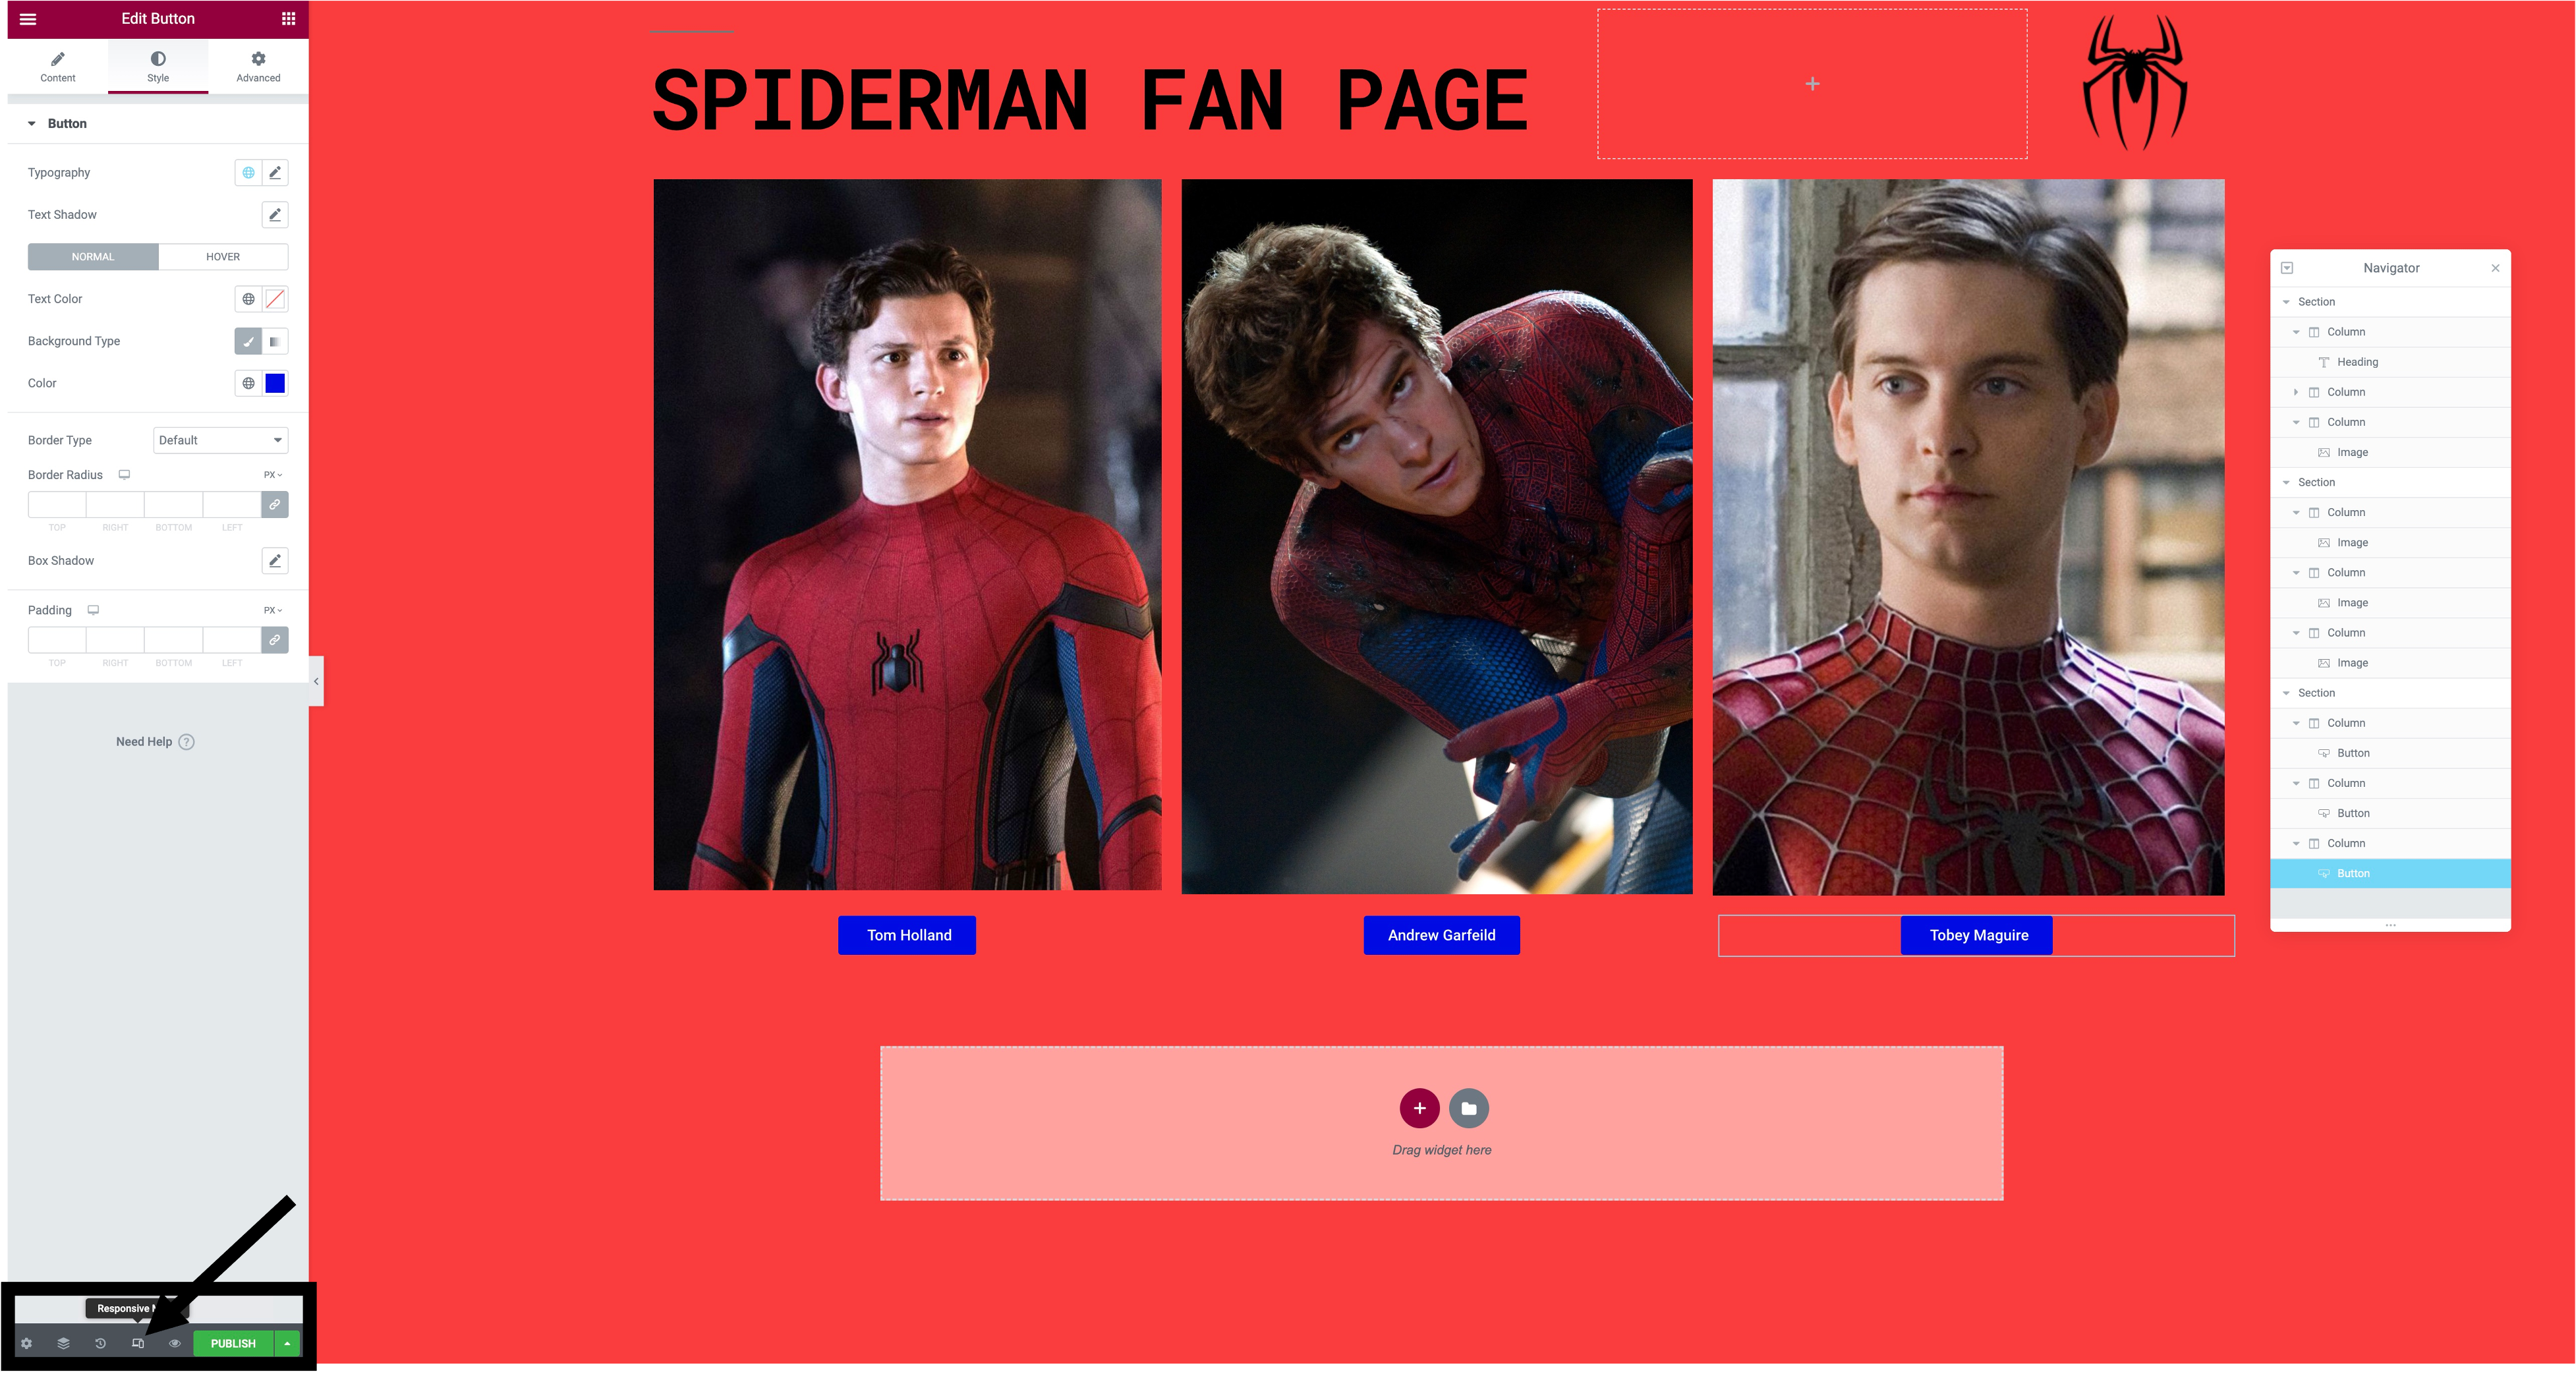
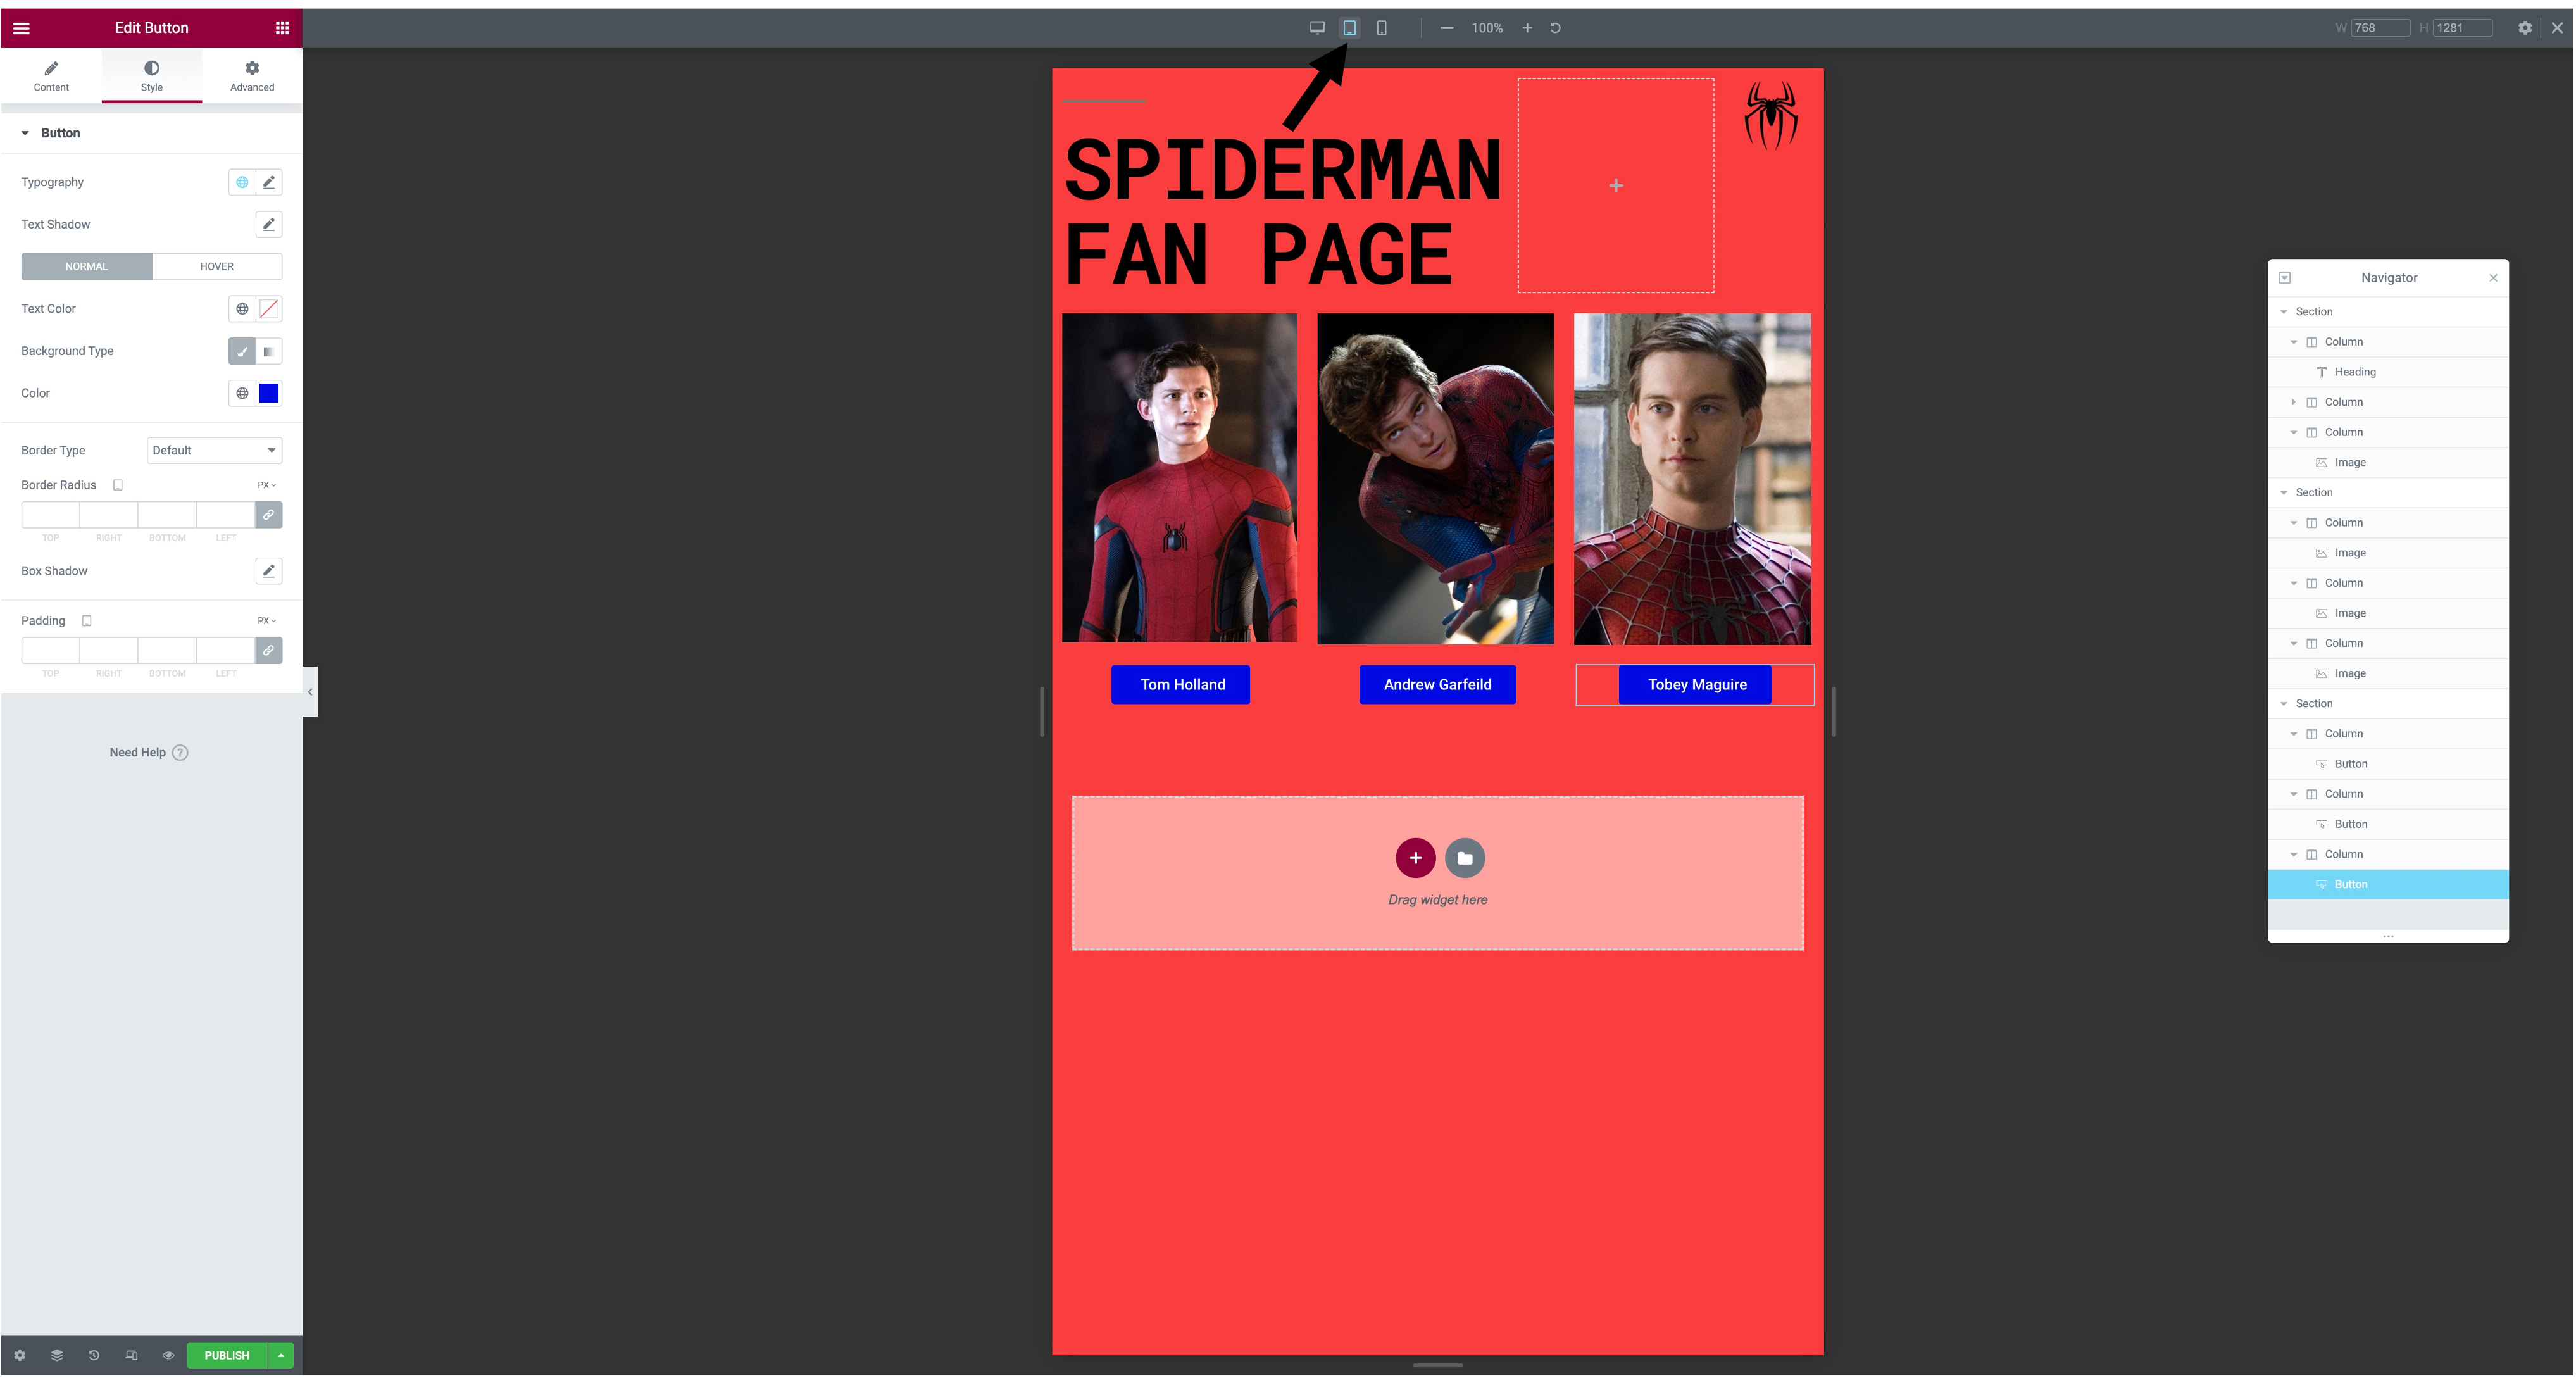
Step 8. Once you have done all these steps you can see how your website would look on desktop, tablet and mobile. To do this you would go down to 'responsive mode' in the bottom left, after doing this the three options will show up at the top and you can see how they all look.
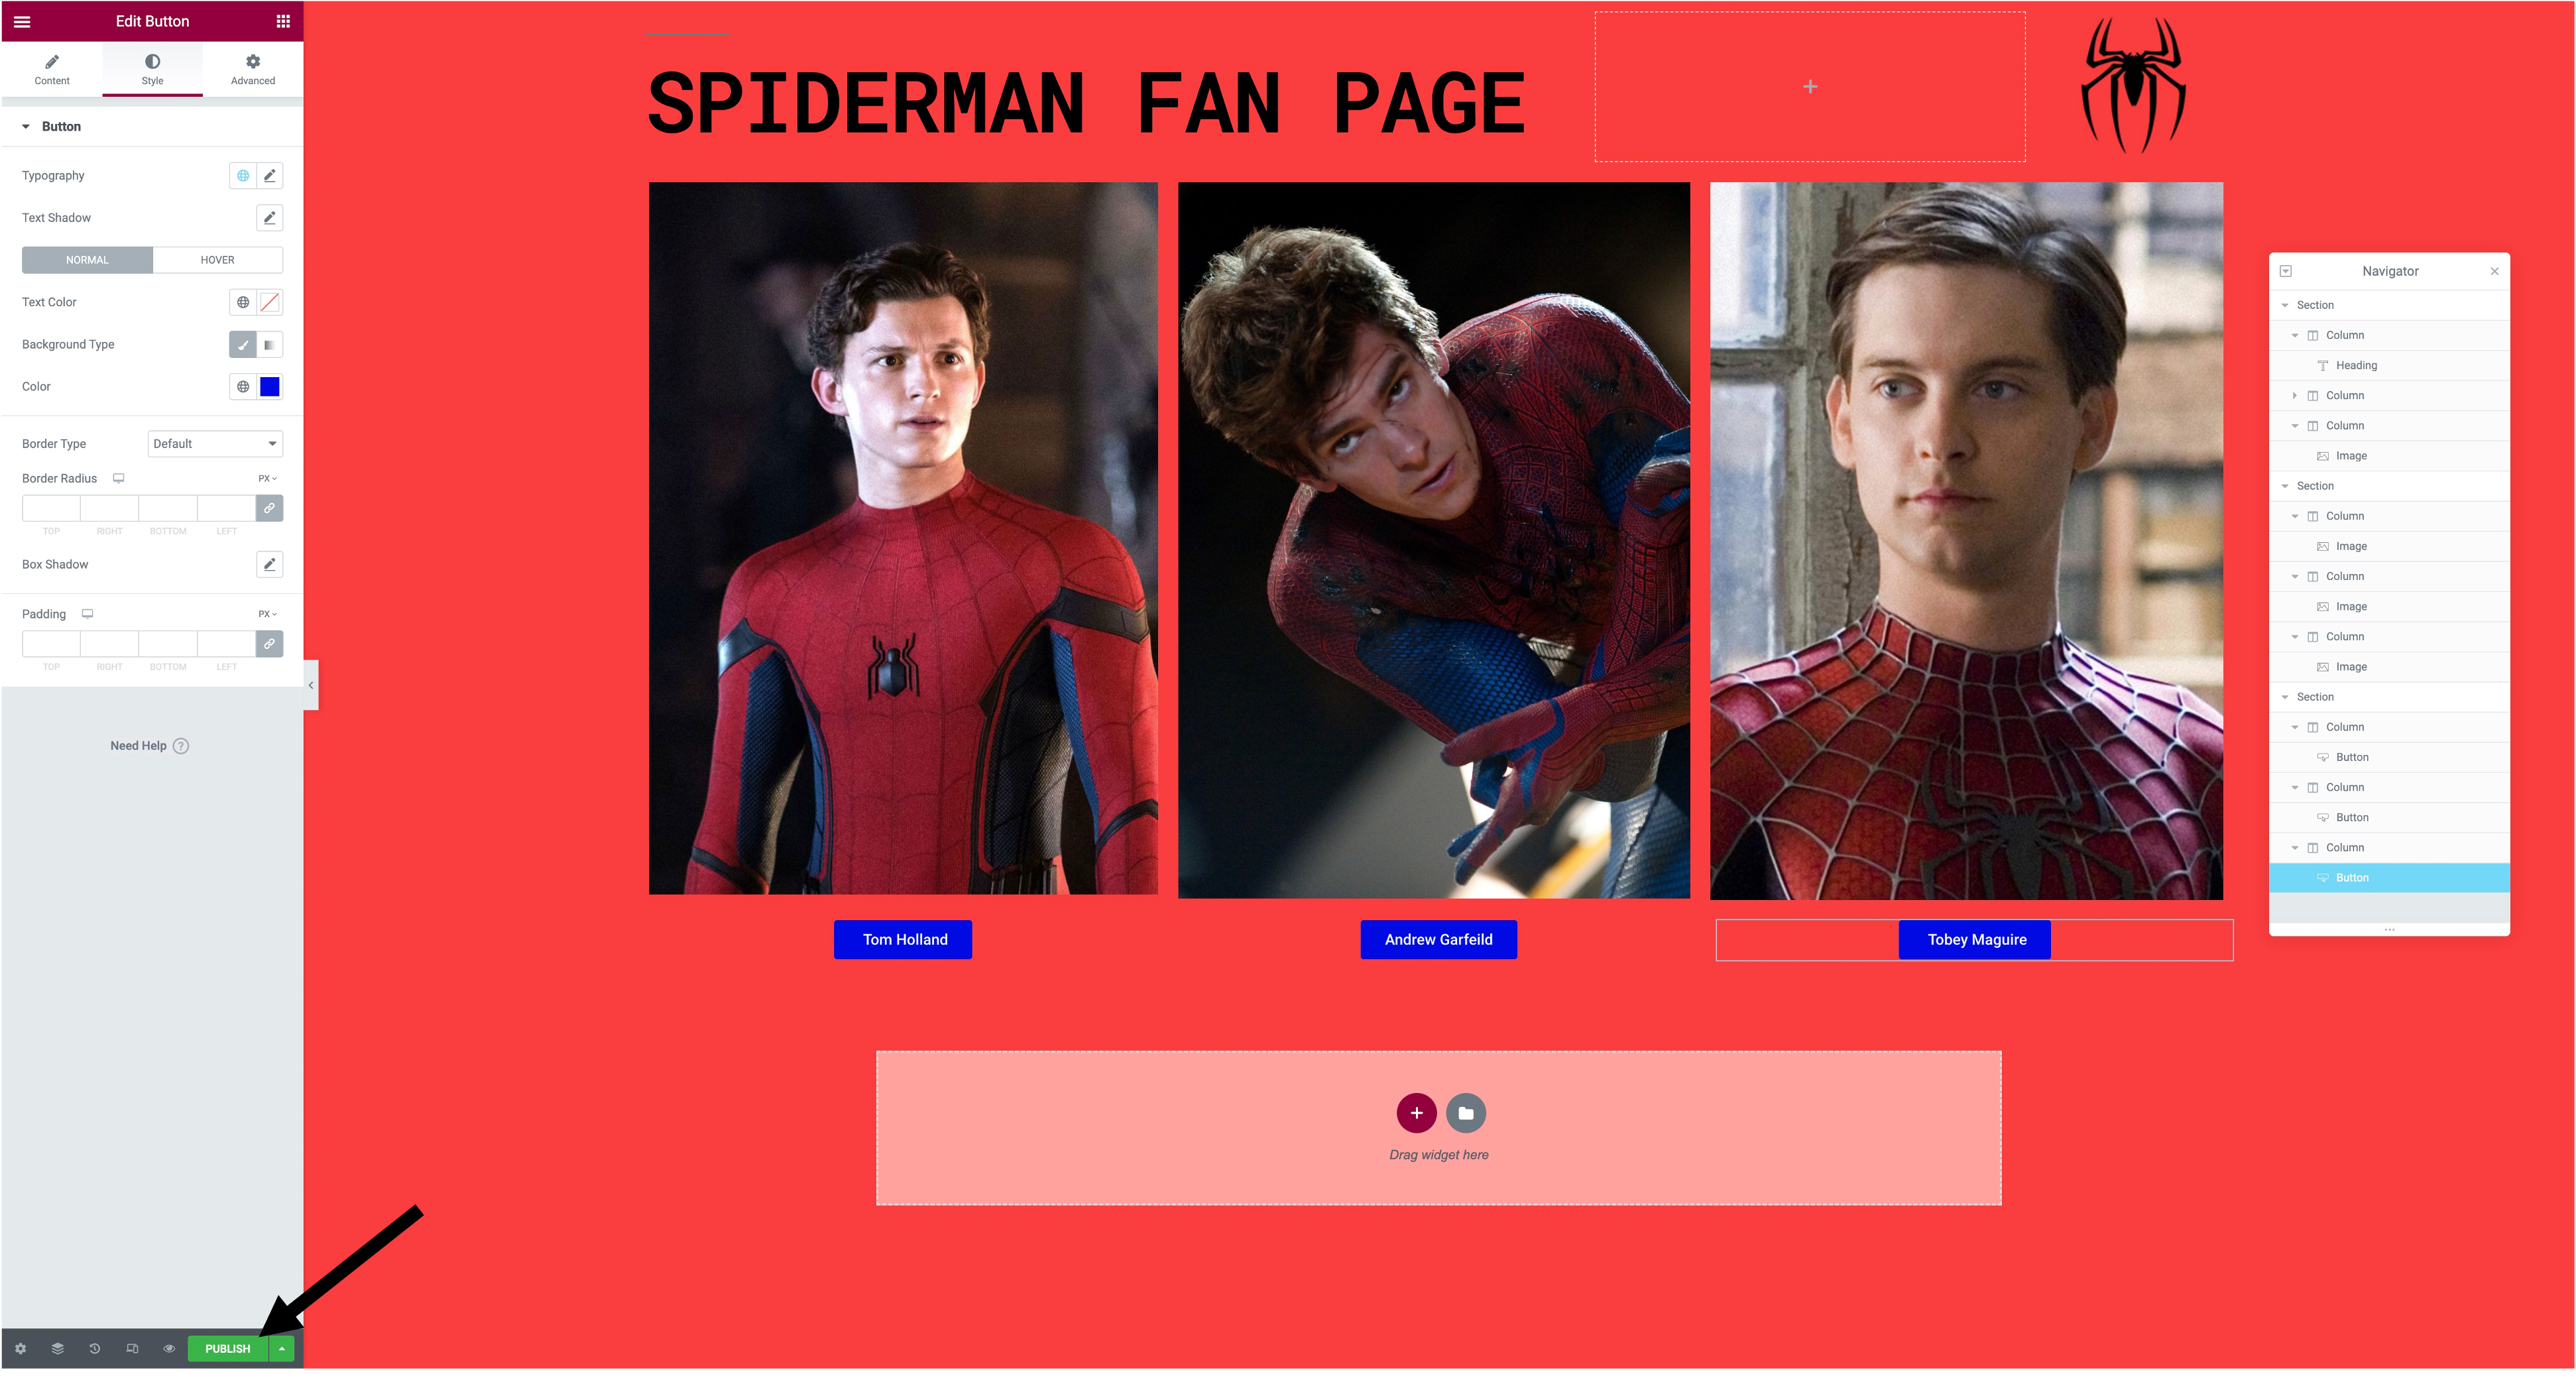
Step 9. Now that you have done all the steps you can publish your work. To do that you just press the 'publish' button in the bottom left of the screen, then when you have published your website you can see how it looks when completed.